You are just starting out your WooCommerce store and you know it’s a good idea to build a list of customer emails for marketing.
Here’s how you can get started building your WooCommerce customer email list, for free, in Mailchimp, an email marketing platform.
Building An Email Marketing List
It doesn’t matter at what stage you are in your business, you should be collecting details about your customers in an email list.
Email lists are still the highest converting sales and marketing technique as the customer is explicitely opting into receiving the emails.
If you are just starting out building a new WooCommerce store, building your customer email list is just as important as the products you are trying to sell.
Having an email marketing list of existing customers is like having a goldmine.
You can send them emails about seasonal products and services, deals and coupons to boost sales.
Don’t Use WordPress For Email Newsletters
WordPress is the worst system that you can use for sending out email newsletters.
Yes, it is easy to grab a newsletter plugin and very convenient to have everything in the one place.
Yes, when you first start gathering your first 10 or 20 customer emails everything is fine.
Fast forward one year and your email list now has 200, 500 ro 1,000+ emails.
Your poor WordPress website is now spending all it’s time and server resources sending out newsletters rather than allowign people to browse and buy products.
Your site is super slow and your SEO rankings drop, affecting your sales and yout bottom line.
Resisit! Don’t use WordPress to send out email newsletters!
Email Marketing Service
There are plenty of email markering services out there and it can be a challenge to research them all to find out which one is the “best”.
Here are a few name-drops, Mailchimp, Active Campaign, Drip, Hubspot, Omnisend, Sendinblue, Campaign Monitor, Convert Kit – the list goes on and on.
I say, don’t get hung up on this.
It’s easy to transfer email lists between services.
Mailchimp is a super simple choice to get started with.
Their free plan allows a list of 2,000 contacts, with 10,000 sends per month and a daily limit of 2,000 sends which you’re unlikely to use up if you are just starting out (correct as of the date of publishing).
Step 1: Create A Mailchimp Account
Head over to Mailchimp and sign up for their free account.
Sign up with the email address you want your emails coming from – it makes the process easier.
You will receive an email asking you to activate the account.
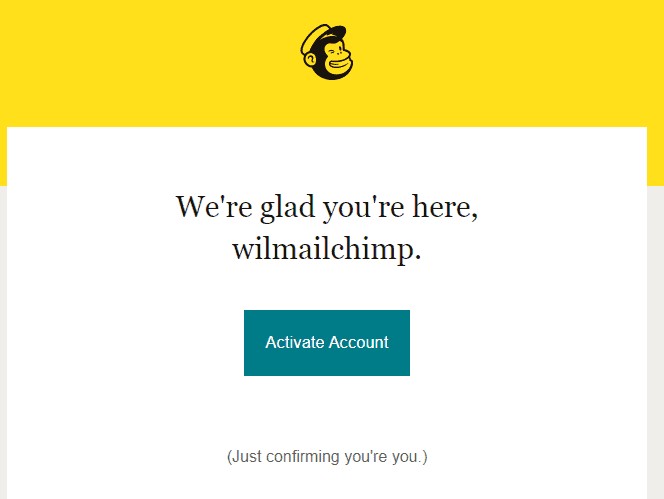
Click on the Activate Accunt button to login to Mailchimp, confirm the free account and enter your details to get started.
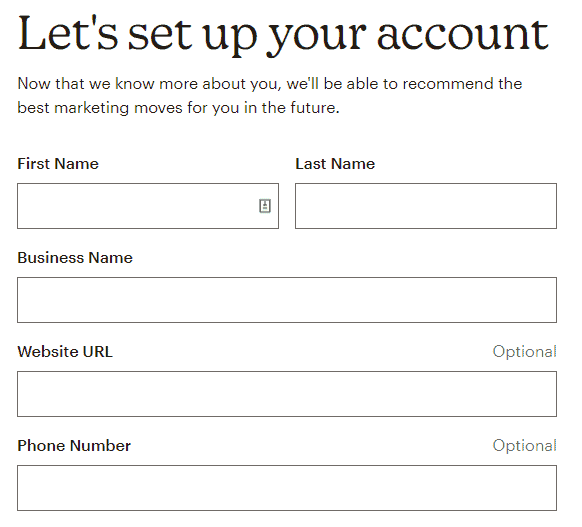
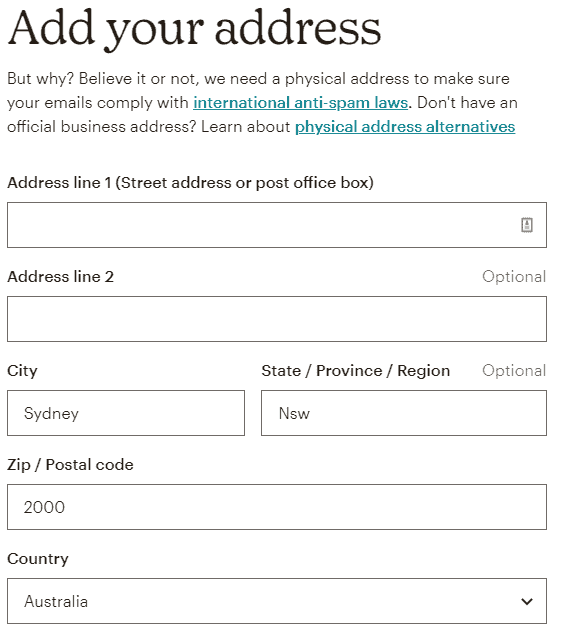
Then your business address.
You will then be asked about your existing contacts.
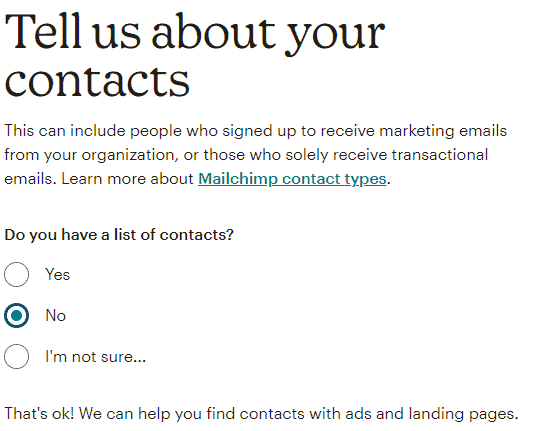
If you like, you can import your list here if you have any, otherwise just say “No”.
You can skip the next setup box – it asks what type of business you have, then click on the “Continue” button.
Congrats, you now have a Mailchimp account set up and ready to integrate with WooCommerce.
Step 2: Create An Audience (email list)
The next thing you need to do is to create an email list for your customer emails to go into.
Mailchimp calls these “Audiences”.
Most other email marketing platforms call the lists.
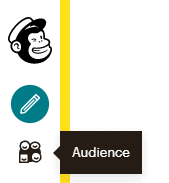
Click on the Audience icon in the left-hand-side navigation menu.
Because you signed up for the free account, you are only allowed one Audience.
Mailchimp will likely use your name or your company for the Audience.
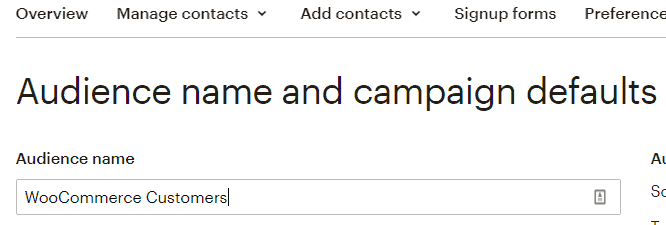
You can change this using the “Manage Audience > Settings” drop-down box.
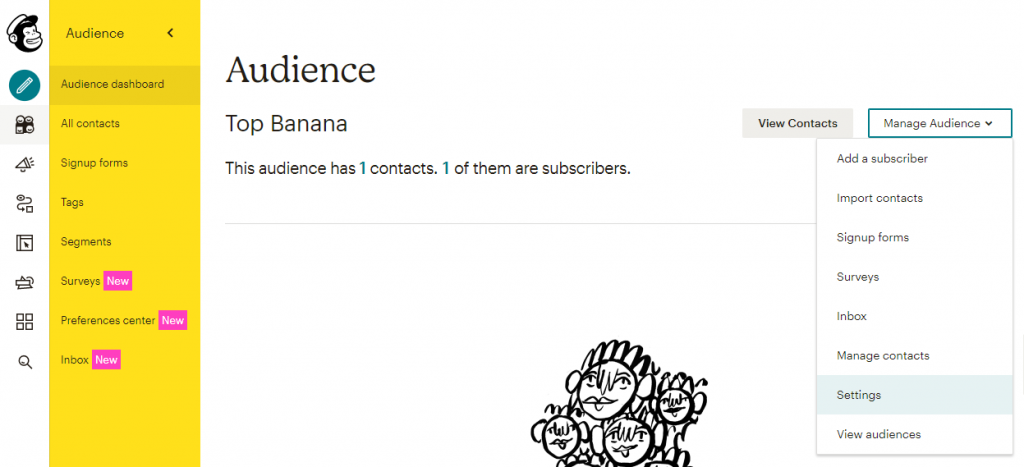
I suggest you rename the Audience to something like “WooCommerce Customers” or replace “WooCommerce” with your shop name.
Step 3: Install WooCommerce Mailchimp Plugin
Next we flick back over to our WooCommerce WordPress website.
Download the official Mailchimp for WooCommerce plugin.
If you are new to either WordPress or WooCommerce you are best to use official plugins – these will be the most compatible.
The plugin is free but you have to go through the checkout process on woocommerce.com to get the downloadable zip file (a bit stilly I think!).
Install and active the plugin in your WooCommerce website.
That means, from your WordPress admin dashboard, navigating to Plugins > Add New, clicking on the “Upload Plugin” button at the top left of the screen and selecting the downloaded zip file.
Step 4 – Configure the Mailchimp for WooCommerce Plugin
You’re almost there! Just a few more settings to configure which connects the plugin with Mailchimp and your Automation list.
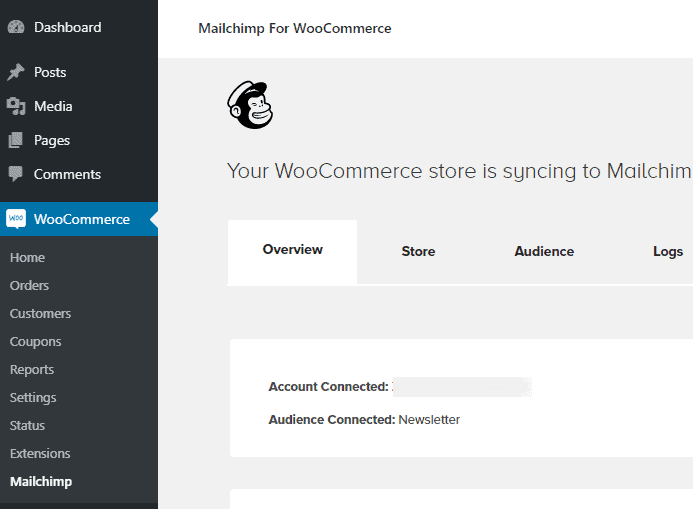
Once installed correctly, you can find the Mailchimp plugin settings at WooCommerce > Mailchimp
Follow the setup process.
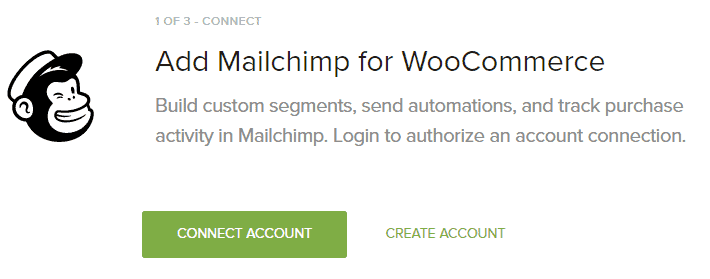
It says it’s a three-step process but there are really six steps to it!
First you need to connect Mailchimp with WooCommerce.
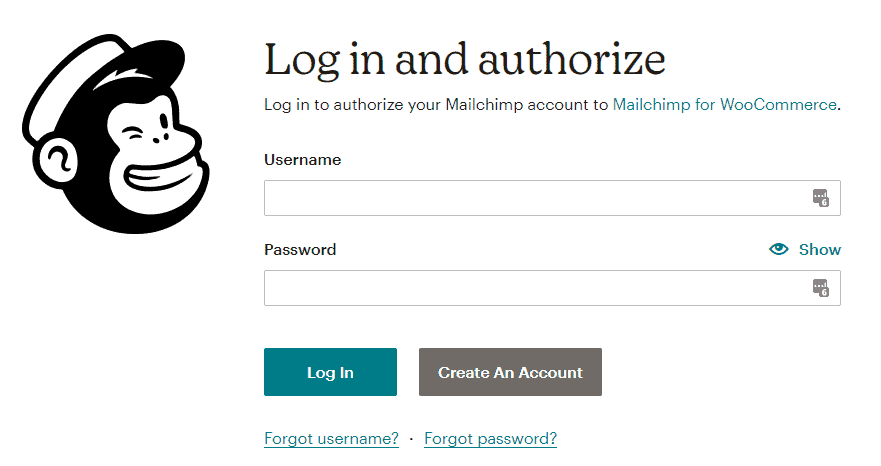
Next, log in to Mailchimp with your username and password.
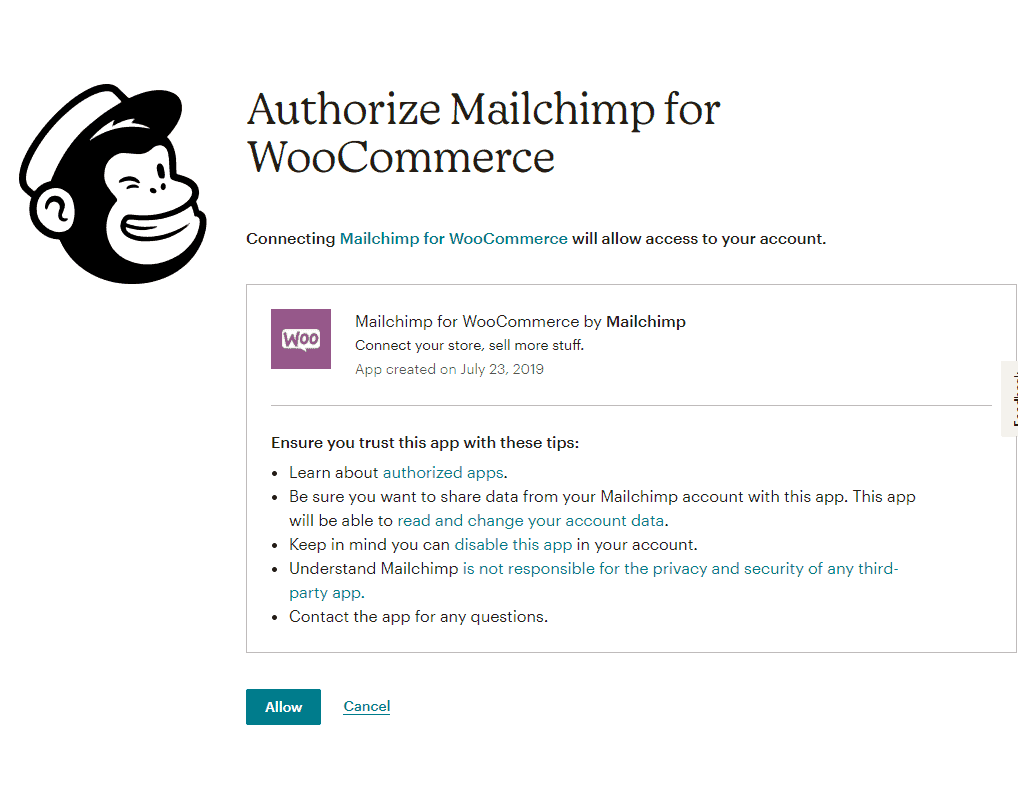
Confirm that you want to authorise the connection.
Add some WooCommerce store information.
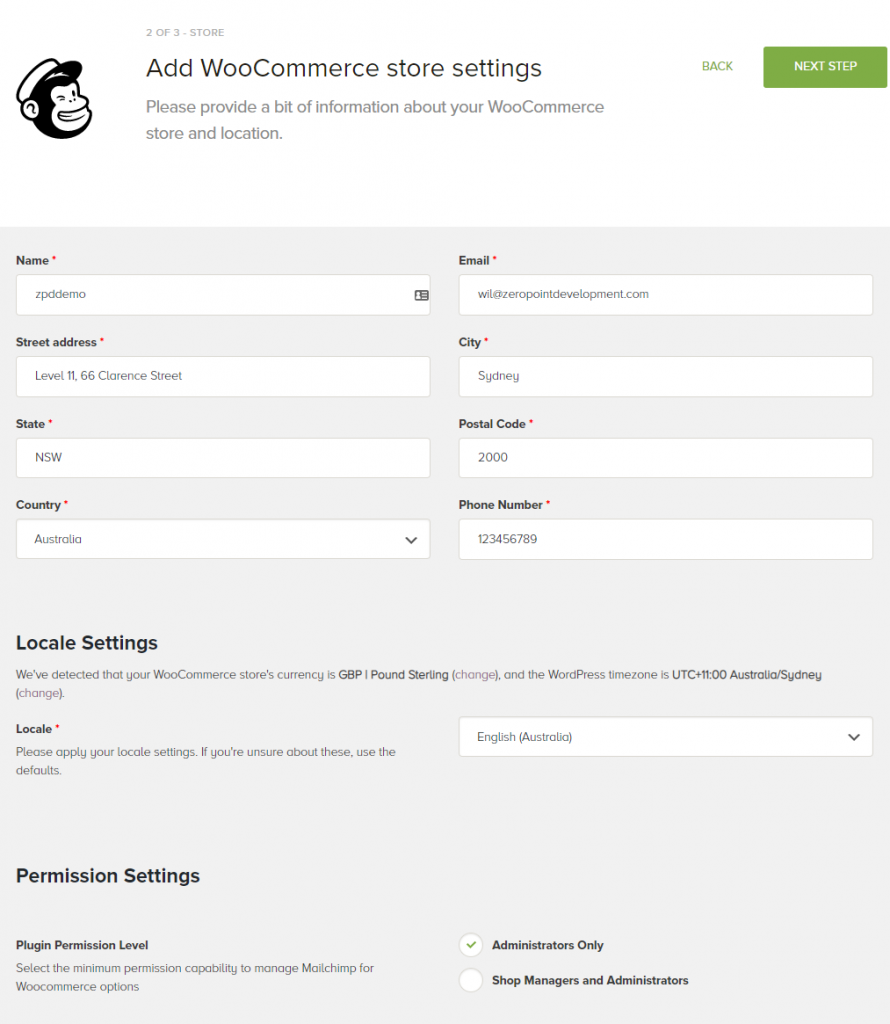
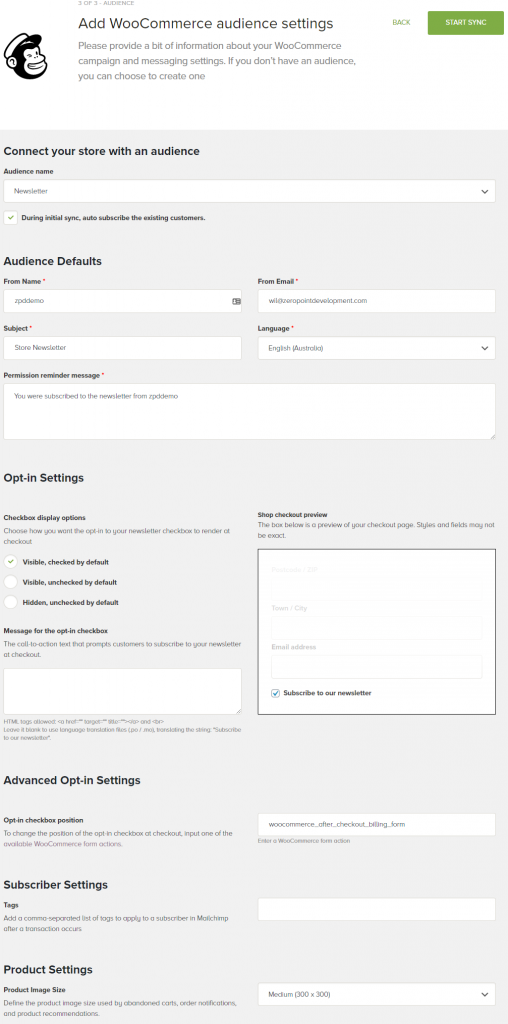
Then add some audience settings.
This is the part where you choose the Audience name (the email list), you created when setting up Mailchimp.
In the screenshot below, the Audience name is “Newsletter” but yous will be called “WooCommerce Customers” or whatever you renamed it to.
You have a choice of how you present the opt-in to customers.
- Visible, checked by default (the default option)
- Visible, unchecked by default
- Hiddeb, unchecked by default
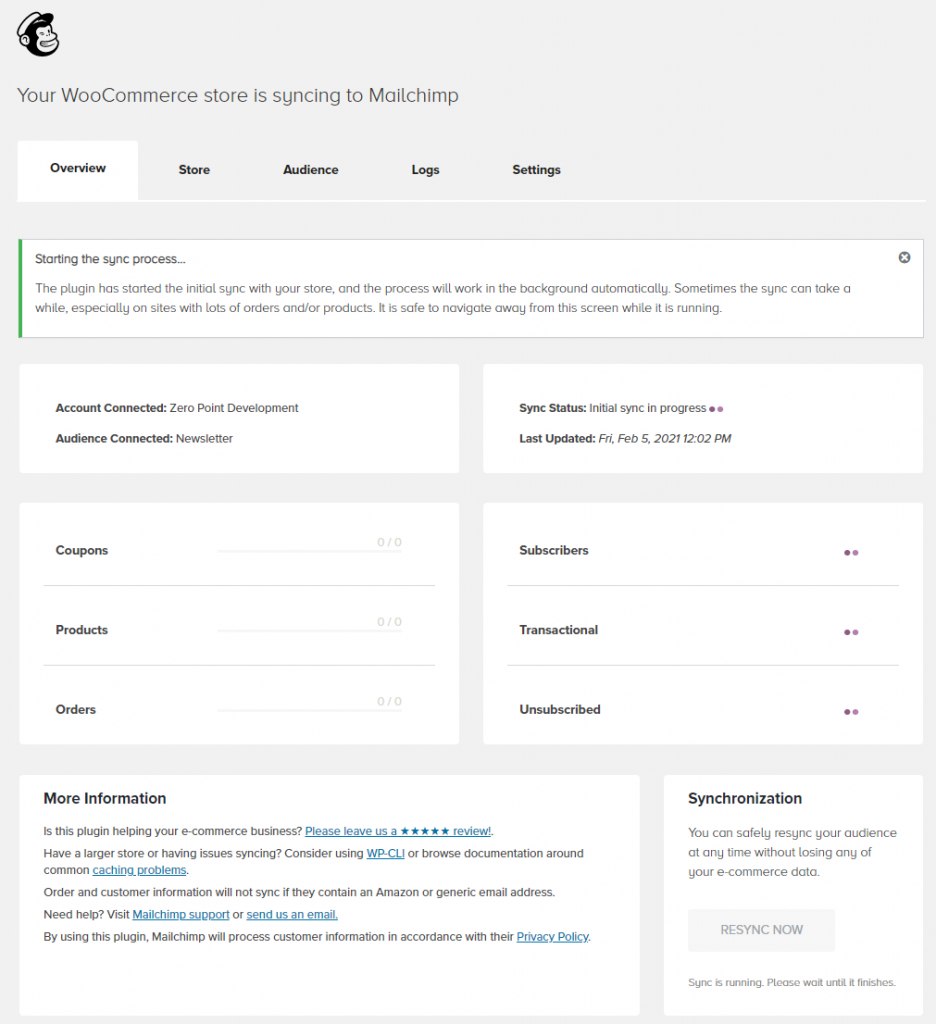
After saving your setup, everything is complete and new customers now have the option to opt-in to your email list on Mailchimp.
Step 5: Test Your Checkout Process
Whenever configuring or altering your WooCommerce shop setup, it’s always a good idea to check the workflow to make sure everything is working as you excpect.
Add a product to your cart and visit the checkout.
You should seee the email list opt-in.
In the screenshot below, you can see the “Subscribe to our newsletter” opt-in checkbox, checked by default as per the Mailchimp for WooCommerce plugin settings.
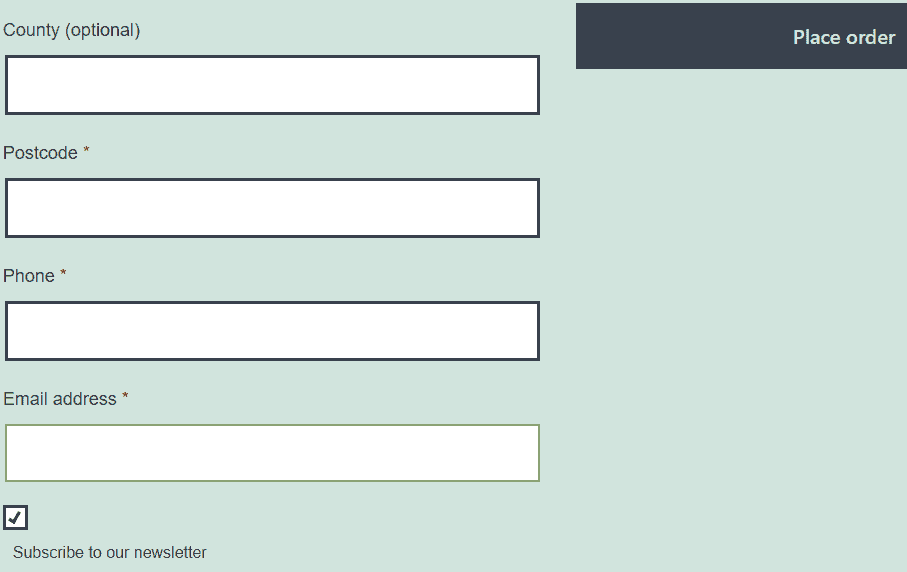
If customer don’t uncheck the opt-in box, their details will be added to your Mailchimp Audience email list when the complete the purchase.
The Next Step
Once you have mastered this step, you can progress to more advanced Contact Relationship Managers (CRMs).
An advanced way of automating email is to use tagging.
Tagging allows you to add tags to new or exising customers in your CRM or email marketing platform.
You can then create an automation campaign based on tags added or removed.
Example, if a customer purchased a T-shirt from your shop, their CRM account gets tagged with “T-Shirt”.
You have already created an email automation which looks for new T-Shirt tags which don’t have a “Shorts” tag.
It then sends out an email to those customers letting them know that you have a fantastic range of shorts to go with their new T-Shirt purchase.
Welcome to the wonderful world of email marketing automation!
