I closely examine blueprints in Local (Flywheels’ local dev platform) and how you can use them as quick-deploy site templates for client projects.
What Is Local?
Local is a desktop app from hosting company Flywheel, and it’s currently the best way to run a WordPress development environment on your local machine.
You can watch the WordPress Sydney meetup from September 2021 for a more in-depth run-through of the product https://www.youtube.com/watch?v=R-jjf-fBpDk.
What Are Blueprints?
Blueprints are copies or clones of an existing WordPress site setup.
The idea is that you configure a WordPress website once, save it as a blueprint and then use the blueprint to spin up a new website.
This saves you a heap of time not installing the same plugins and configuring theme and site settings.
Setting Up A Blueprint – Step 1: New Website
If you’re new to Local, it doesn’t come with any blueprints, so you will have to create one.
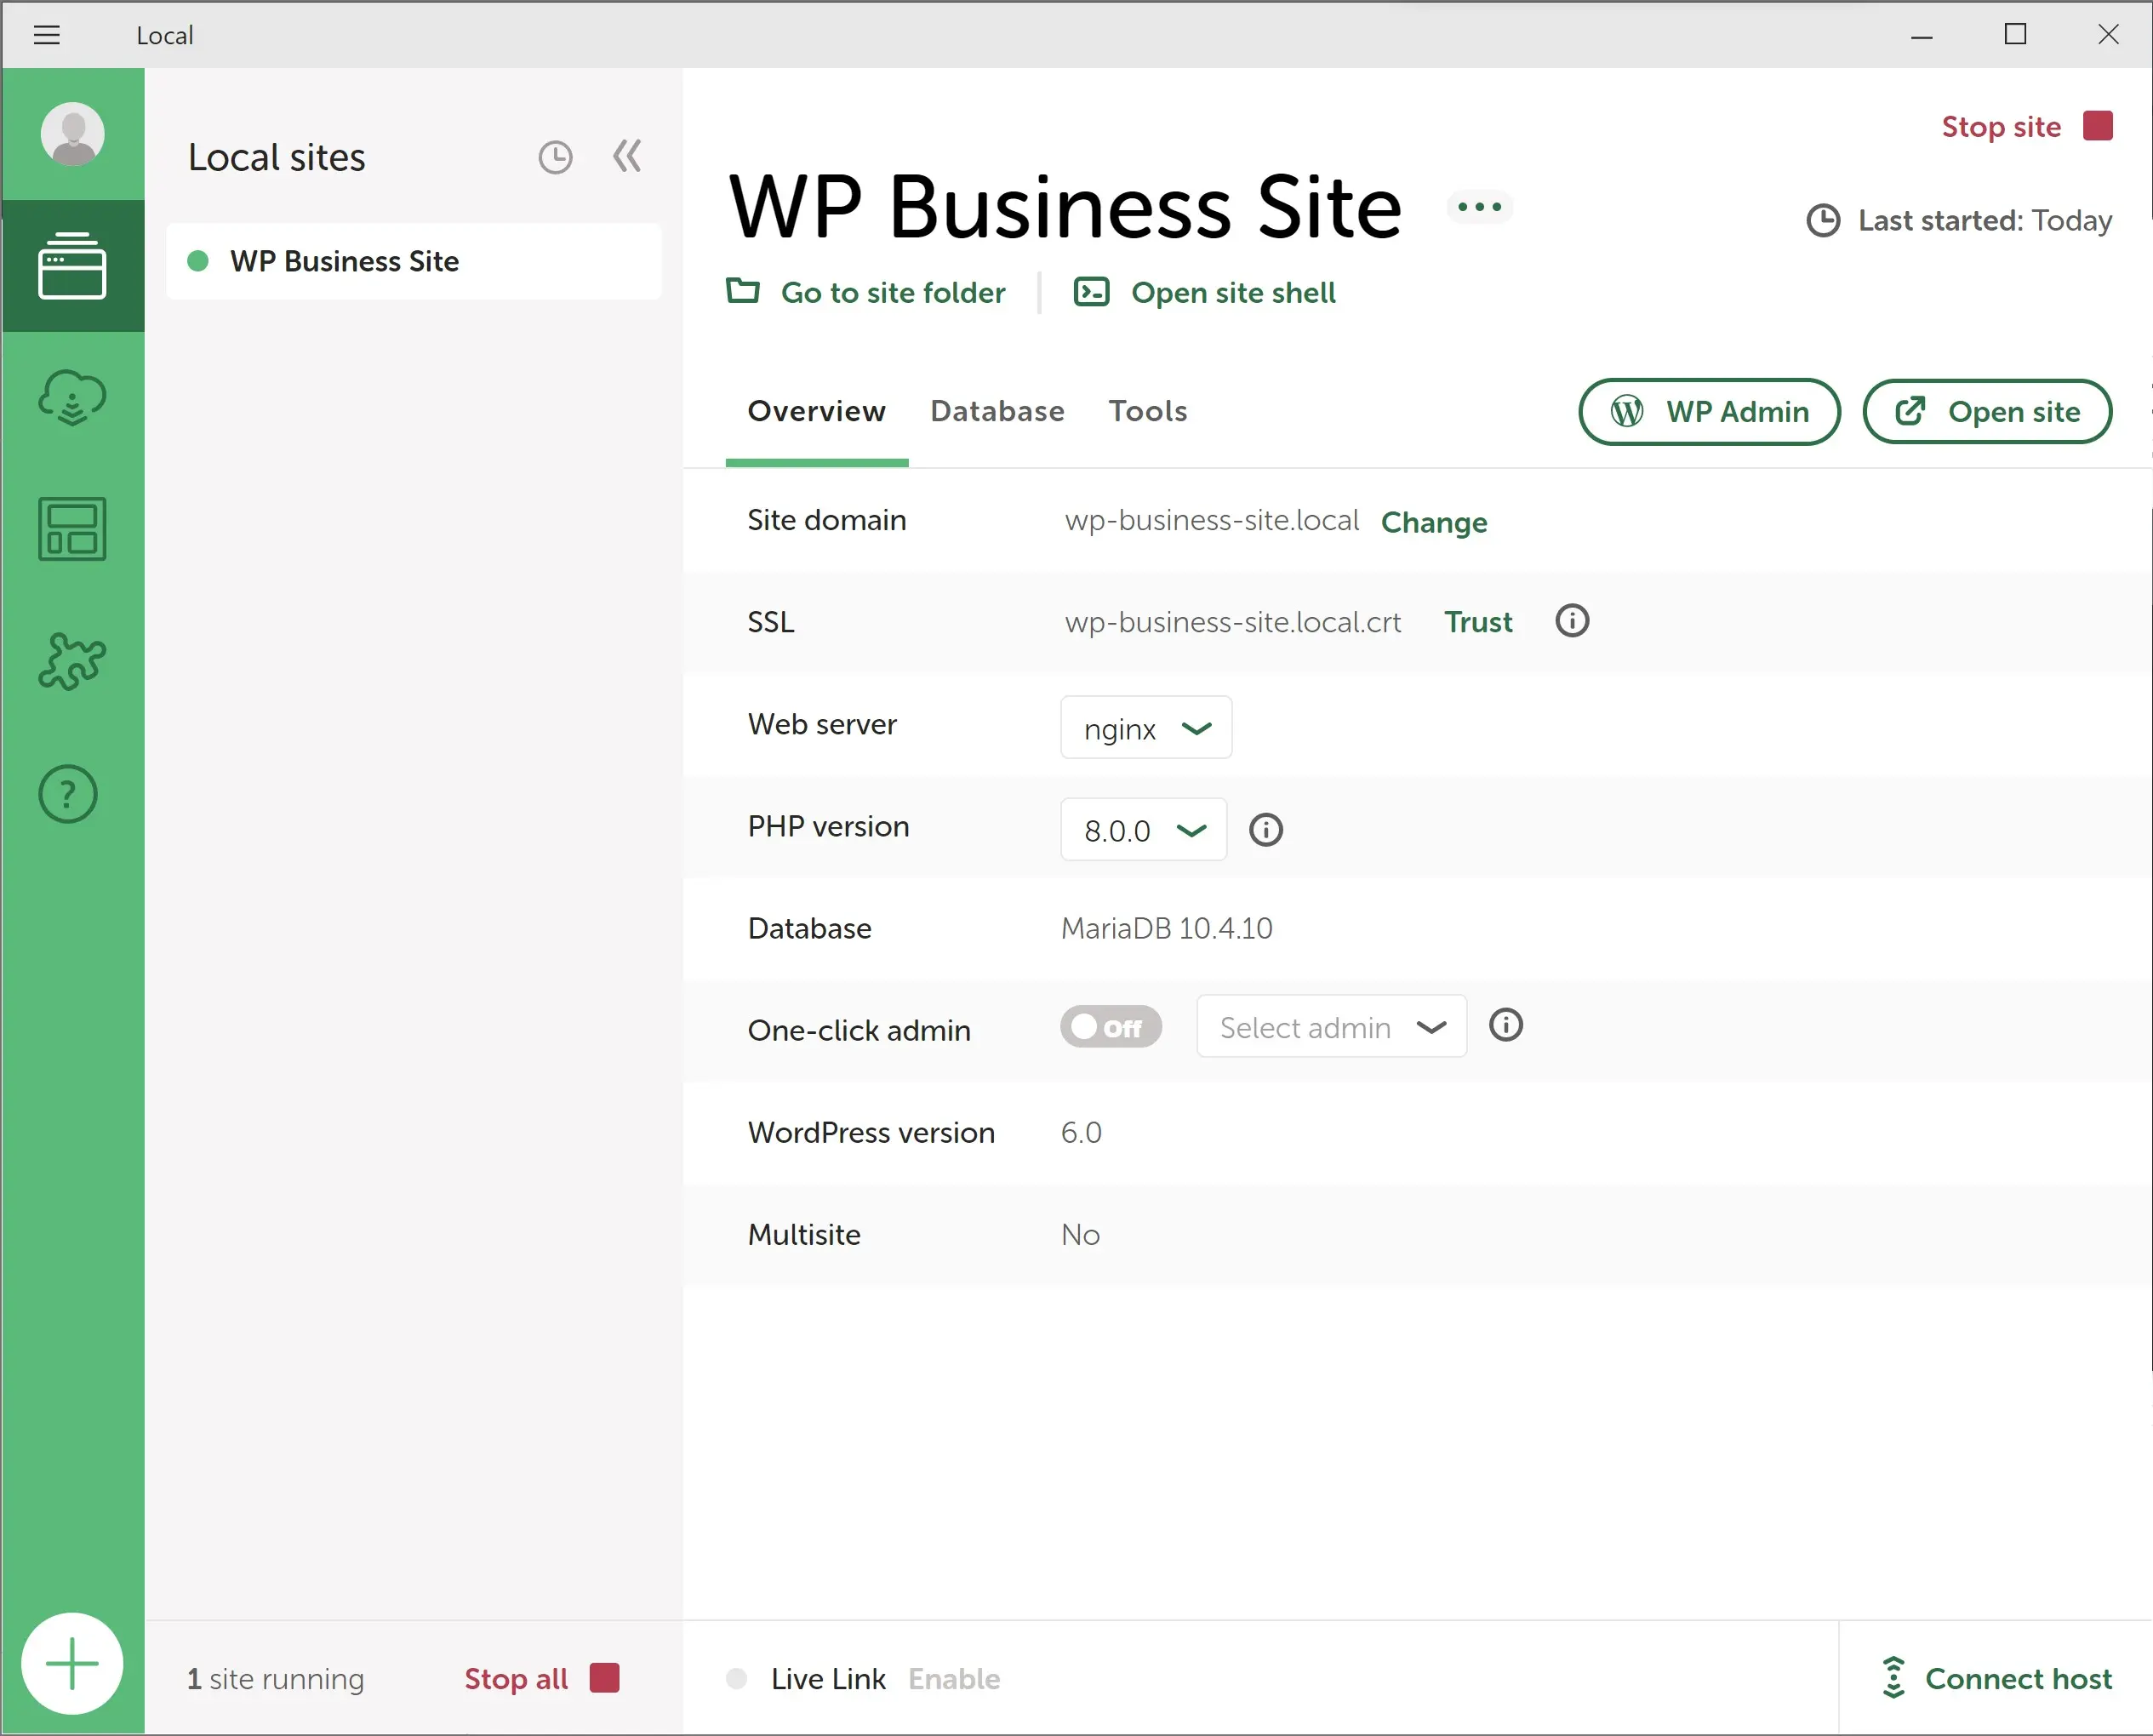
The first step is to spin up a new website inside Local. This is pretty simple to do.
Ensure you get the environment right for your clients; PHP version 7.x or 8.x, Web Server nginx or Apache and database version MariaDB or MySQL.
You can import an existing site you have, but that’s a little more work, and I’m not going to cover that in this WPQuickie.
Setting Up A Blueprint – Step 2: Configure Website
Step 2 is to configure all your WordPress settings – remember to set registration type, new user default role, site language, and timezone and make sure permalinks are set to how you like them.
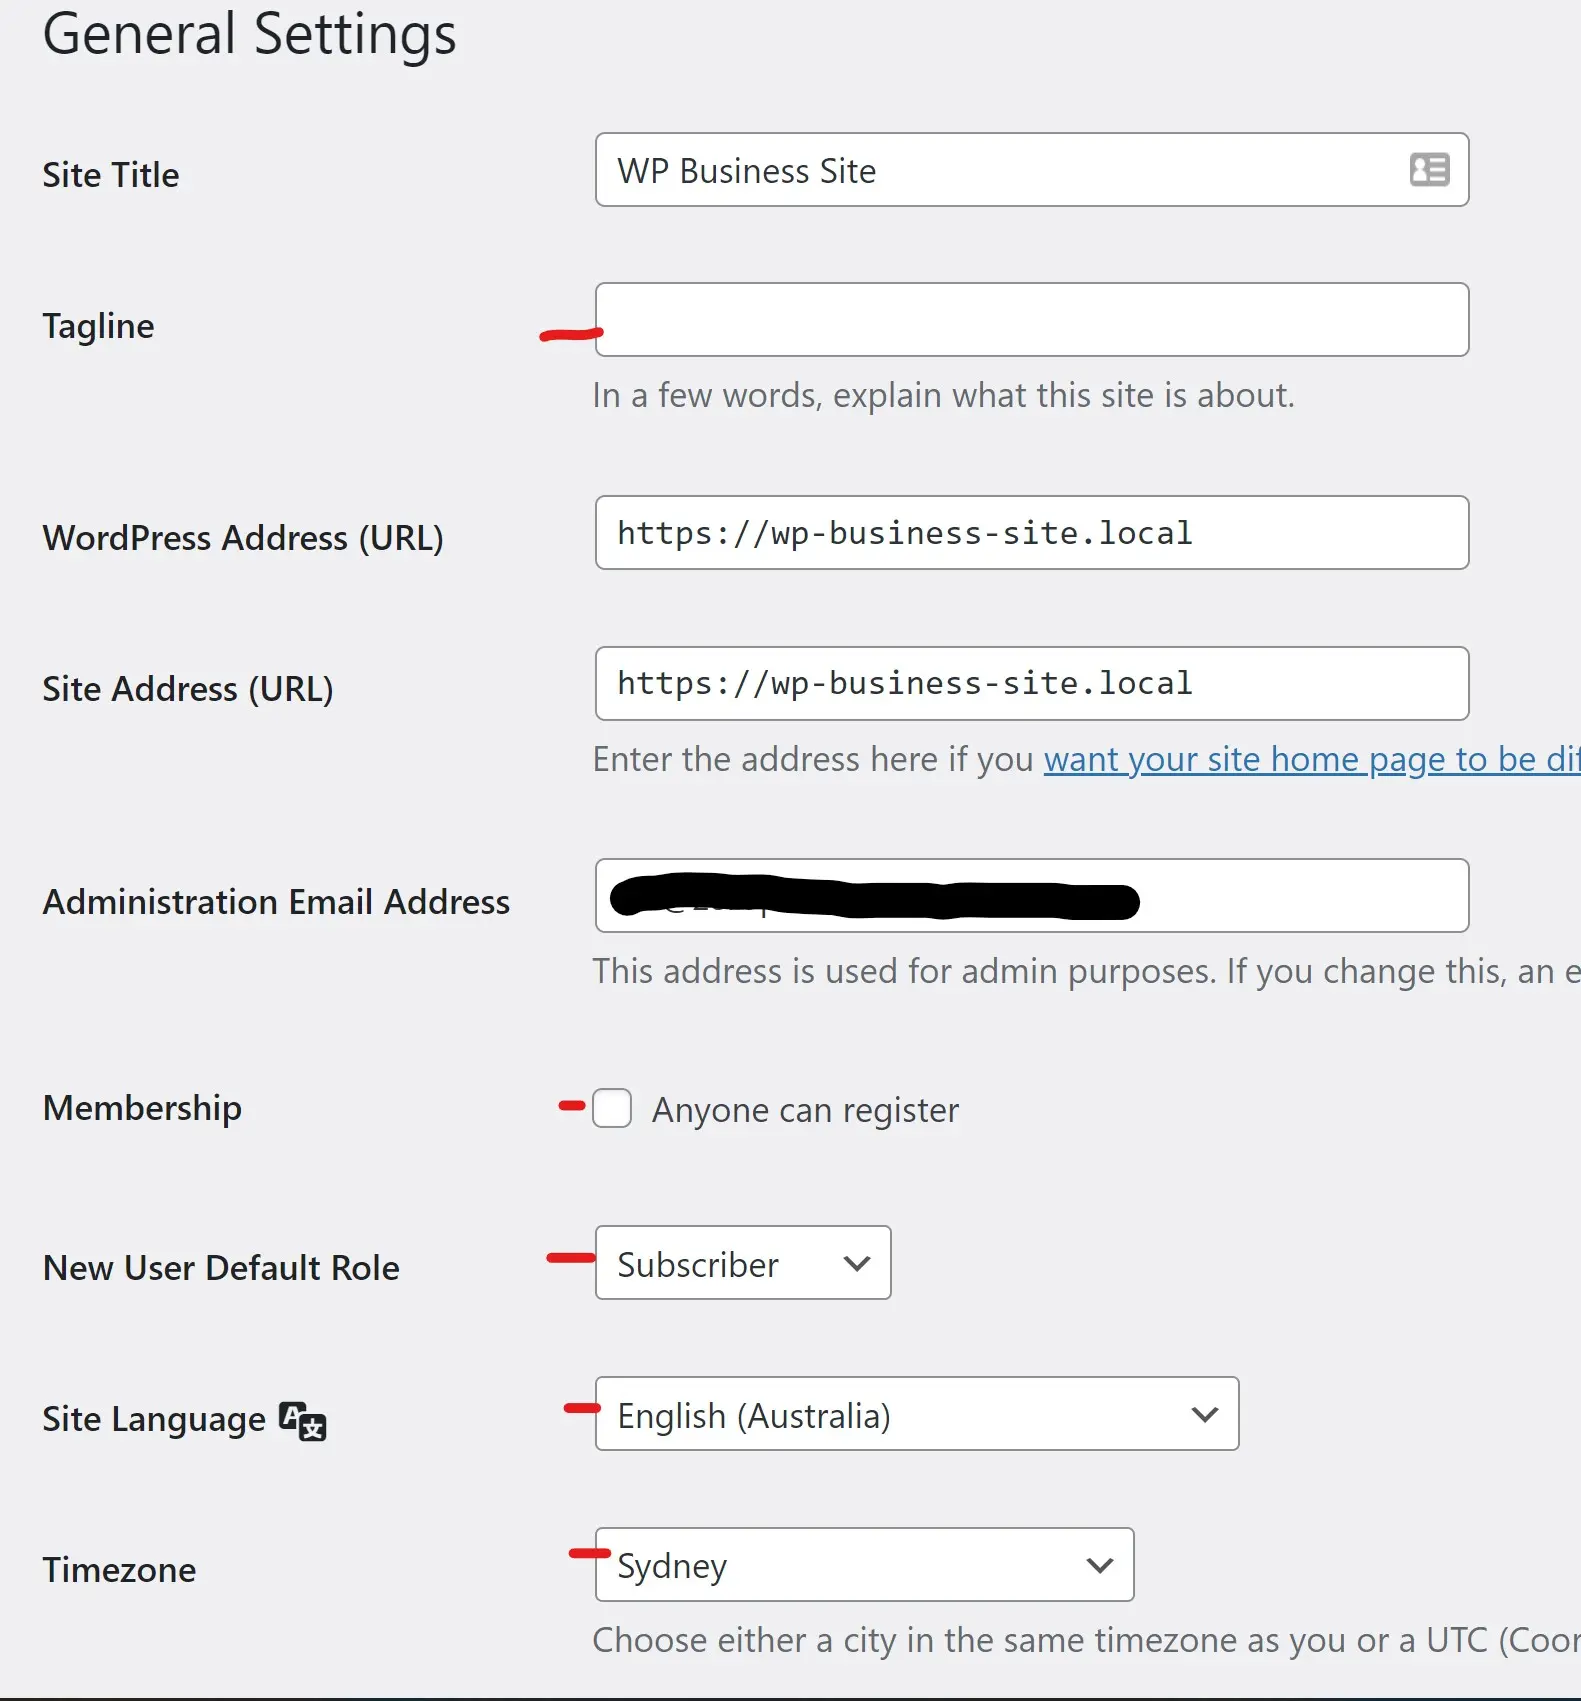
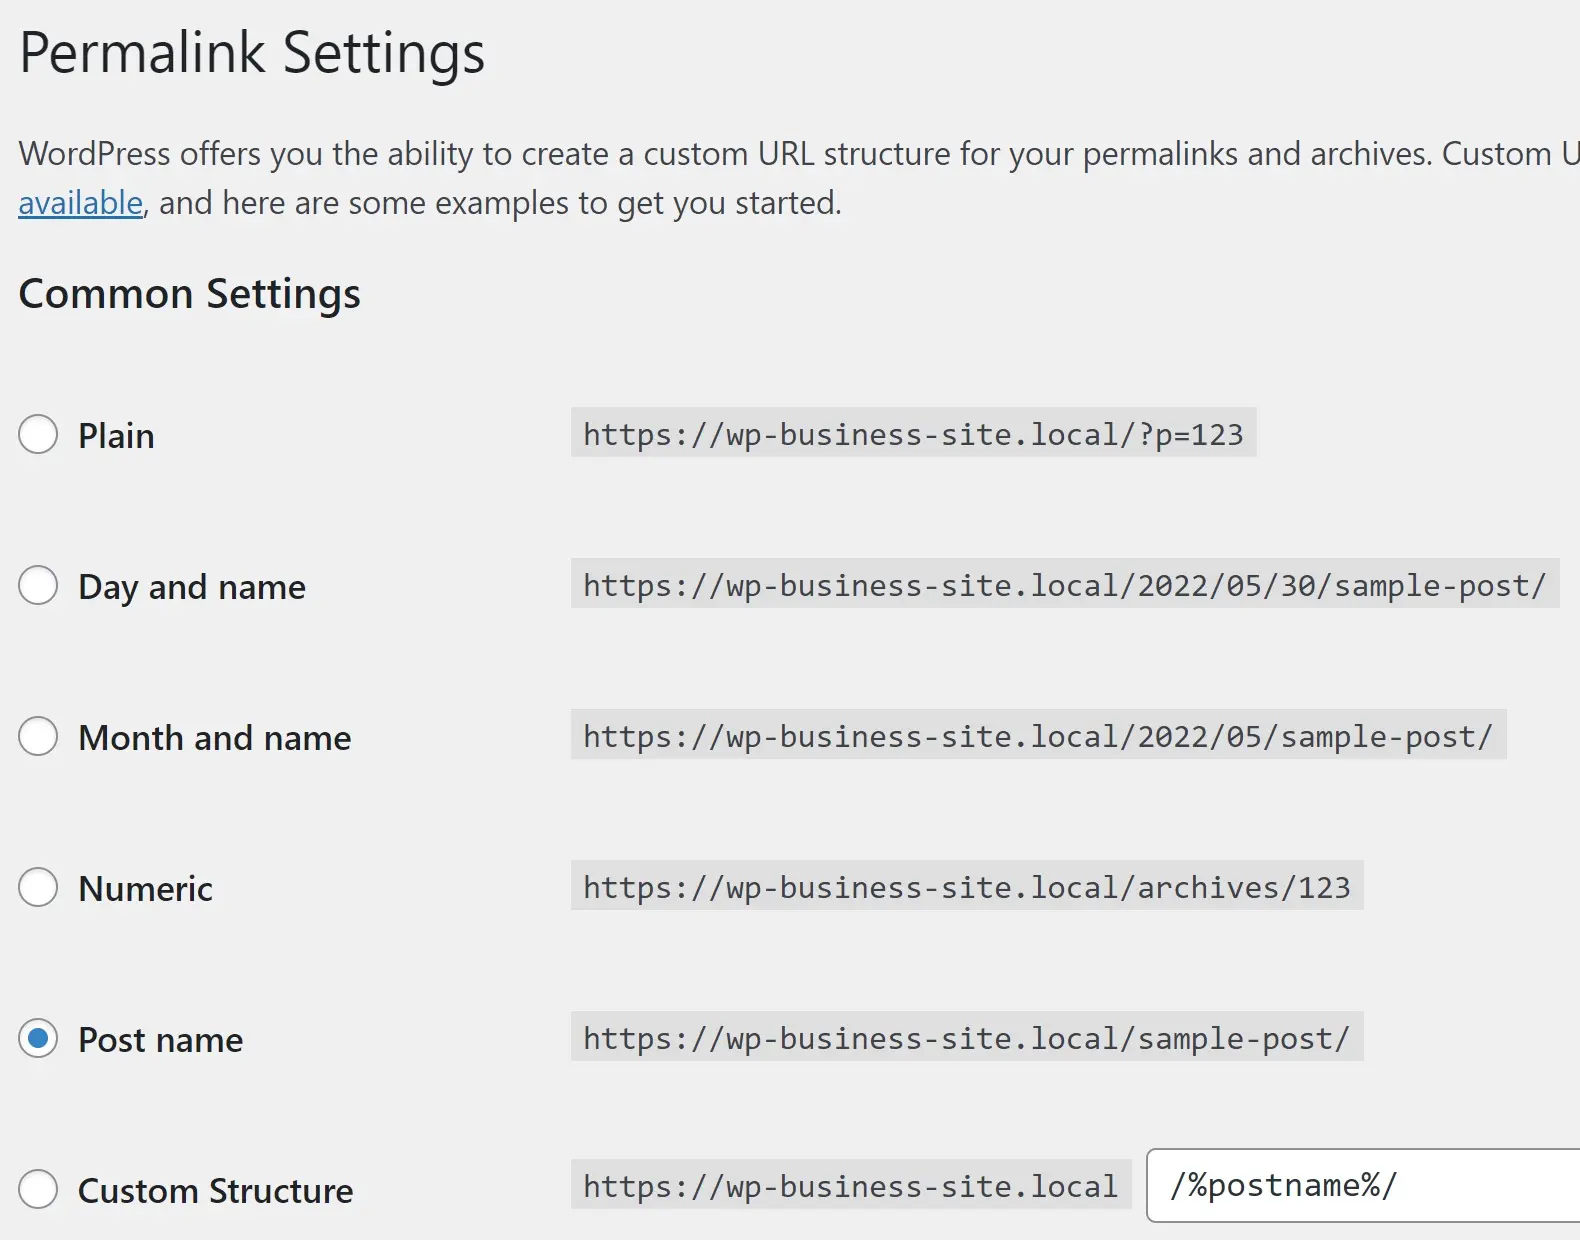
I always choose the post name for my permalink structure.
Setting Up A Blueprint – Step 3: Theme & Plugins
Step 3 is to install and configure your theme and your base set of plugins.
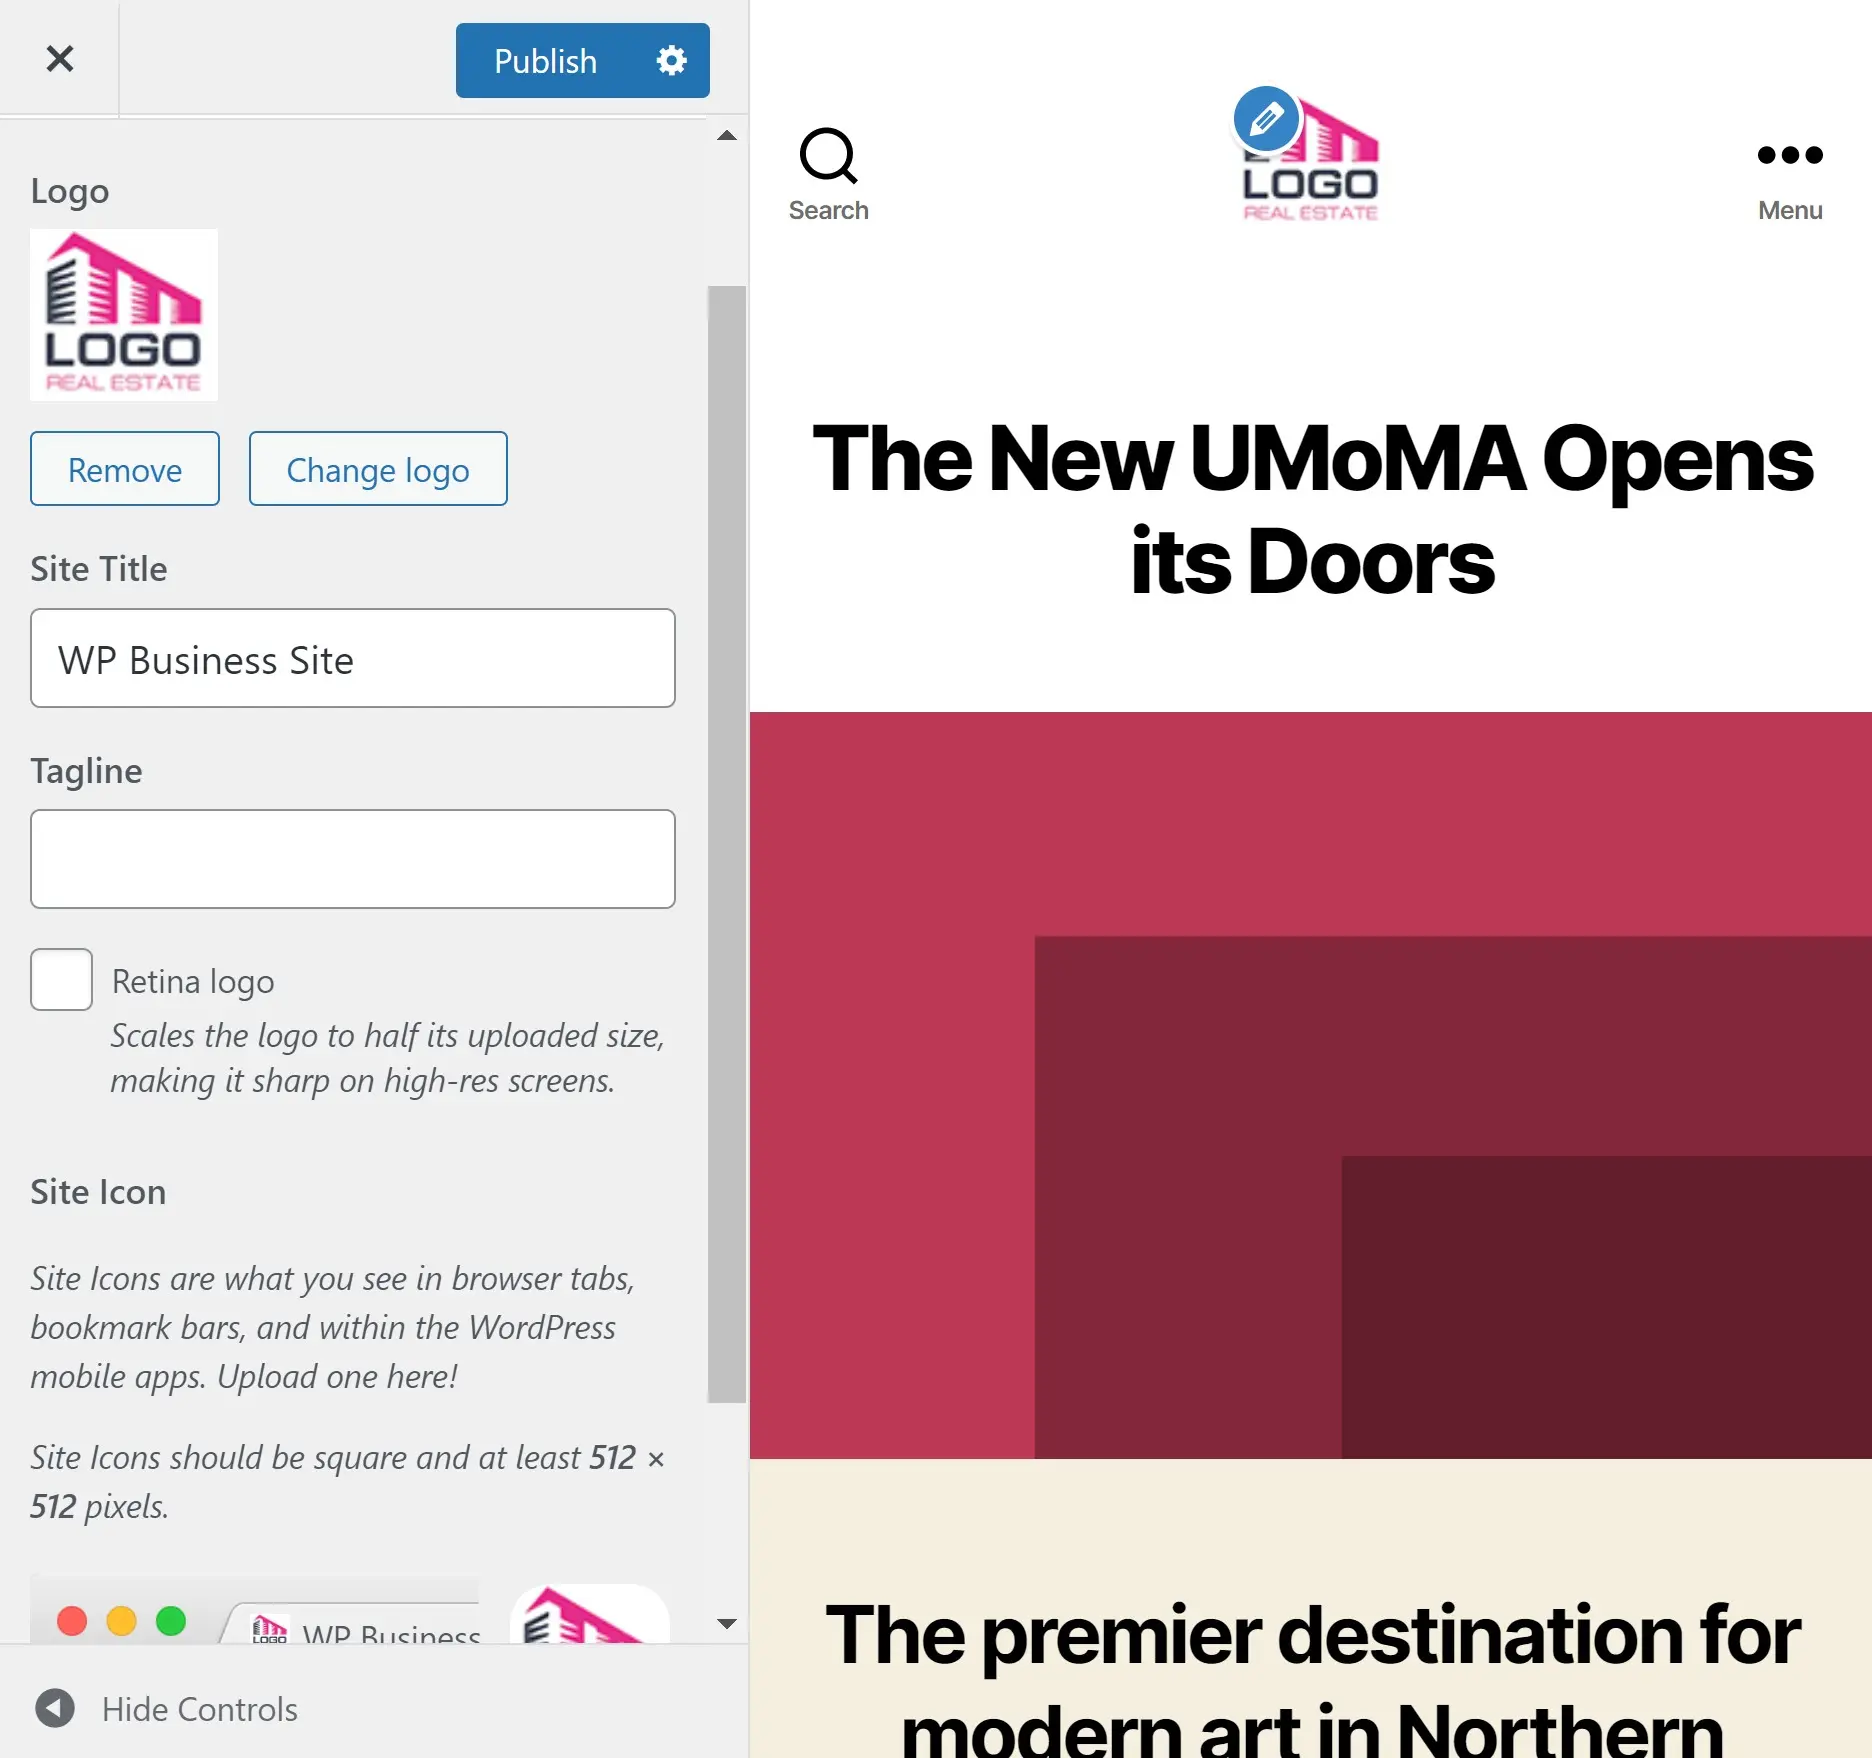

Don’t change client-dependent settings – just general theme and plugin settings.
For example, you could set up WooCommerce language, currency and payment gateways that you’d use with your test accounts.
Create A Blueprint
When you are happy that you’ve configured your WordPress website as much as possible without entering client-specific information, you’re ready to save the blueprint.
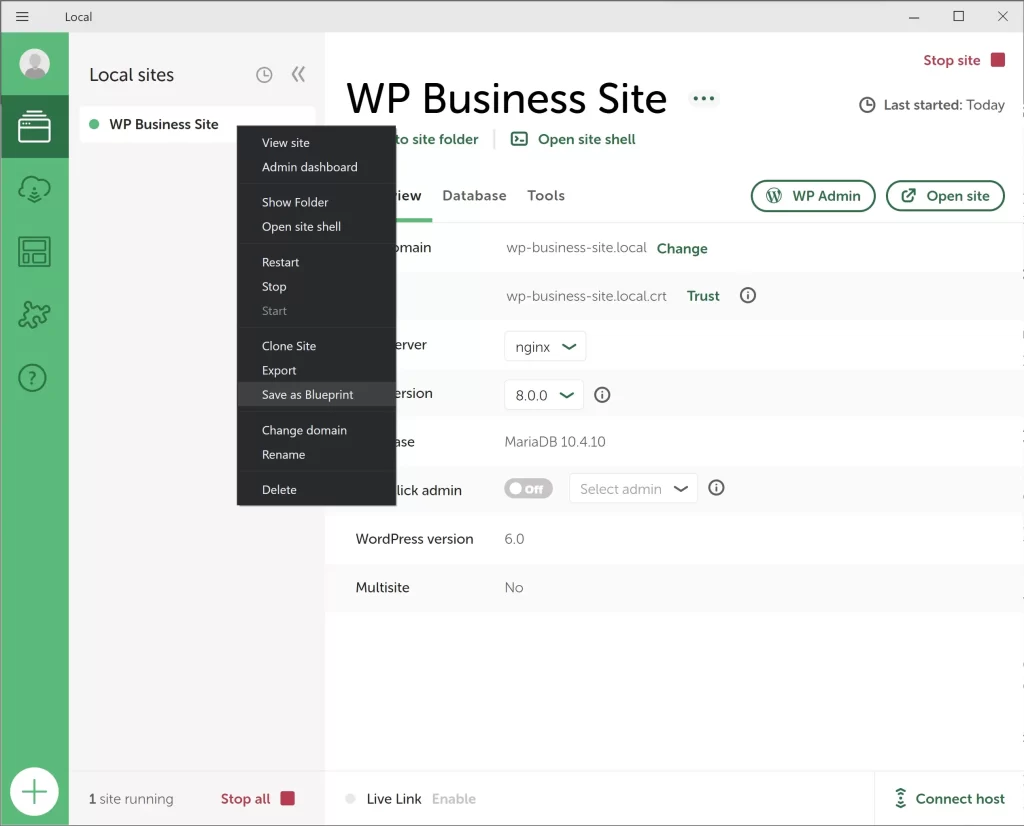
In Local, right-click on the WordPress website name and select “Save as Blueprint”.
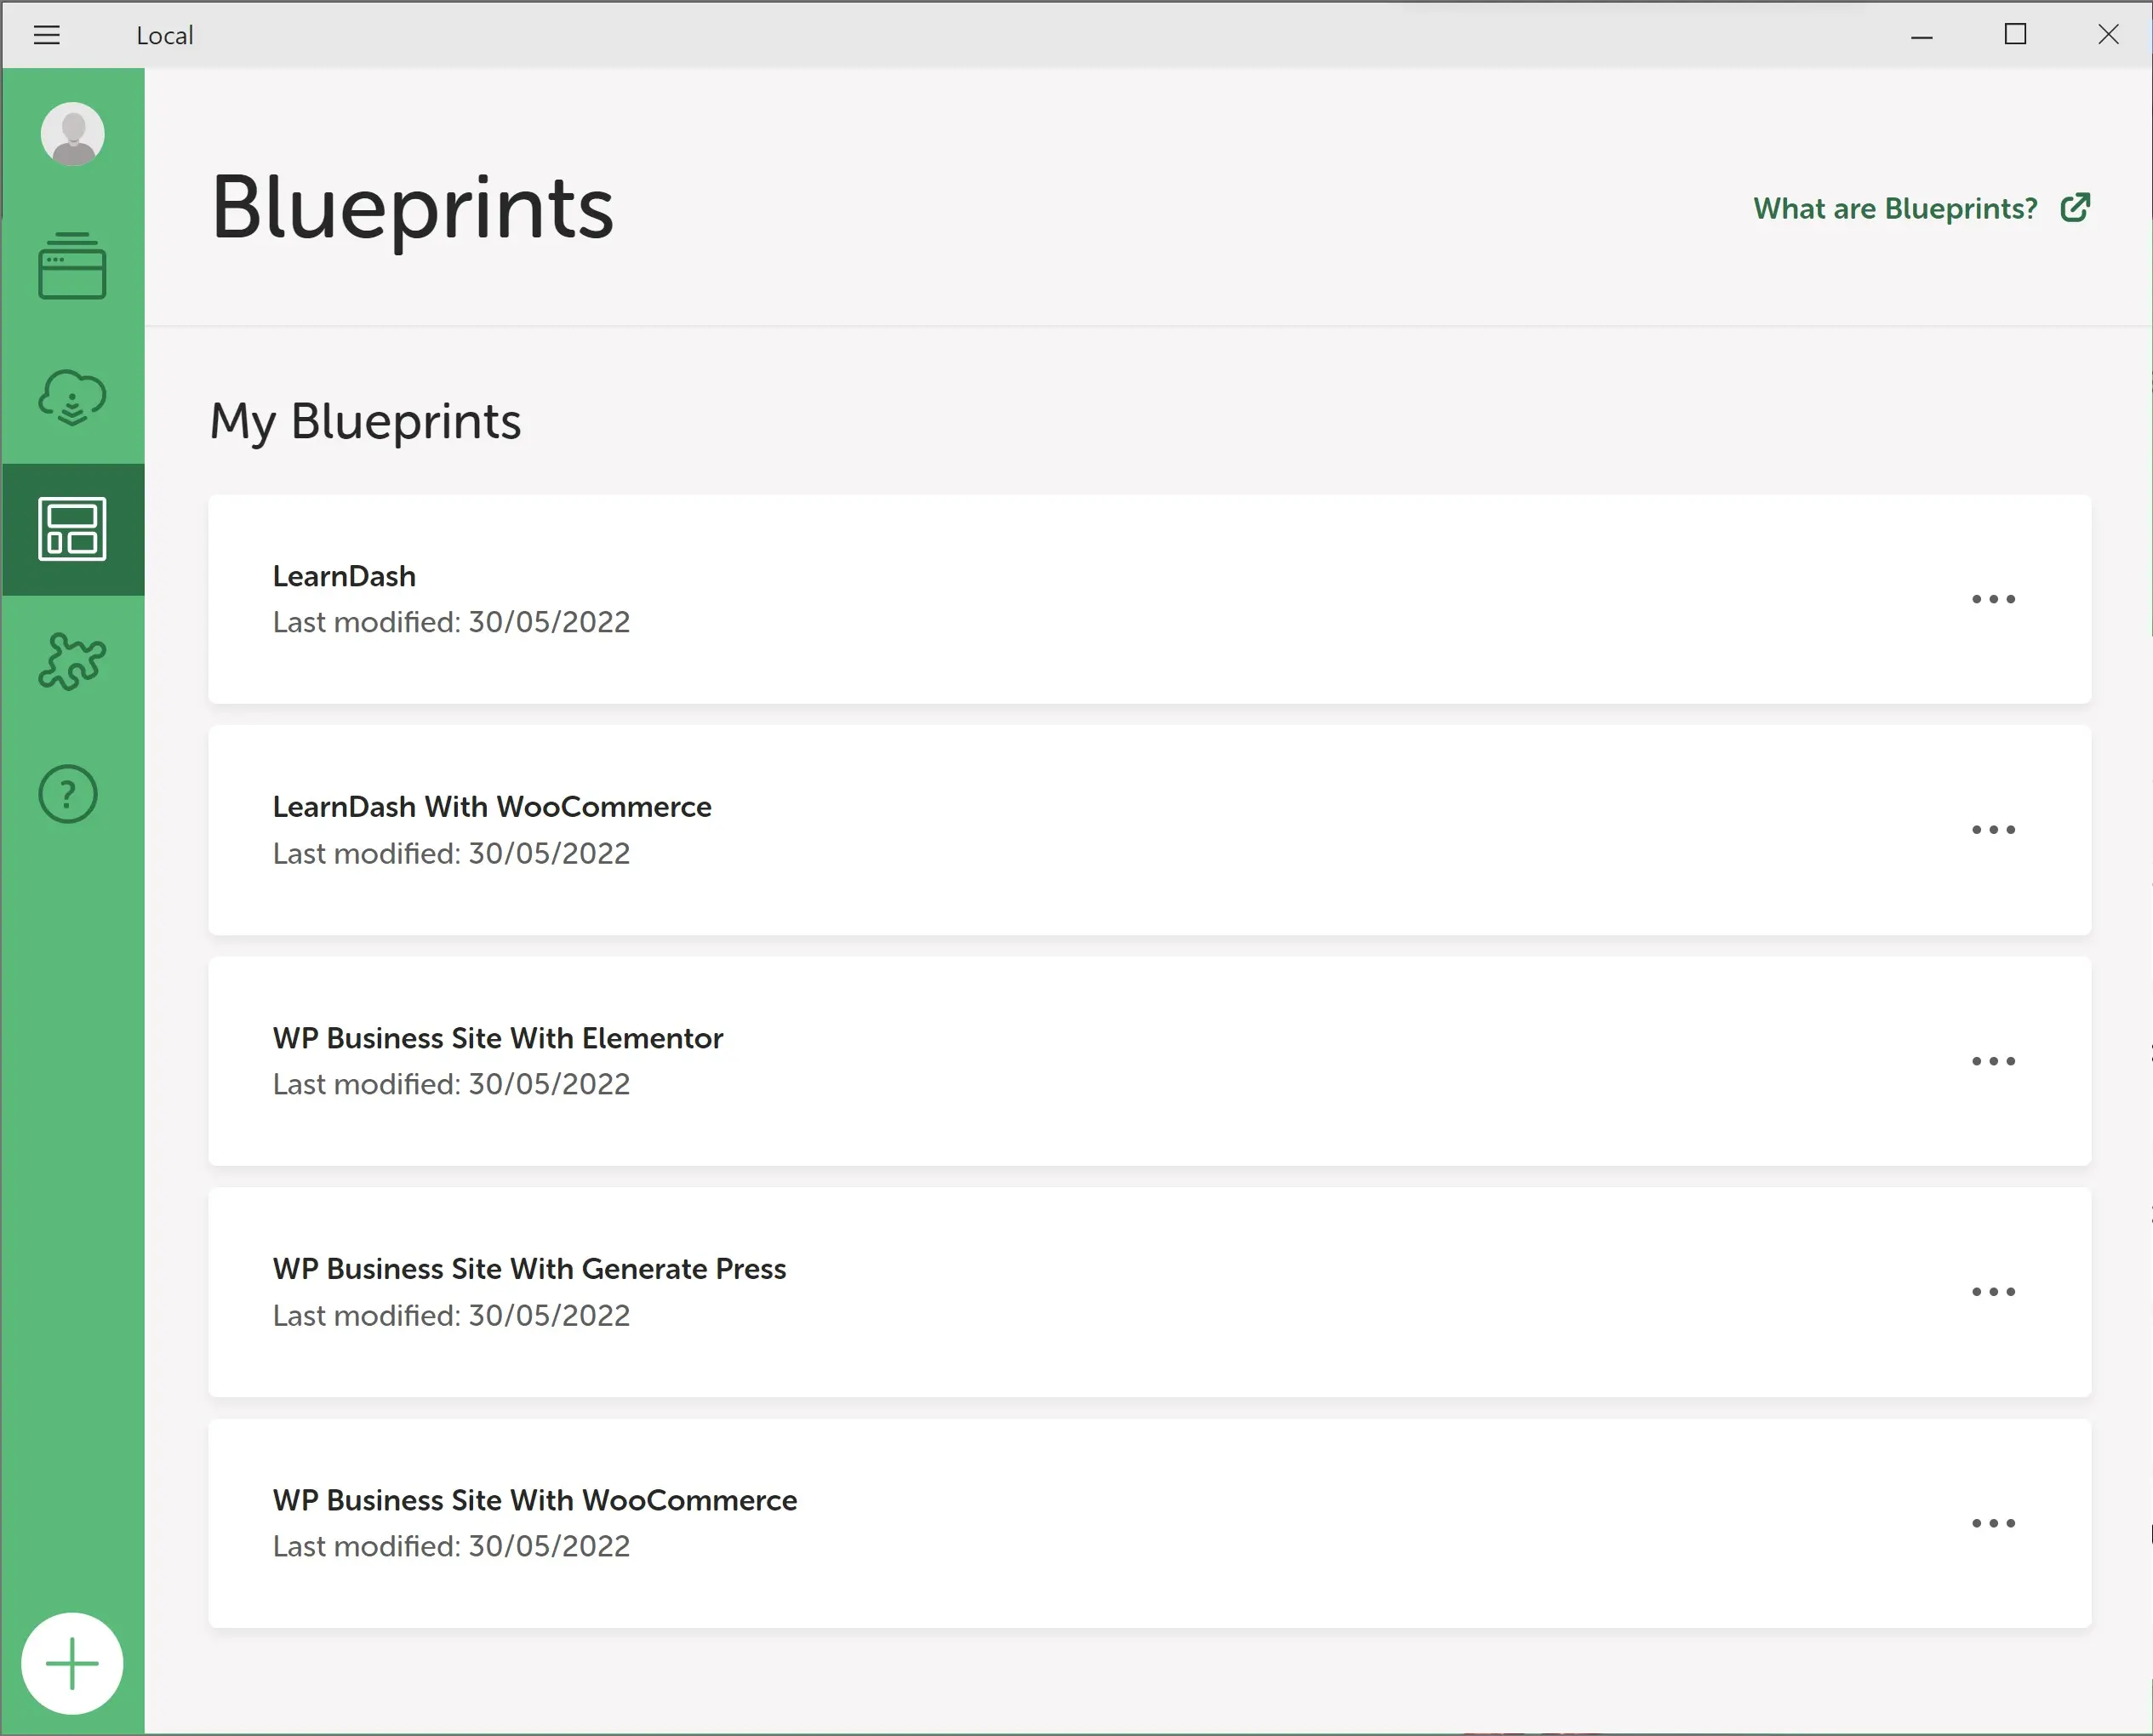
You can then click on the blueprints icon to check that your blueprint has been saved.
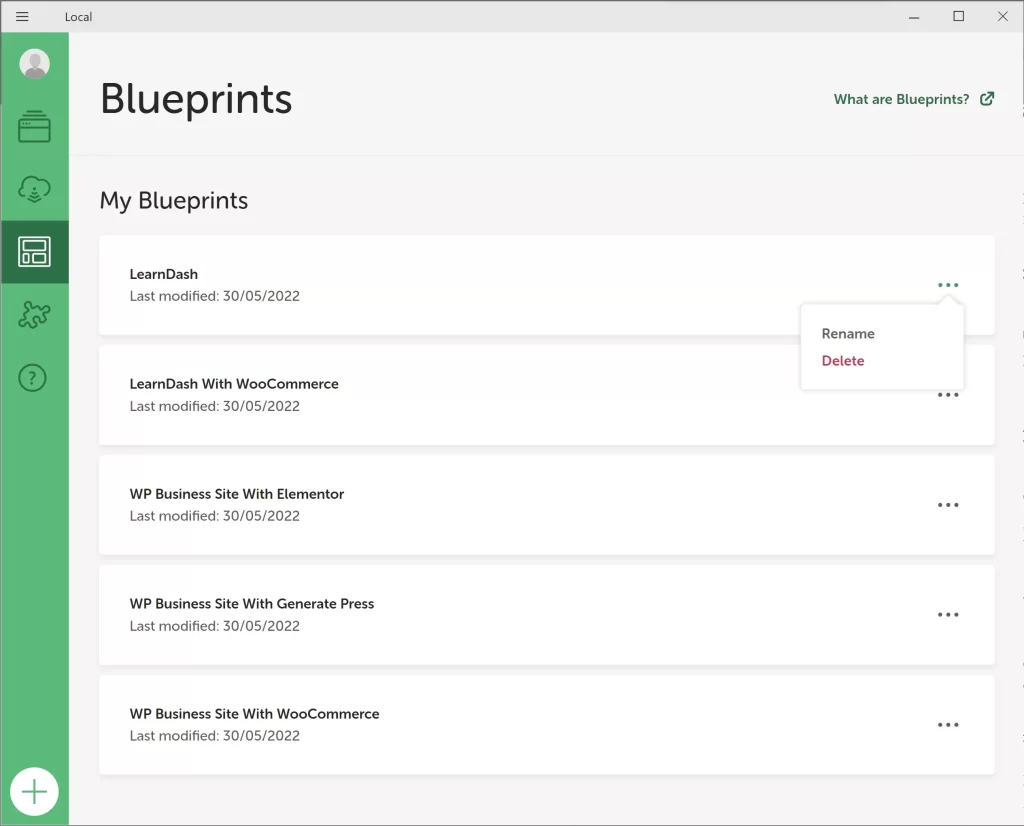
You can rename your blueprints by clicking on the three horizontal dots to the RHS, allowing you to delete a blueprint.
Using a Blueprint
Using a blueprint is super easy.
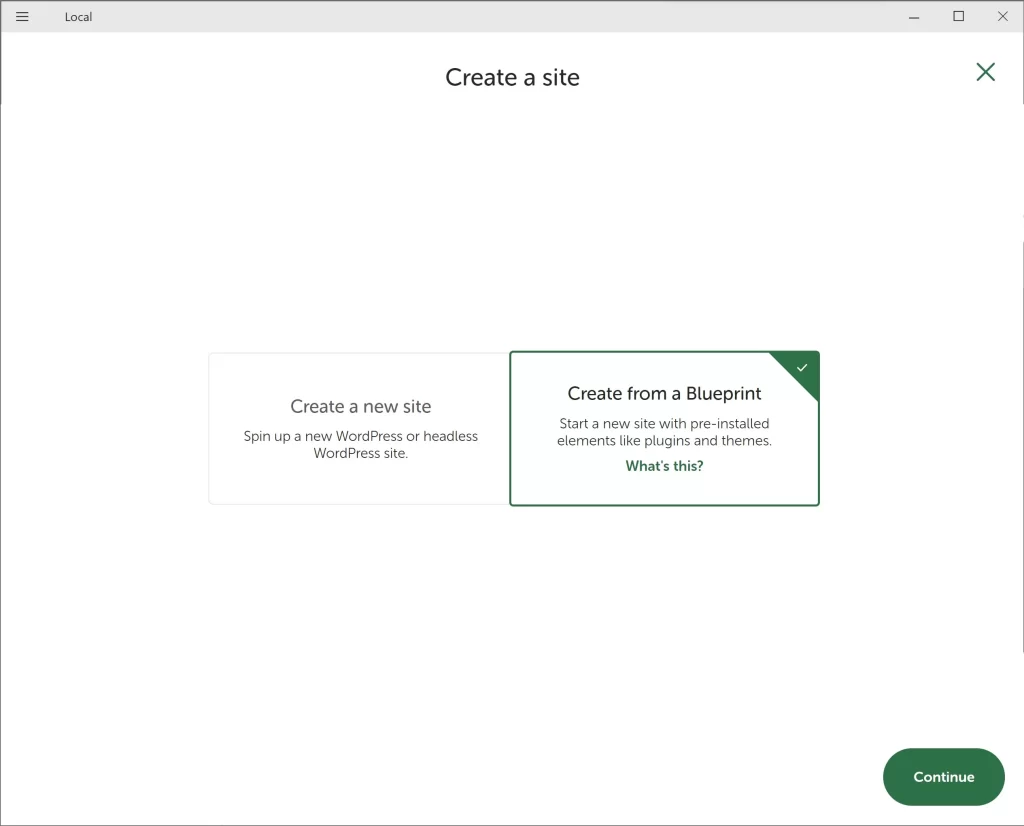
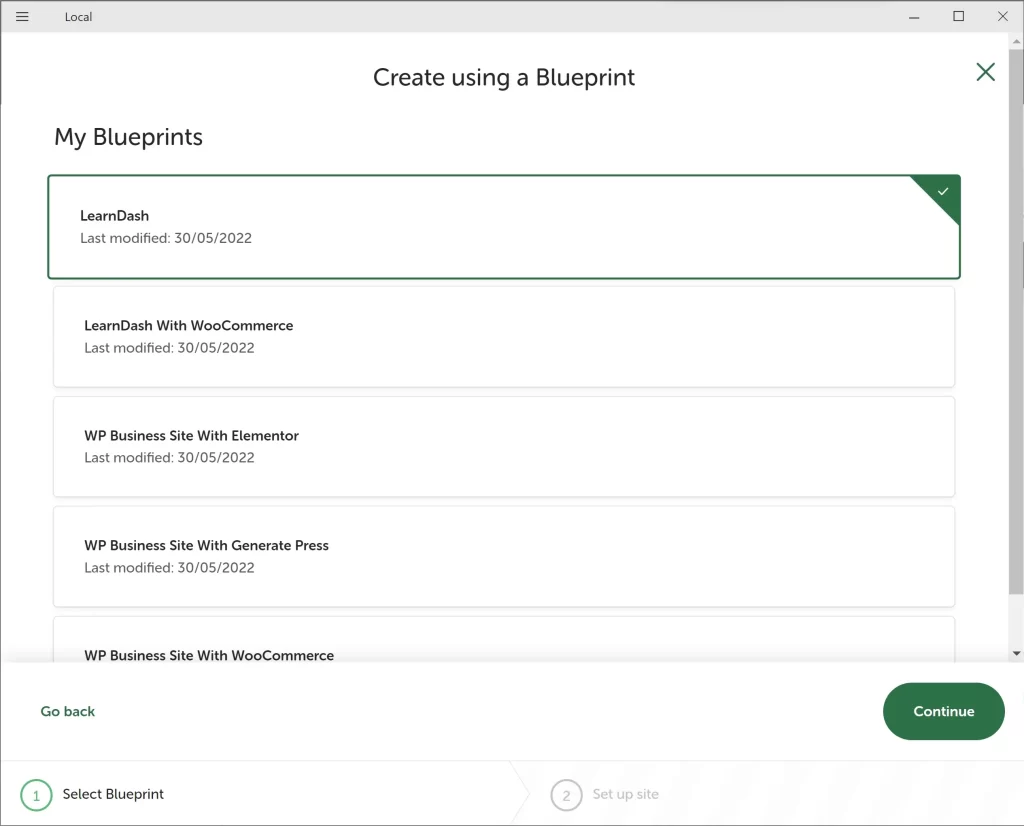
When creating a new local website in Local, if you have blueprints saved, you will see a new option to “Create from a Blueprint”.
Select the blueprint you need and click on continue – it’s that simple!
Updating a Blueprint
What happens when your blueprint gets outdated, and you need to update it?
Follow the previous instructions to create a new local website using the blueprint.
Login to that local site and make any updates you need.
Save as a new blueprint.
You can then delete the old blueprint and rename the new one back to the old blueprint’s name.
Summary
That’s my quick introduction to Local blueprints.
Using blueprints saves you a lot of time booting up a new client website, especially if you are repeatedly creating the same types of websites.
#WPQuickies
Join me every Thursday at 1 pm Sydney time for some more WPQuickies – WordPress tips and tricks in thirty minutes or less.
Broadcasting live on YouTube and Facebook.
Suggest a #WPQuickies Topic
If you have a WordPress topic you’d like to see explained in 30 mins or under, fill out the form below.
https://forms.gle/mMWCNd3L2cyDFBA57
Watch Previous WPQuickies
-

How To Reduce TTFB and Improve Page Load Speed
-
Get Data From Multiple Tables Using SQL
-
How To Move WordPress To Another Web Host – WPQuickies
-
Who Owns WordPress? – WPQuickies
-
Will Page Builders Replace Web Designers & Developers? – WPQuickies
-

WordPress Updates: How Do They Work? – WPQuickies
-
Remove WordPress Header and Footer Using CSS – WPQuickies
-
WordPress Slugs What Are They & How To Change Them – WPQuickies
