In this lunchtime #WPQuickies, I’ll be giving you a tour of ManageWP and showing you how it can be used to manage your own and client websites.
What Is ManageWP?
ManageWP is a Software as a Service application that allows you to manage one or more websites remotely.
Being a SaaS app means that you have to log in to their dashboard and add the websites you want to manage to their service.
You can perform remote site updates, security and more using the various features available, some of which are free, and others are paid upgrades.
ManageWP Free Plan
The free plan allows you to manage unlimited websites remotely.
Some Pro features are disabled, but the core app allows you to update the WordPress core, plugins and themes.
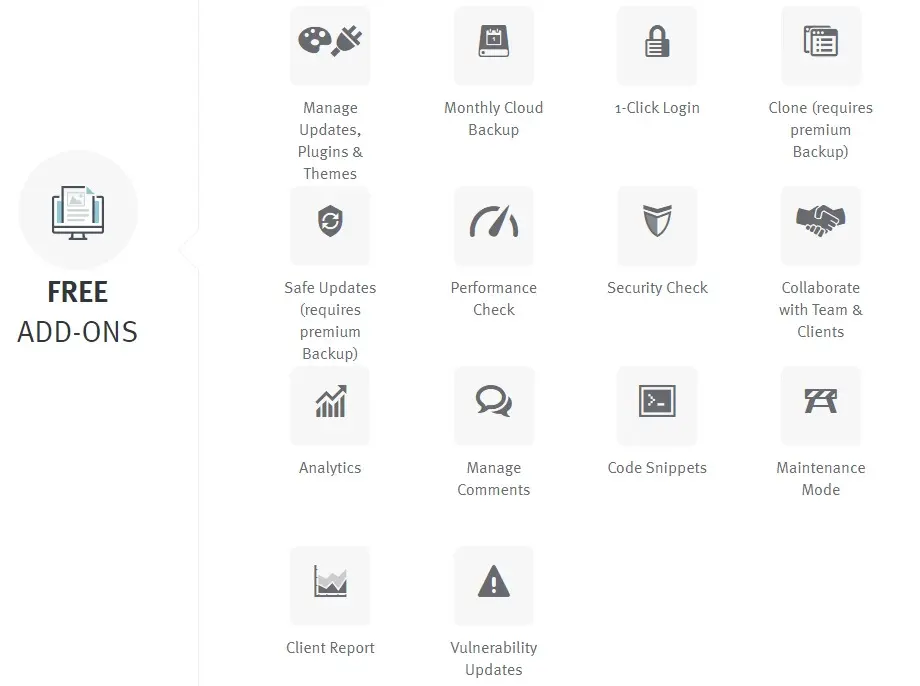
You can see there are quite a few free features available.
Some of these features have limitations, such as monthly, weekly or manual schedules and ManageWP branding.
However, there is enough there for you to remotely manage multiple websites to keep the site up to date and backed up.
ManageWP Premium Features
ManageWP offers two types of premium paid models.
Price Per Feature Per Website
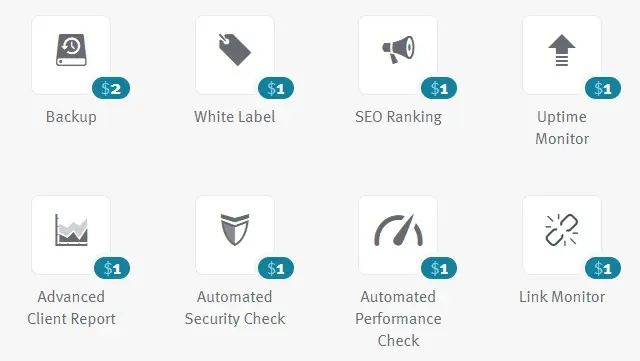
The first premium pricing model, shown above, is a fixed USD $ price per feature, per website, per month.
Paying per feature per website works out relatively cheaply if you only need a few extra features for a few websites.
I’ll go into some of these features in more detail in subsequent slides.
Price Per Feature Bundle Per Month
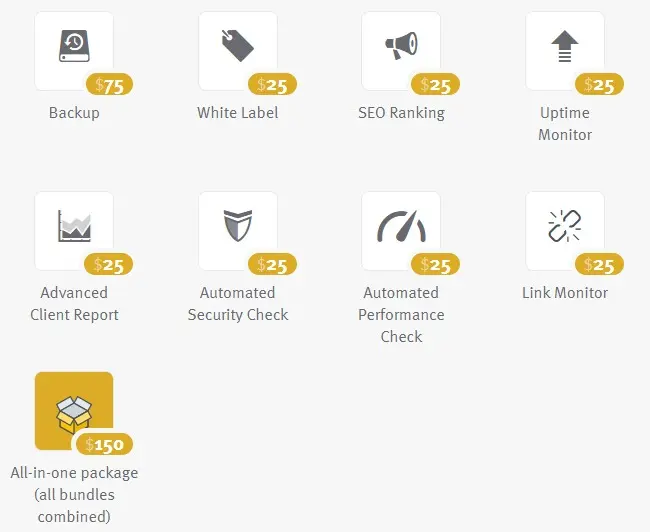
The second premium pricing model that ManageWP offers are feature bundles.
Prices are again in USD $ per month and cover up to 100 websites. Bundles can be stacked.
Paying a monthly fee per feature bundle works out as the cheapest option if you need to use these features on 50+ websites.
Setting Up New Websites With ManageWP
To manage a WordPress website with ManageWP, you must install their ManageWP Worker plugin from https://wordpress.org/plugins/worker/ or directly from your WordPress plugins dashboard.

Once their plugin is installed and activated, you can add your website either by using an administrator username and password or by a secret client key generated by the plugin.
Because I use 2FA on every site, I use the secret client key to connect all my websites to ManageWP.
If you have a staging or development site that you want to manage, you can add basic authentication details to the ManageWP login.
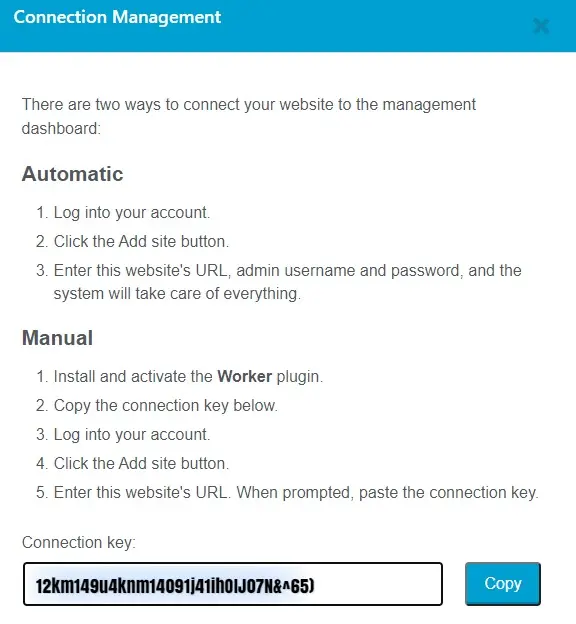
Navigate to the plugins page and click on the “Connection Management” link to get the client connection key.

Clicking on the “Connection Management” link will open up a dialogue box containing the secret connection key.
You should keep this key a secret and not share it with anyone else.
Navigate over to the ManageWP dashboard and add your website using the connection key.
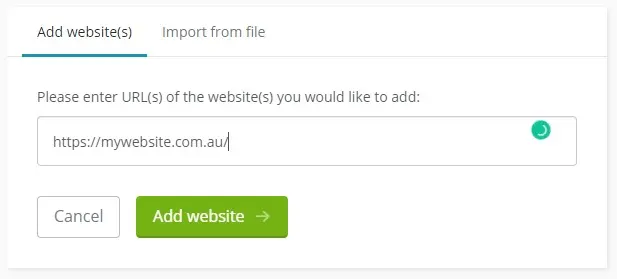
When adding a new website to ManageWP, first enter the website URL.
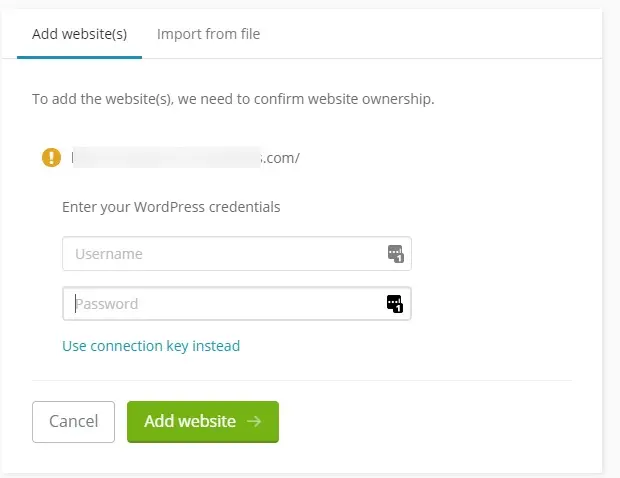
You can add an administrator username and password to get access to the website or use the connection key instead,
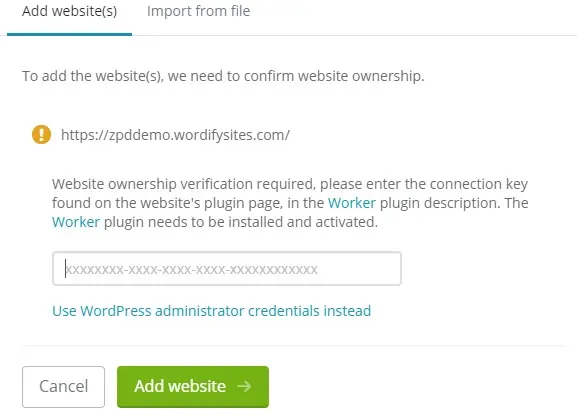
Enter the connection key from the website if you don’t want to use an administrator username and password.
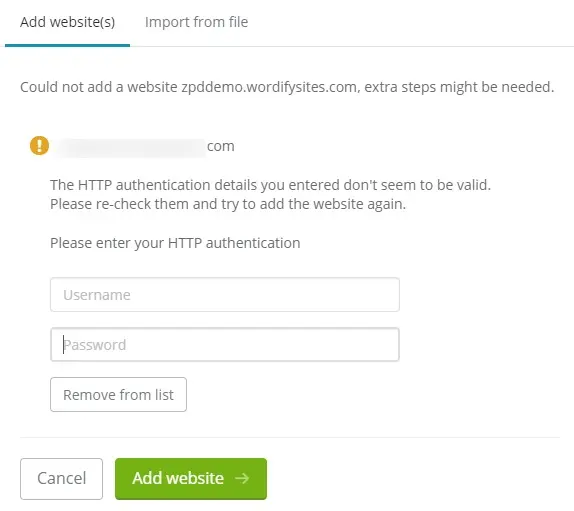
My test site is behind a basic authentication username and password security check.
ManageWP will automatically detect basic authentication and prompt you to enter the username and password.
You can also enter the information in the website settings area.
Once all that is done, your website will be added to the ManageWP dashboard.
The ManageWP Dashboard
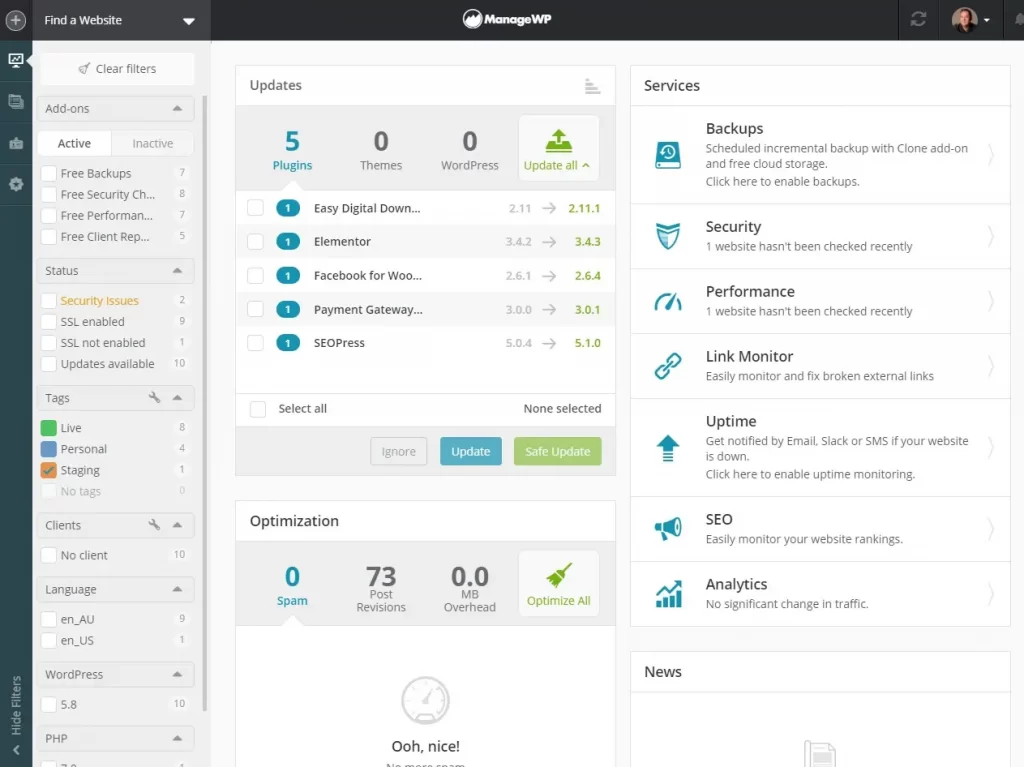
There are four general areas of the ManageWP dashboard accessible from the icons on the LHS column navigation area.

At the very top is the plus icon, where you can add new websites to the dashboard.
The second icon is “Overview”, where you get an overview of all the updates, optimisations and comments, and access to specific services.
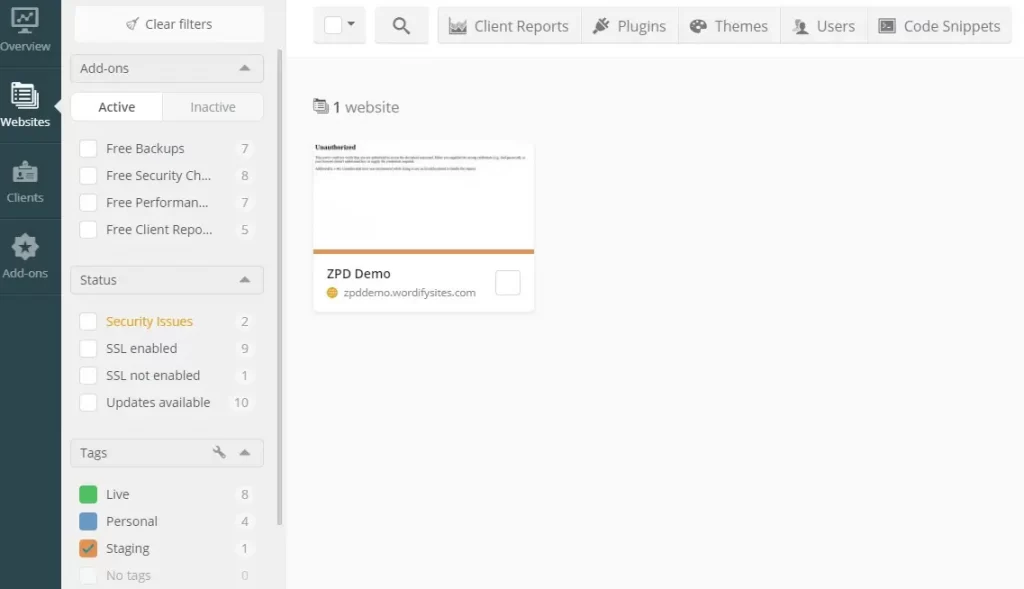
The third icon is “Websites”, which gives you an overview of all the websites you have added to ManageWP.
You can filter websites by added tags. In the example below, I am showing a test staging site.
You can also select multiple sites and perform actions such as running client reports from the top toolbar.
The fourth icon is “Clients”, which will show your list of clients and their associated websites that you manage.
You can also add new client details here.
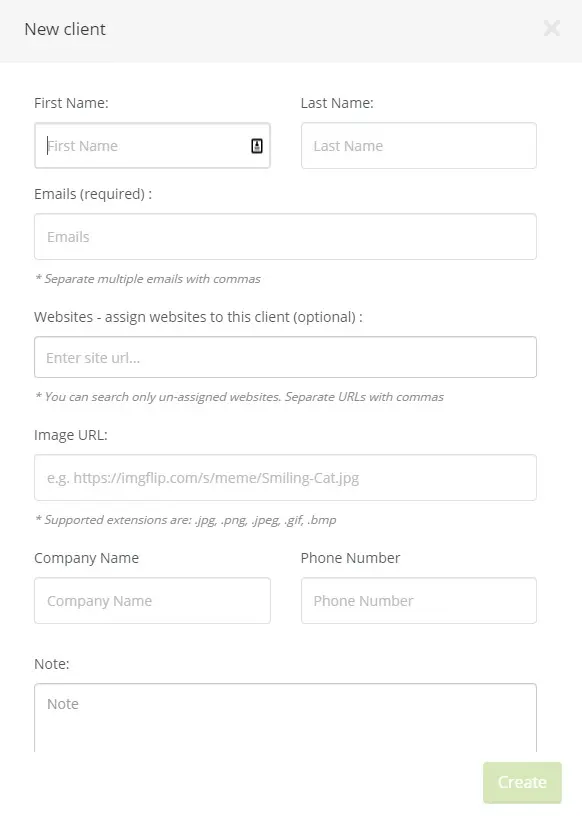
Keeping a list of clients and their websites helps if you need to produce reports for your site maintenance plans.
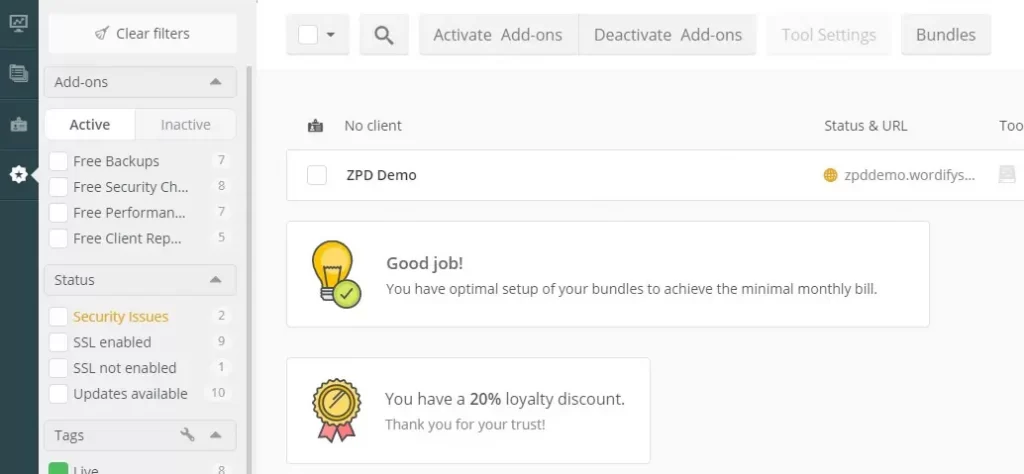
The fifth and last icon is “Add-ons” where you can manage all of your add-ons, generally and per-site or bundle.
Remote Website Dashboard
Each remote site has its dashboard giving you access to all of the available ManageWP features, and you can access the website dashboard from the “Websites” area.
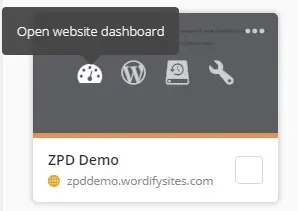
The first icon opens the website dashboard, and there are three other links to open the WordPress admin dashboard, view backups, and edit the site options.
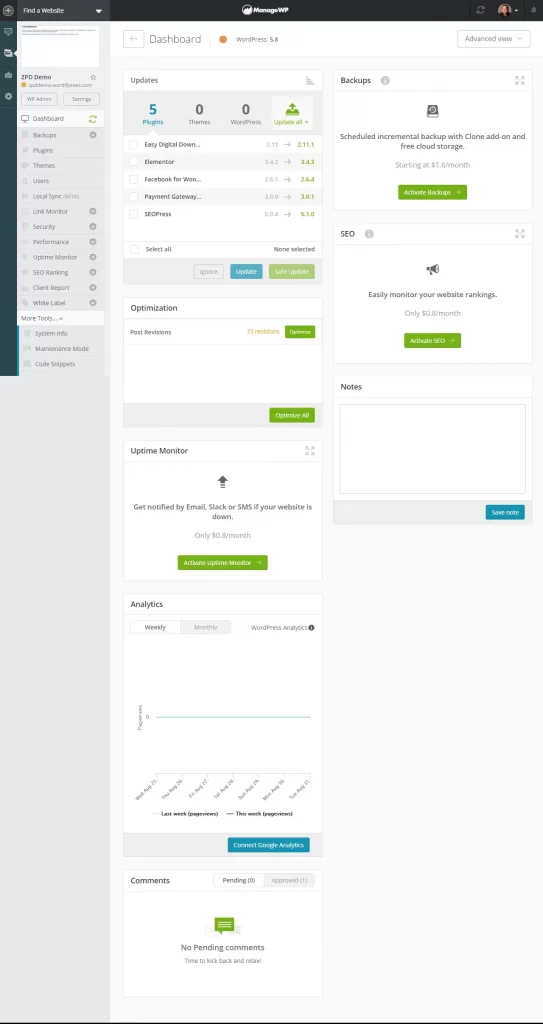
Here’s the entire dashboard area for the new website I just added.
You can move the panels around, but by default, they are:
- Updates
- Optimisation
- Backups
- Uptime Monitor
- SEO
- Analytics
- Notes
- Comments
There is an LHS column that takes you into more details for each of these areas and more.
Let’s look at each one quickly.
Backups
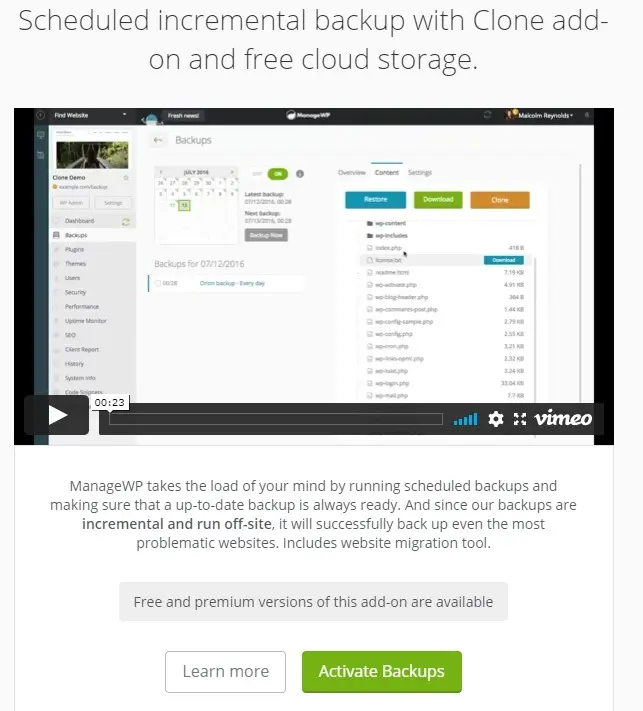
ManageWP will tell you if there is a free and premium version of the add-on for each of the website dashboard features, and you can activate each here.
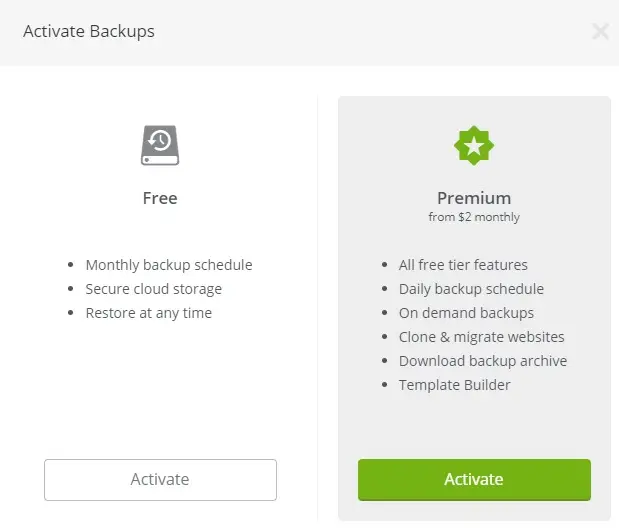
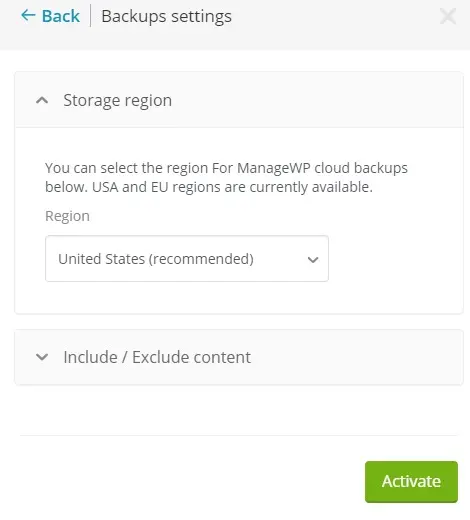
You can choose a storage region for backups; however, there are only two choices, the USA and Europe.
You can also choose which content is included in the backups, such as the database and website folders.
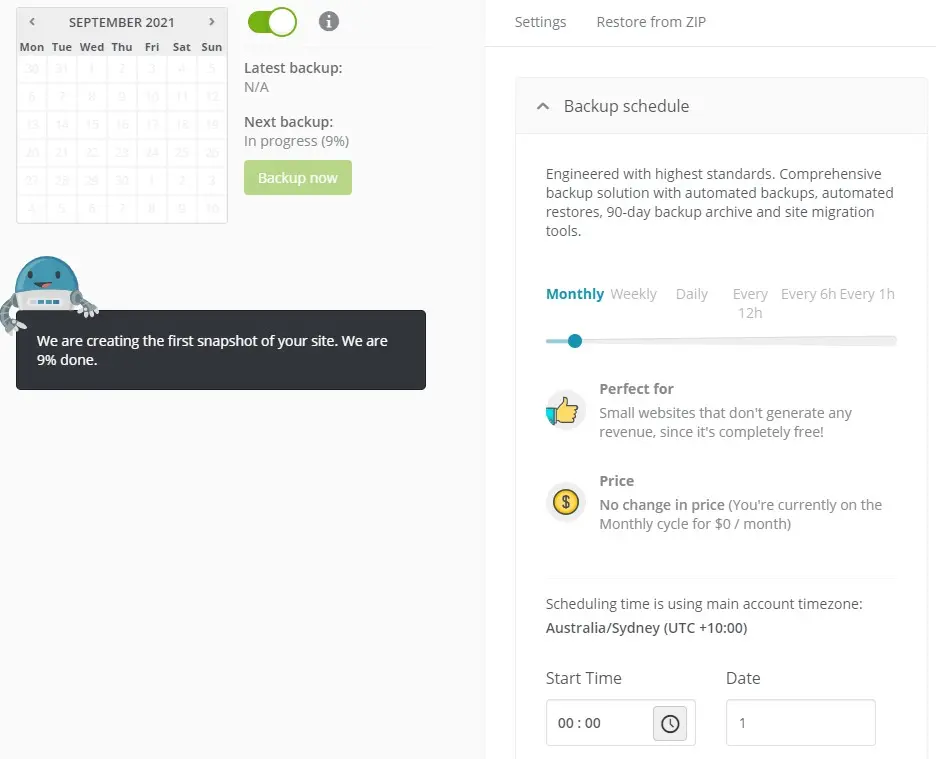
Once you have set up backups, you can see the settings, progress and all the previous backup sets from here.
Plugins
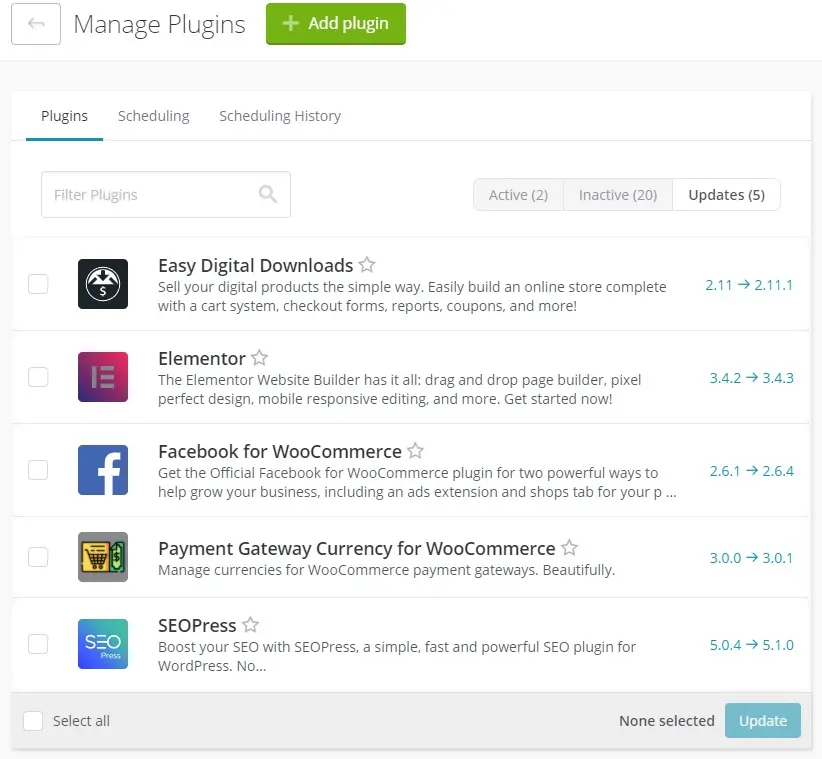
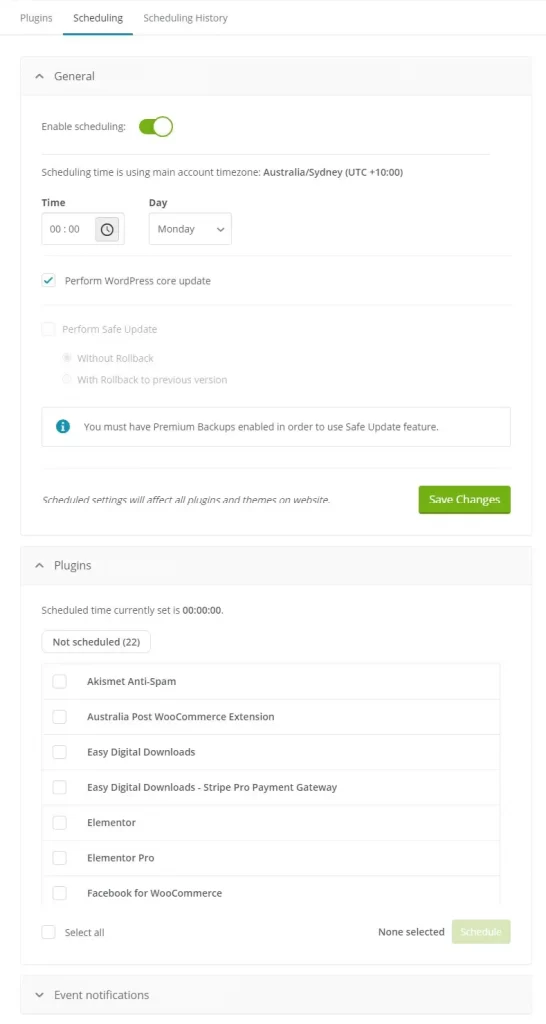
The plugins area is where you can manage all your website plugins; activate/deactivate, schedule updates and get access to the update history.
Themes

The themes area has the same UI and features as the previous one for plugins; however, managing themes, of course.
Users
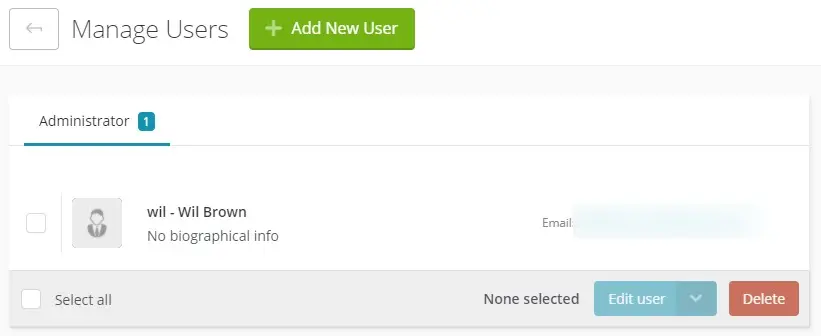
From the Users area, you can add, remove and edit WordPress users.
Local Sync
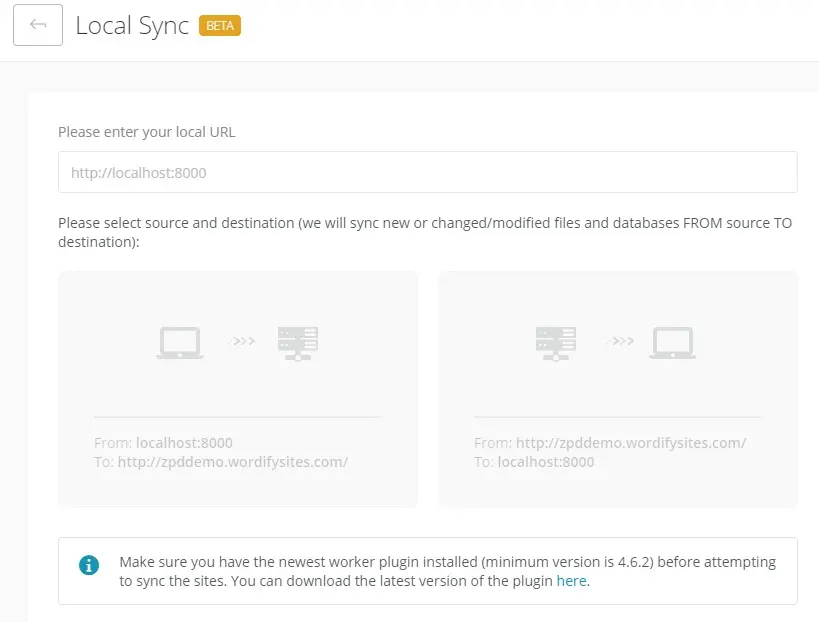
The Local Sync area is experimental.
It aims to sync your ManageWP website with a local instance on your machine.
I haven’t used this feature yet, so I can’t pass any comment on how well it works.
Link Monitor
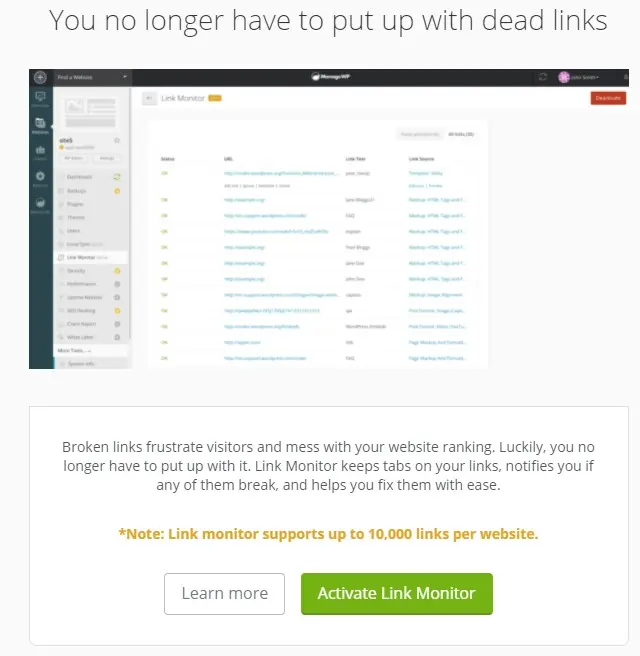
The Link Monitor is a premium add-on that monitors dead links on a website.
If you enable this service, make sure you run it during quiet time, as it will put some resource strain on the webserver.
Security
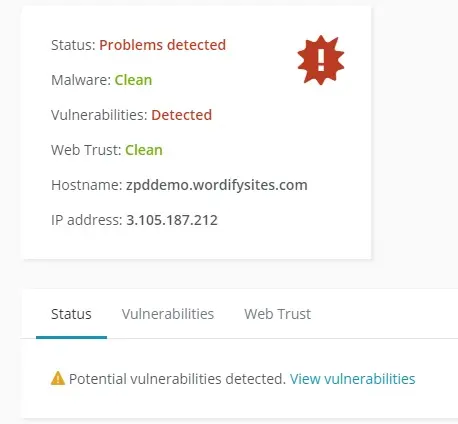
The security add-on has a free and premium version.
The premium version allows more regular scanning and emailing of issues or posting to a Slack channel.
Performance
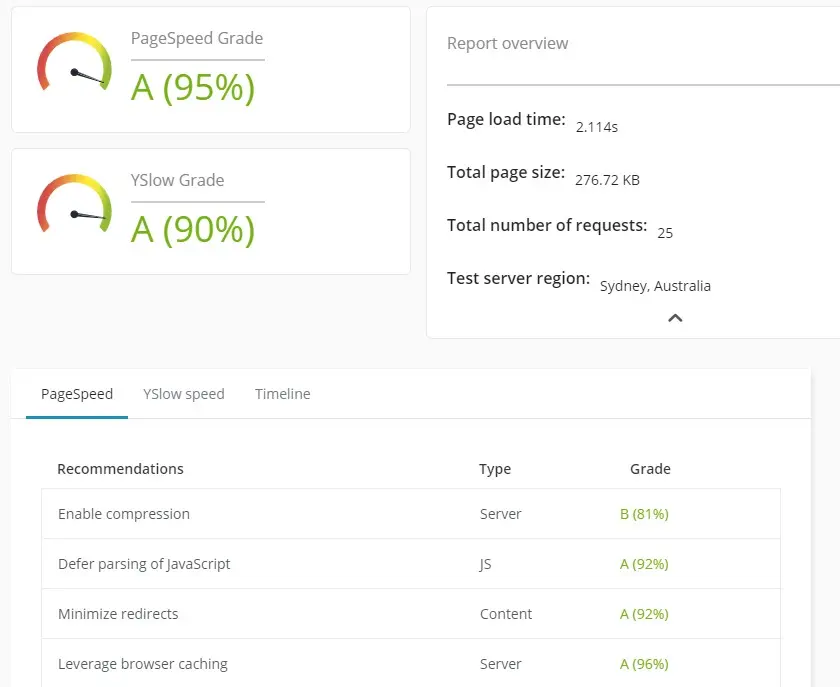
The performance add-on has a free and premium version.
The premium version allows more regular scanning and emailing of issues or posting to a Slack channel.
You can select a region to test from and a schedule for running the tests if you are using the premium version.
Uptime Monitor
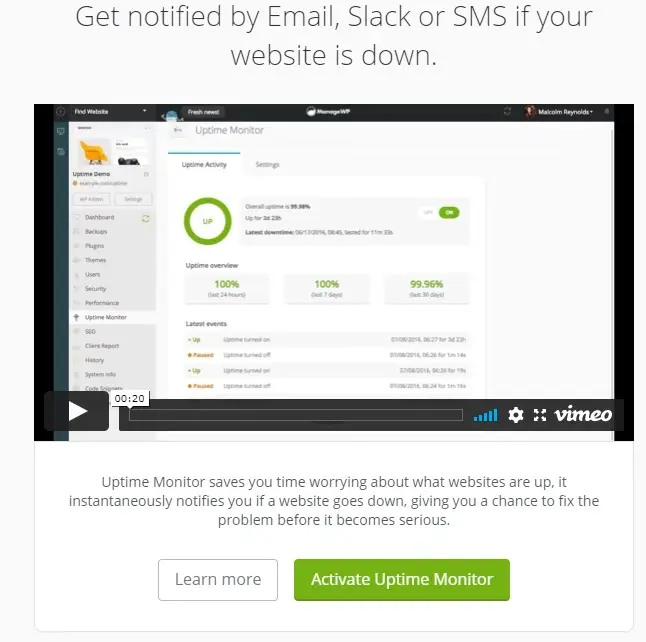
The uptime monitor is only available as a premium add-on.
It monitors your webserver and will notify you via email, SMS or Slack if the webserver is unresponsive.
SEO
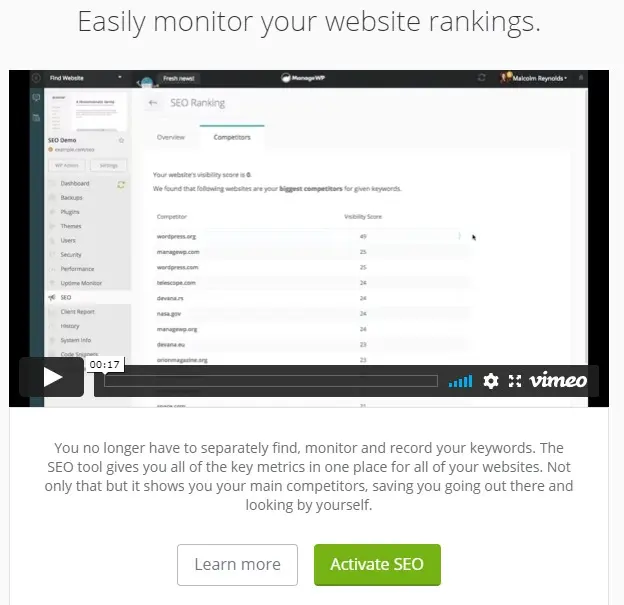
The SEO add-on is only available in premium.
It monitors a list of keywords along with their rankings and positions on Google.
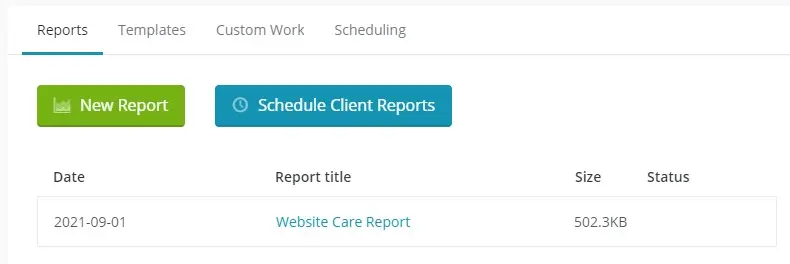
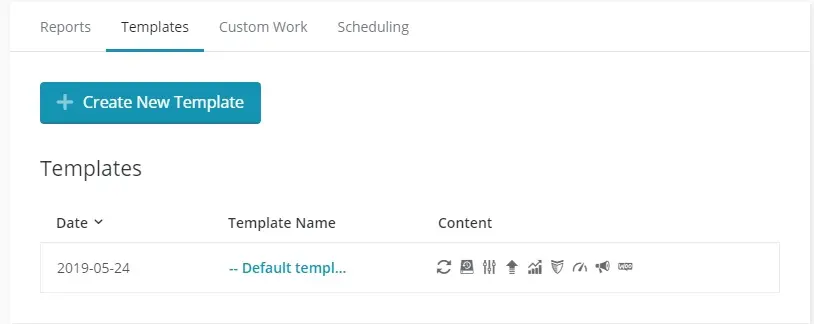
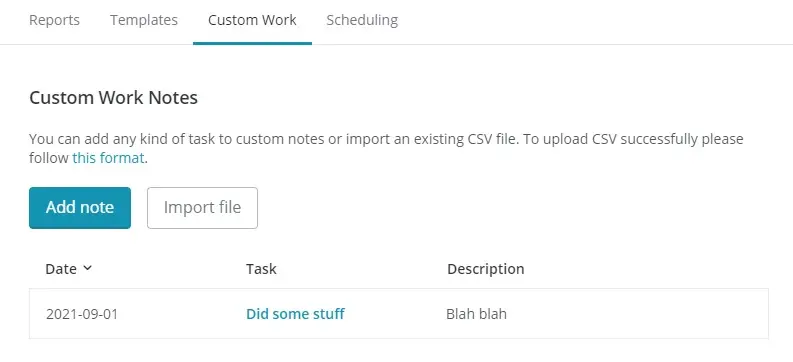
Client Report
White Label
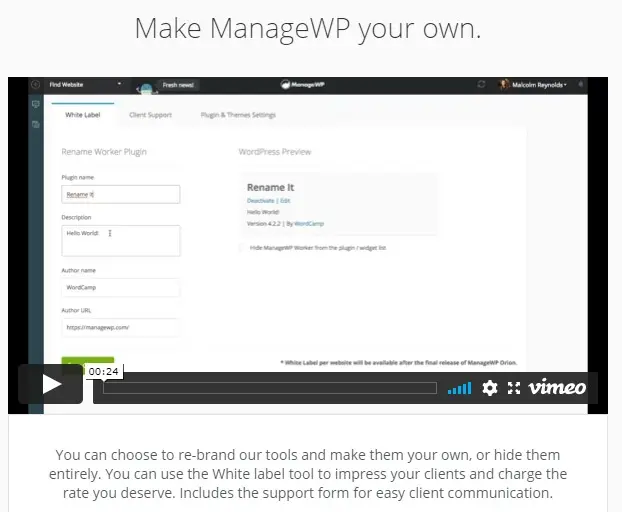
White Label is a premium add-on and allows you to completely white-label and brand the ManageWp interface and reports as your own.
System Info
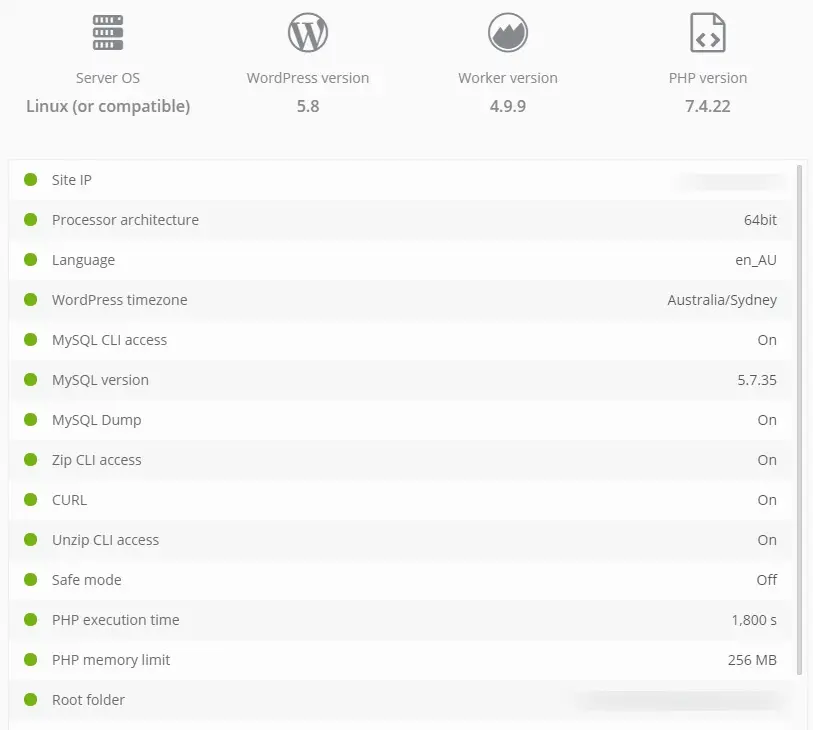
Under “More Tools”, the System Info area will tell you technical details about your website and web server that may help debugging issues.
Maintenance Mode
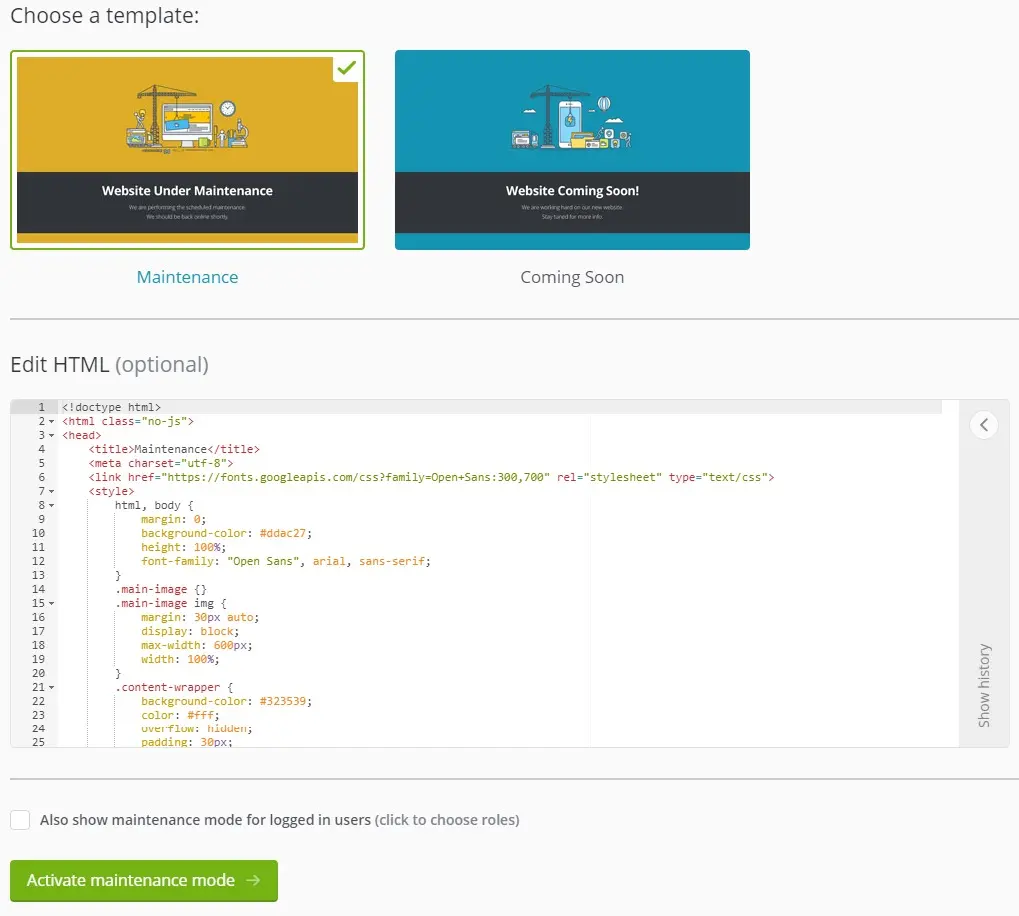
Under “More Tools”, the Maintenance Mode area allows you to place the entire website in maintenance mode or coming soon mode.
You can choose from a couple of templates or edit the HTML for your style.
Maintenance Mode is a free feature.
Code Snippets
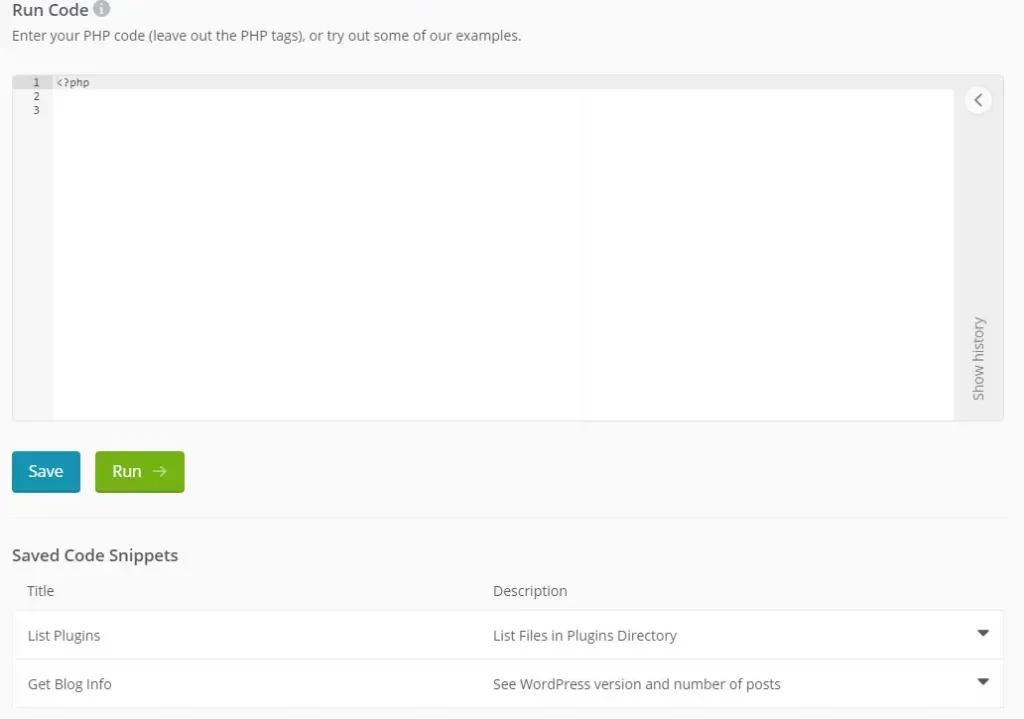
The Code Snippets area under “More Tools” allows you to add PHP code to run on your website.
Code snippets are a free feature.
Of course, you should be very careful when entering code snippets onto a website.
They could cause the website to break or introduce security issues.
History
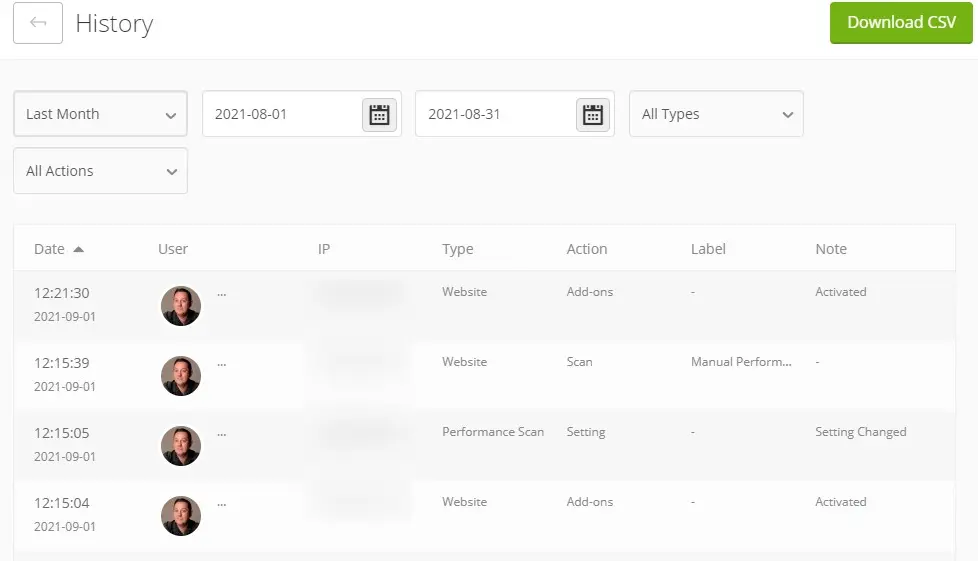
Under “More Tools”, the History area allows you to display and download all website activity for some time.
History is an excellent feature if you have to produce a client report manually.
You can download all the updates to a CSV file and import them into your client site report.
History is a free feature.
No API Service
A downside of using ManageWP is that there is no REST API service available.
Not having an API service means there is no way of automating tasks or pulling data from the system programmatically.
I would pay for access to a REST API service to allow me to build custom client reports.
I have asked for this feature for years, but it has never appeared, and ManageWP is unlikely to offer such a service as they make money on their premium add-ons – the client report for example.
How Secure Is ManageWP?
You can enable 2FA on the login account to stop brute force attacks trying to guess your username and password combination.
The ManageWP Worker plugin encrypts all communications and will use HTTPS transmission of your website has an SSL certificate installed for extra security.
You can read more about the security ManageWP has put in place at https://managewp.com/security.
Summary
How do you manage your own and client website updates?
Answer in the comments below.
#WPQuickies
Join me every Thursday at 1 pm Sydney time for some more WPQuickies – WordPress tips and tricks in thirty minutes or less.
Broadcasting live on YouTube and Facebook.
Suggest a #WPQuickies Topic
If you have a WordPress topic you’d like to see explained in 30 mins or under, fill out the form below.
https://forms.gle/mMWCNd3L2cyDFBA57
Watch Previous WPQuickies


