If you read my previous article How Grunt Saved My Life and are interesting in using Grunt on your next project, here’s a quick post on installing and using Grunt on a Windows 7 based machine.
Install Node JS
As Grunt runs on the Node JS framework, you need to install that package first.

Head over to the Node JS website, download and install the package for your machine.
As I’m running Windows 7 64-bit I used node-v0.10.24-x64.msi.
Installing Grunt
Because Grunt runs project specific tasks you install it on a per-project basis.
Just a quick warning – you’ll need to use the command-line a fair bit to install and configure Grunt.
With that in mind, open up a command prompt and navigate to your project home.
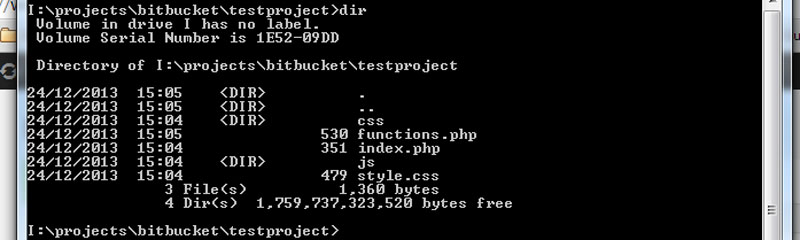
Make sure you are in the project root folder and not any subfolder of your WordPress project.
For the most basic Grunt installation you need to create a project.json file in your project home folder.
Create it now with the following content:
[gist id=8141192 file=project.json]
You can change the name and version to whatever is specific for your project but leave the devDependencies alone for the moment.
Once your package.json file has been created you install Grunt from the command line using:
npm install
Because Grunt is installed on the Node JS framework, all modules are installed using the Node Package Manager (NPM).
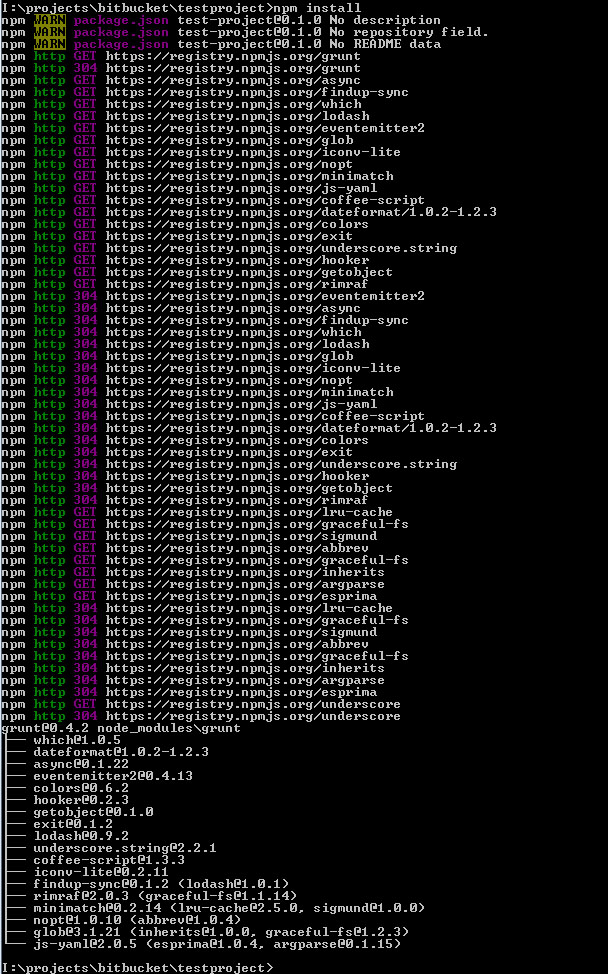
Once finished you’ll see a summary of the grunt modules which have been installed and a new folder called node_modules has been created in your project home.
Install Grunt CLI
The final part of the basic installation it to install Grunt CLI. This is the command line interface for Grunt and the binary which runs from your command prompt.
Again, this is installed using NPM.
npm install -g grunt-cli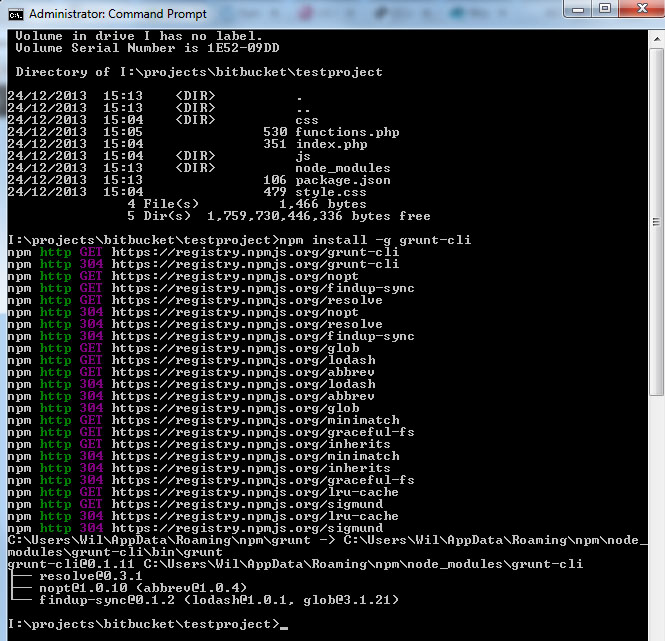
At this stage I tested out grunt in the command line and Windows couldn’t find the binary.
It looks like the path wasn’t updated properly, even when I closed and reopened my command prompt.
A logout and login sorted the issue for me.
Let’s start using Grunt!
Minify JavaScript Using Grunt
I have an admin.js text script in my js folder.
We’re going to install the uglify plugin and minify the file to admin.min.js.
First install the uglify plugin using:
npm install grunt-contrib-uglify –save-dev
This will automatically add the grunt-contrib-uglify plugin to the packages.json file which now looks like this:
[gist id=8141192 file=altered-project.json]
Now that we have the plugin installed we need to configure Grunt and tell it what to do.
This is done through the Gruntfile.js file. You’ll need to create a new one the first time.
Gruntfile.js can be very finicky so make sure you stick to the format outlined in each modules documentation and you won’t go wrong.
Each plugin has a wealth of documentation outlining all the parameters it accepts.
Create the file now and add the following content:
[gist id=8141192 file=1-Gruntfile.js]
Of course you will need to alter the uglify plugin configuration to match your files.
Everything is installed and configured so now it’s time to run Grunt on our project.
Simply type grunt into the command prompt and watch it go.
grunt

As you can see from the output, a new file has been created called admin.min.js and it’s been minified properly, removing the comment, tabing, whitespacing and new lines.
Optimise Images Using Grunt
This is a personal bug-bearer for me, especially on eCommerce sites where there are lots of product images.
First we need to install the grunt-contrib-imagemin plugin which does all the image optimisation work.
npm install grunt-contrib-imagemin –save-devAgain the grunt-contrib-imagemin plugin is added to our package.json file so all we have to do is update the Gruntfile.js with the new plugin configuration and details.
Edit the Gruntfile.js so it now looks like this:
[gist id=8141192 file=Gruntfile.js]
Lines 15-24 show the new configuration for the imagemin plugin.
Note: remember to add a comma after the last configuration section (see end of line 13)
Line 31 tells Grunt to use the new plugin
Line 34 adds imagemin to the task list.
Windows 7 64-bit Issue
I had an issue when using this plugin on my Windows 7 64-bit OS. Several others also had the same issue and posted a fix.
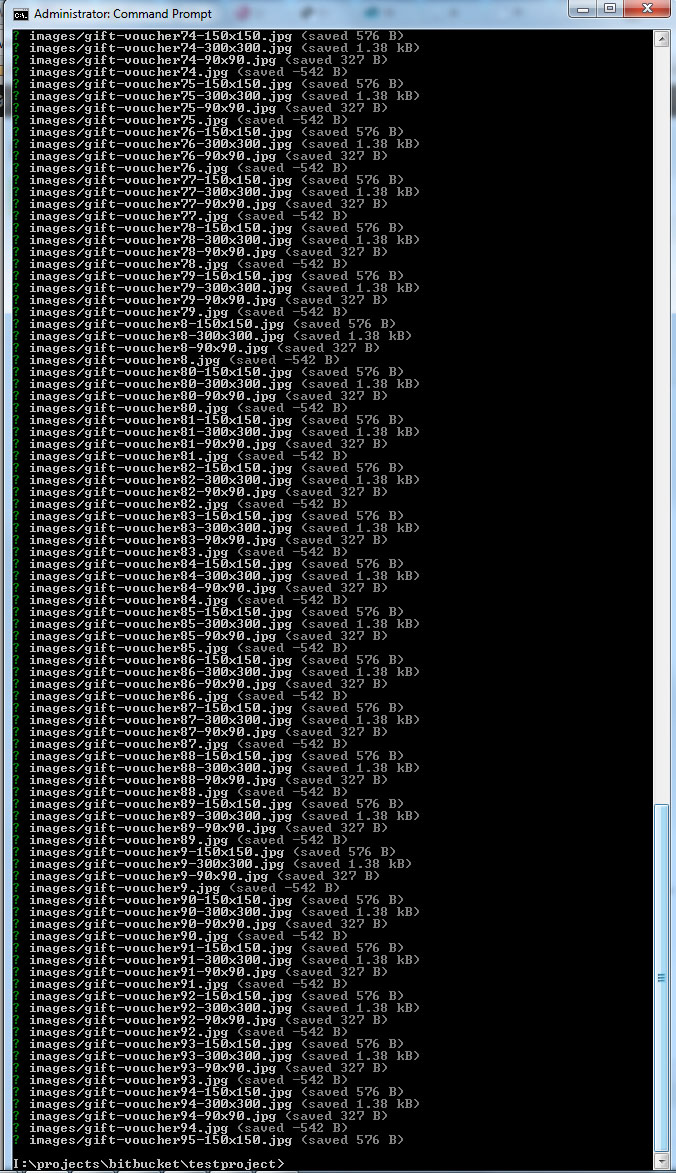
And finally run Grunt again from the command line and watch all those images being squished.
grunt
Summary
Here are the list of plugins I use with Grunt and my WordPress projects:
- contrib-compass
- contrib-compress
- contrib-concat
- contrib-copy
- contrib-csslint
- contrib-cssmin
- contrib-imagemin
- contrib-jshint
- contrib-uglify
- contrib-watch
- clean-pattern
- peach
- phplint
I could go on and on showing you different plugins but I think it’s time for you to get your hands dirty.
Install Grunt today and play around with some of those plugins. You’ll never go back to doing it manually again.

