???? Nightmare – your website has been blacklisted! How do you fix this?
In this lunchtime #WPQuickies, I’ll be running through ways to get your website off Google and other blacklists.
Google Chrome Malware Warning
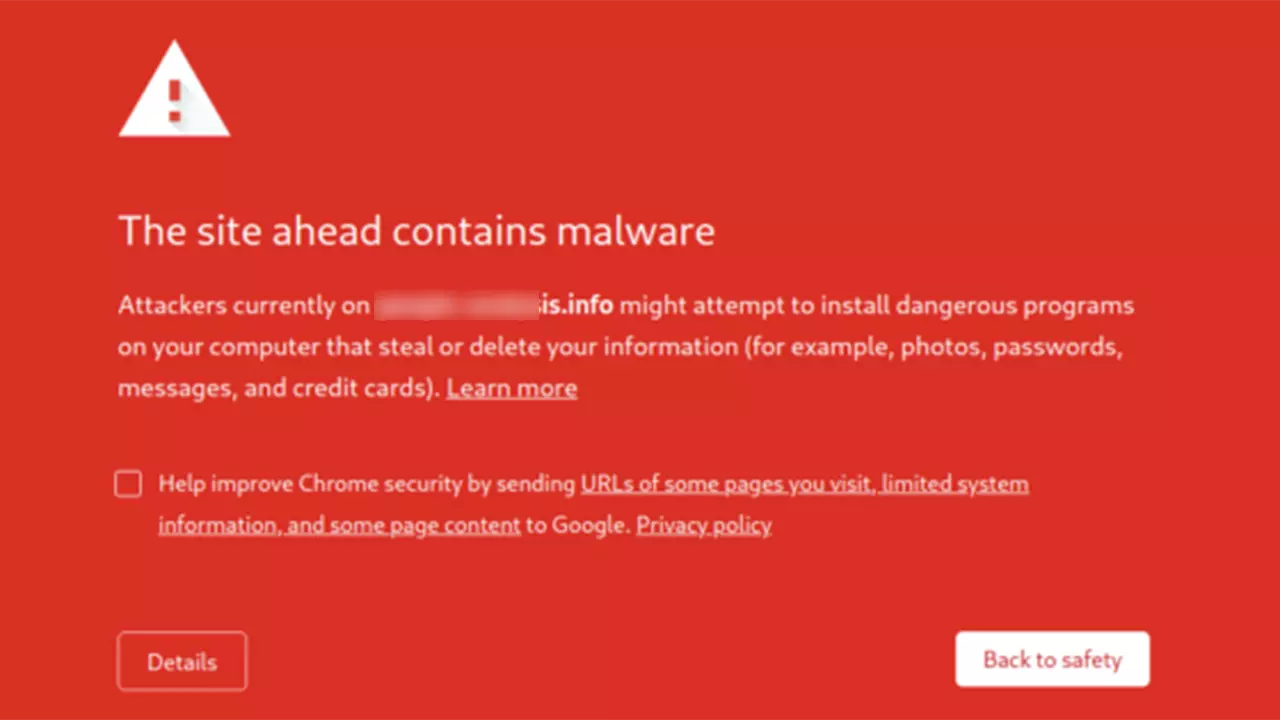
Nobody wants to see this screen – not website visitors nor website owners.
What Are Blacklists?

We’re not talking about that type of blacklist – I certainly can’t help you get off that one!
In simple terms, a blacklist is just a list of computer IP addresses that somebody has deemed bad for some reason.
Google and Bing maintain blacklists for their search engines, and antivirus companies such as Norton also maintain a list of suspicious websites.
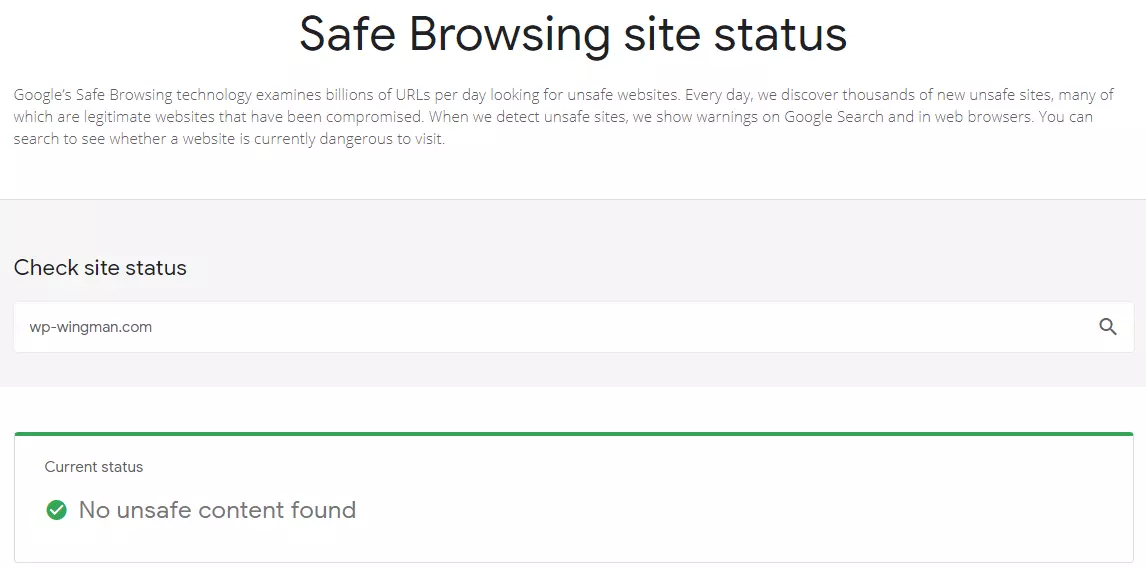
You can check to see if your website has been blacklisted with Google at their Safe Browsing page https://transparencyreport.google.com/safe-browsing/search.
If you want to expand your search to other blacklists, VirusTotal scans over 60 popular blacklist services https://www.virustotal.com/gui/home/url.
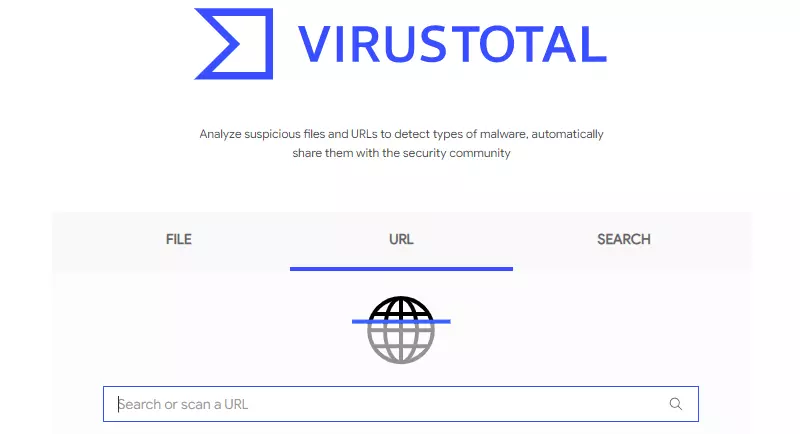
Search for your URL on VirusTotal.
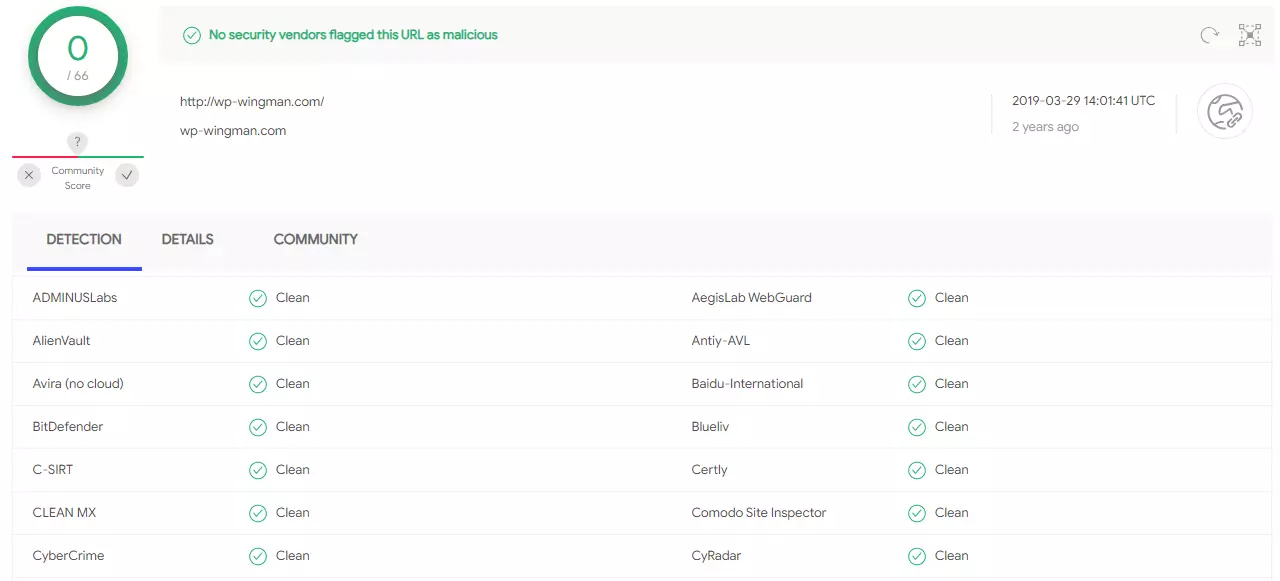
VirusTotal checks your URL against over 60 blacklist services.
How Did My Website Get On A Blacklist?
The most common way a website will end up on a blacklist is after it has been hacked and malware has been uploaded.
Another common way your website could end up on a blacklist is via shared hosting, where another bad site on your shared server gets the server IP blocked.
The result is that all traffic (websites) coming from that server gets blacklisted.
Your site may also be added to a blacklist if it is under cyber attack.
These things can happen without the website owner realising, and in most cases, it is a visitor or customer who raises the issue.
That’s bad for reputation and business!
Additionally, search engines tend to penalise blacklisted sites, lowering their visibility.
Lower rankings, of course, could have lasting adverse effects on your organic traffic level and conversion rate.
You have to act quickly to remove your site from a blacklist.
How To Fix Your Blacklisted Website
Follow these five simple steps to fix your blacklisted website.
Step 1 – Check Your URL Status
Use the Google Safe Browsing site at https://transparencyreport.google.com/safe-browsing/search or the VirusTotal URL checker https://www.virustotal.com/gui/home/url to see if your site lists on any blacklists.
Step 2 – Remove Malware From Your Site
Removing malware from your site can be difficult as malware tends to spread and make copies of itself quickly.
You can install a security plugin such as Wordfence or Sucuri to help identify where the malware has infected your site.
Sucuri also offers a service to remove all malware from your site as part of their premium subscription service https://sucuri.net/website-security-platform/signup/.
Their services start at $199 USD per year.
If you want to do this yourself, I recommend rebuilding your entire WordPress site from source-of-truth repositories.
In summary:
- Download a recent (possible infected) backup of your site, including the database SQL
- If your site is e-commerce or has user registrations, use WP All Import/Export https://www.wpallimport.com/ to export users, products, orders, and any other database data you will need to rebuild your site.
- Zap everything in your website hosting folder
- Drop all tables in your database
- Download all your plugins and themes from wordpress.org or your account dashboard from the site your purchases them from
- Upload, install and configure a fresh copy of WordPress from wordpress.org
- Upload, install and configure all your freshly downloaded plugins and themes
- Import all your database data
I have a blog article that goes into more details, my 21-step DIY guide to restoring a hacked WordPress website.
Step 3 – Submit a Site Review Report
Once your website has been rebuilt and is malware-free (remember to run a scan after your rebuild to double-check), you need to request a review of your site to take it off the blacklist.
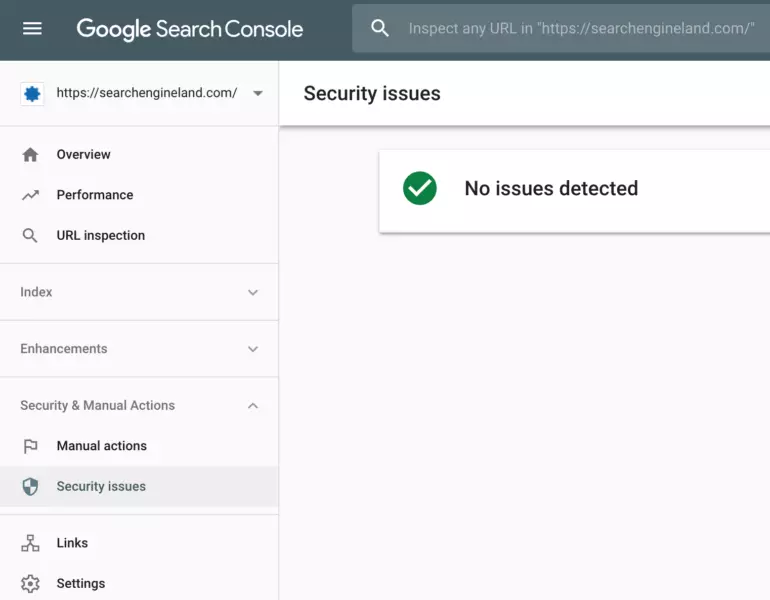
For Google, this is done through the Google Search Console https://search.google.com/search-console/about.
Navigate to the Security Issues section.
If your site has no security issues, you will see a green tick alongside the message “No issues detected”.
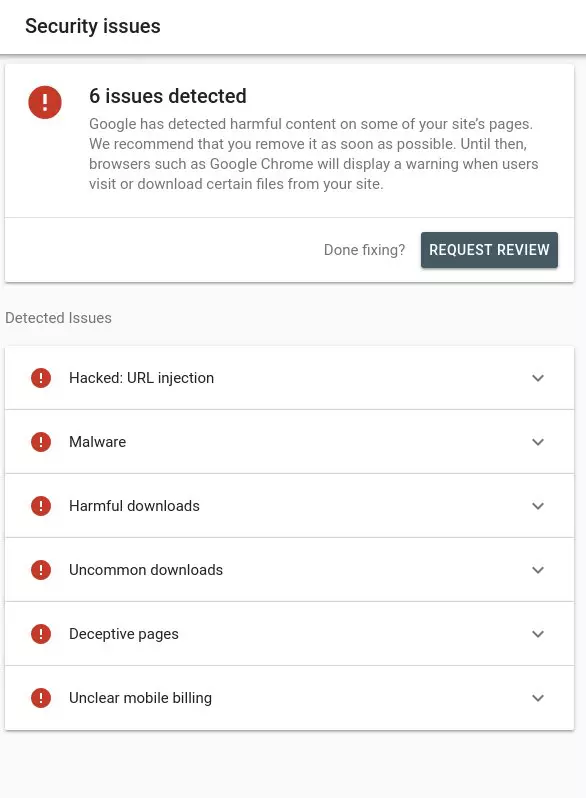
However, if Google is currently blocking your site, you will see a warning message with a button to submit the site for a review.
Bing has a similar process in their Webmaster Tools.
If your site has been blocked by an antivirus company, you will need to find the relevant form on their site to request a review.
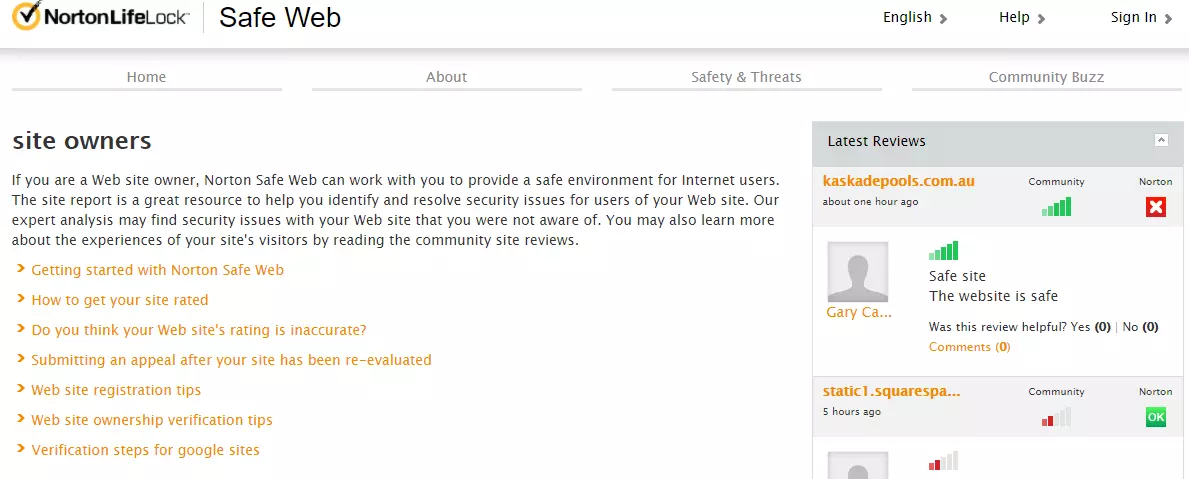
For Norton, this is done through their Safe Web portal at https://safeweb.norton.com/help/site_owners.
Step 4 – Increase Site Security
If you haven’t done so, install a firewall plugin and set it to scan your site, including external files, at least daily.
I recommend using Wordfence but others include Sucuri and iThemes Security.
Next, make sure you’re following standard WordPress security best practices, including:
- Using secure complex passwords.
- Logging out of your admin area when you are finished.
- Log out idle users using the Inactive Logout plugin
- Require Two-Factor Authentication (2FA) for all logins and new registrations
- Maintaining proper file permissions. Folders Unix=755, Files Unix=644
- Monitoring your site with an activity log, at least for a while afterwards using the Stream plugin
Step 5 – Fix Your Reputation
Fixing your reputation after being blacklisted is going to be complicated.
You may not get all of your customers or visitors back.
Rather than sweep the incident under the carpet, I suggest you take the opportunity to write an article about it.
Publish the article on the website, pin it to the homepage.
If your website has an active user/client base, send them a personal email explaining what happened and the steps you have taken to solve the issue.
Some countries may have laws that require you to inform users of a security breach.
Reporting a data or security breach is usually done through the countries Information Commissioner’s office.
Here is some information on reporting data and security breaches in Australia https://www.ipaustralia.gov.au/ip-for-digital-business/establish/data-breach-obligations
Australia’s Office of the Australian Information Commissioner is at https://www.oaic.gov.au/.
Conclusion
Blacklists themselves are not bad.
In fact, they can be seen as a force of good, stopping the spread of malware and scammers.
It’s unfortunate if you find your website and if you do, remember to act quickly to resolve the issue and request a review to whitelist your website.
#WPQuickies
Join me every Thursday at 1 pm Sydney time for some more WPQuickies – WordPress tips and tricks in thirty minutes or less.
Broadcasting live on YouTube and Facebook.
Suggest a #WPQuickies Topic
If you have an WordPress topic you’d like to see explained in 30 mins or under, fill out the form below.
https://forms.gle/mMWCNd3L2cyDFBA57
Watch Previous WPQuickies

What’s New In Gravity Forms 2.5?

