In this lunchtime #WPQuickies, I’ll look at how you can integrate the Printful service with your WooCommerce store.
On-demand printing has soared in recent years.
You can implement this easily in WooCommerce using the Printful integration.
What Is Printful?
Printful is an on-demand printing and fulfilment company based in the USA.
They allow you to upload your designs onto goods like clothing, posters, mugs, stickers and many more items.
In the past couple of years, on-demand printing has really taken off, driven by online conferences as a replacement for the swag usually offered at in-person events.
Printful integrates with many platforms including Shopify and WooCommerce.
Today we’ll look at the WooCommerce integration.
WooCommerce Requirements
Printful asks that you make sure you are running a current and up-to-date version of WooCommerce.
You can check what the current WooCommerce version is by visiting the plugin page at https://wordpress.org/plugins/woocommerce/.
For this video, WooCommerce is currently on version 6.3.1.
Printful Plugin
Once you have WooCommerce installed the next step is to install the Printful plugin.
You can search for “Printful Integration for WooCommerce” or down the zip file from https://wordpress.org/plugins/printful-shipping-for-woocommerce/.
Connecting To Printful
Once you have the plugin installed, navigate to the Printful dashboard area and the connect tab.
Depending on your WordPress setup you may see a couple of links for tasks to perform before you can connect to Printful.
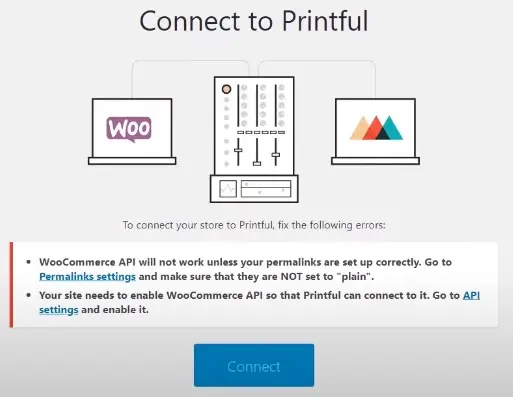
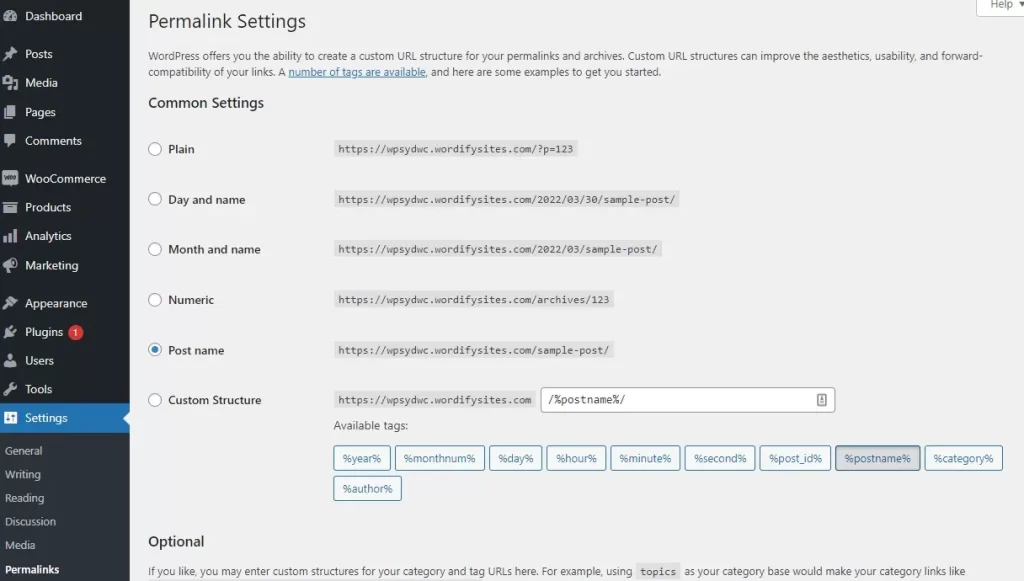
The first task is to make sure you are not using the default plain permalinks settings. Choose anything other than the default permalink settings – that’s the one that displays the post link IDs in the URL.
Navigate to Settings > Permalinks and choose
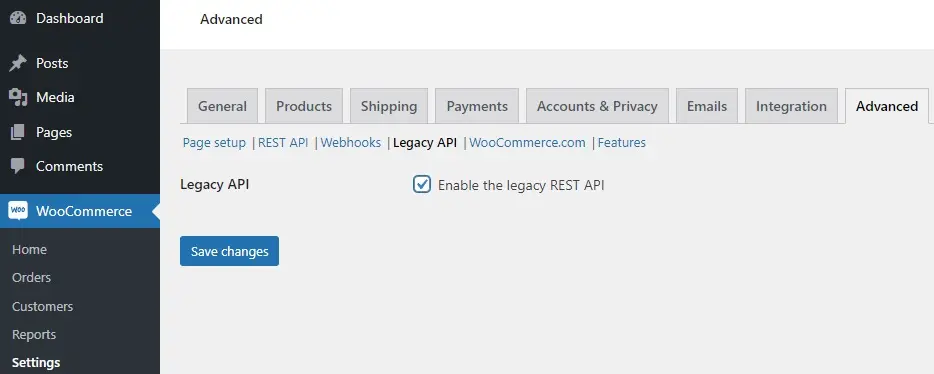
The second task is to make sure that you enable the WooCommerce REST API. The Printful plugin connects to the Printful servers using the WooCommerce REST API.
Navigate to WooCommerce > Advanced > Legacy API
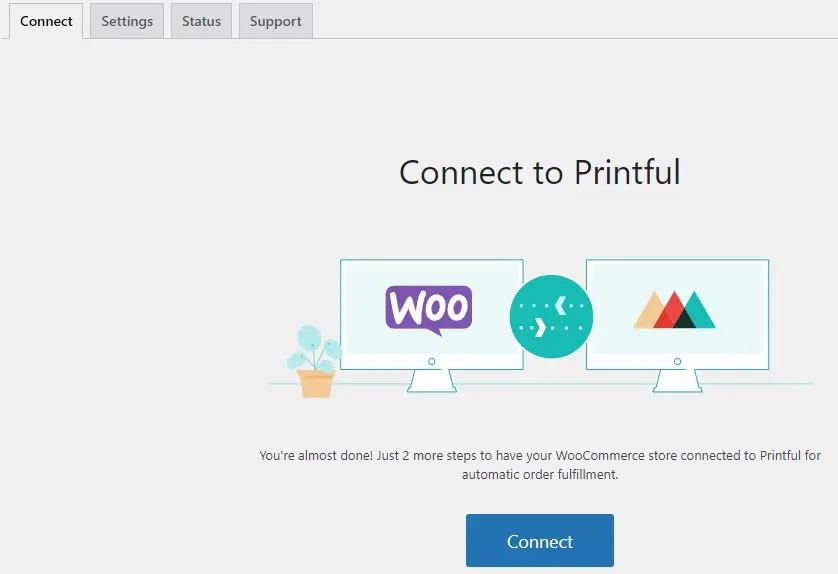
Once you’ve completed those two tasks, navigate back to the Printful > Connect tab and click on the “Connect” button.
Printful Account Login
The browser will open a new tab allowing you to create a new Printful account or sign in to your existing account.
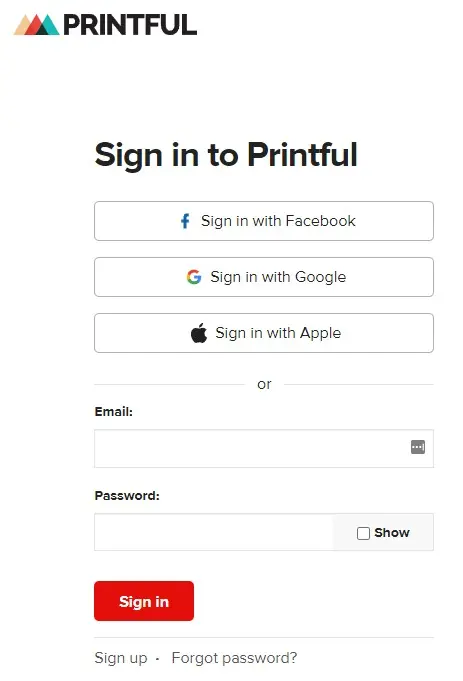
You can sign in using your Facebook, Google or Apple accounts if you don’t want to use an email login.
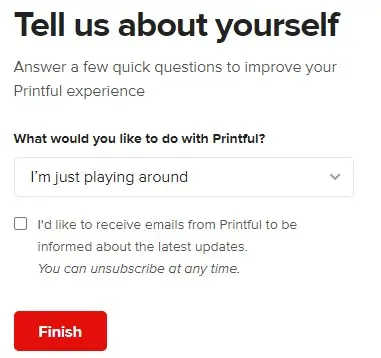
You’ll be asked a quick “Tell us about yourself” question.
Then a dialog box to confirm your WooCommerce connection.
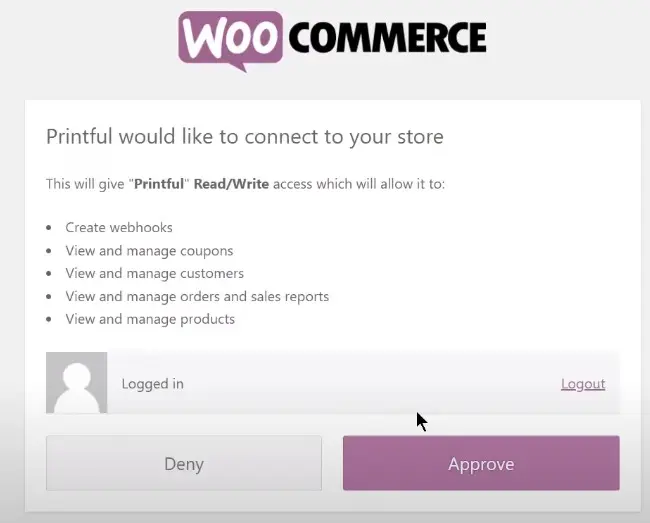
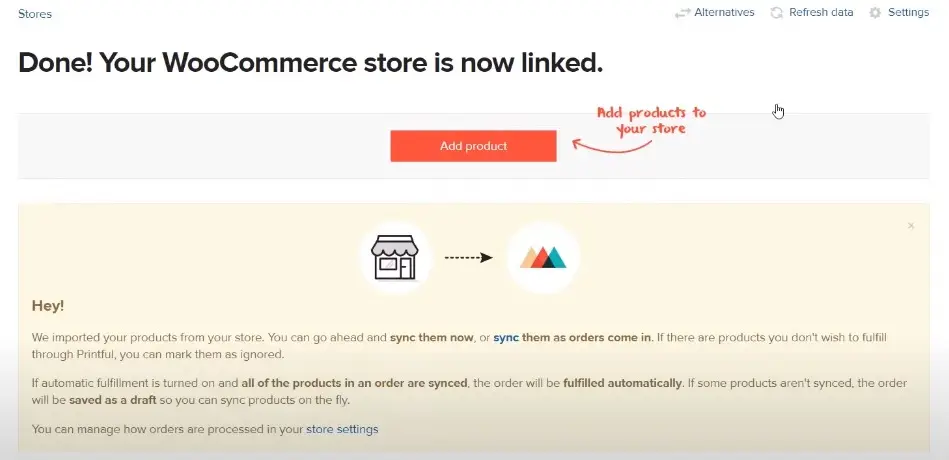
Once that is done, your WooCommerce account is synced with your Printful account.
You’ll see the sync process from the Printful dashboard.
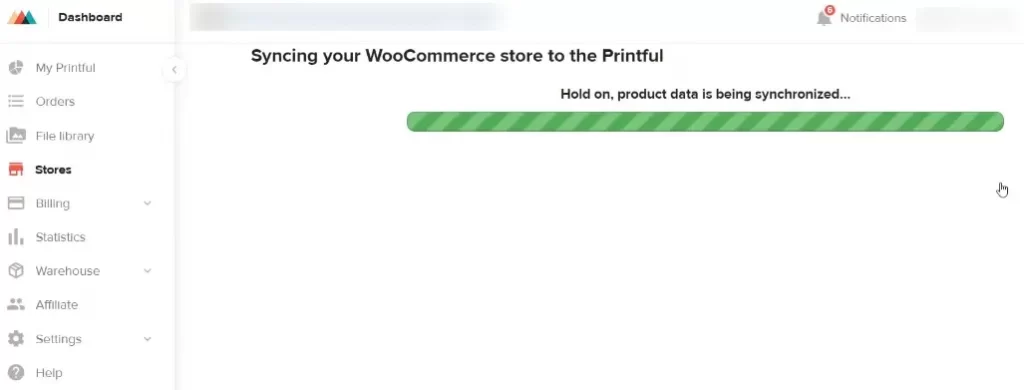
You can now start adding Printful products which is done via the Printful dashboard and not from within WooCommerce.
Adding Products
The plugin acts as a sync between Printful and WooCommerce so most of your product setup is done in the Printful dashboard
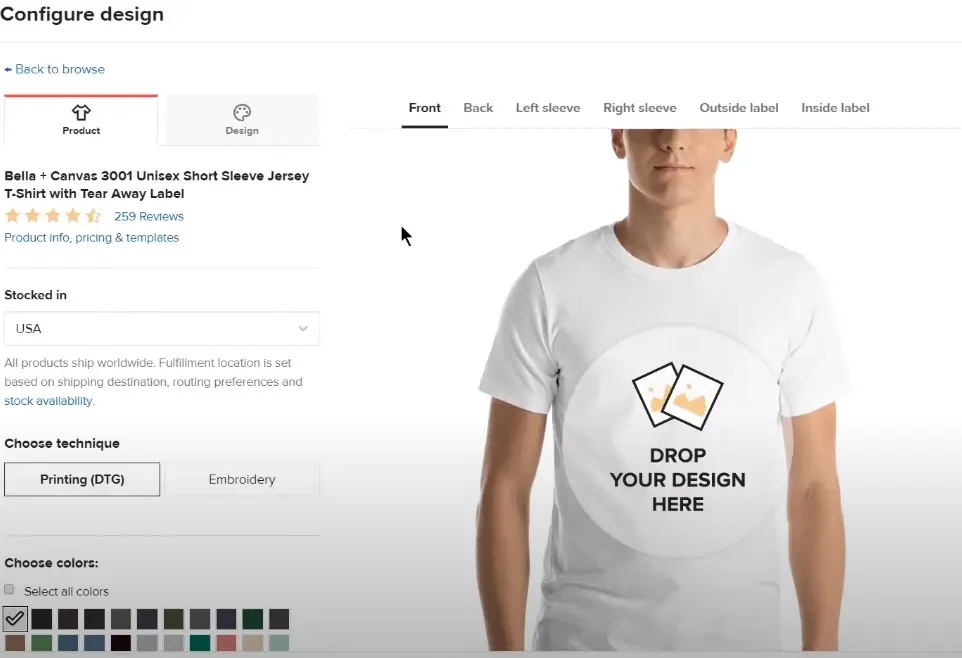
It’s a very easy interface where you can choose supplied images and clipart or you can upload your own designs and choose the area where you want them to be printed; front, back, sleeve for example.
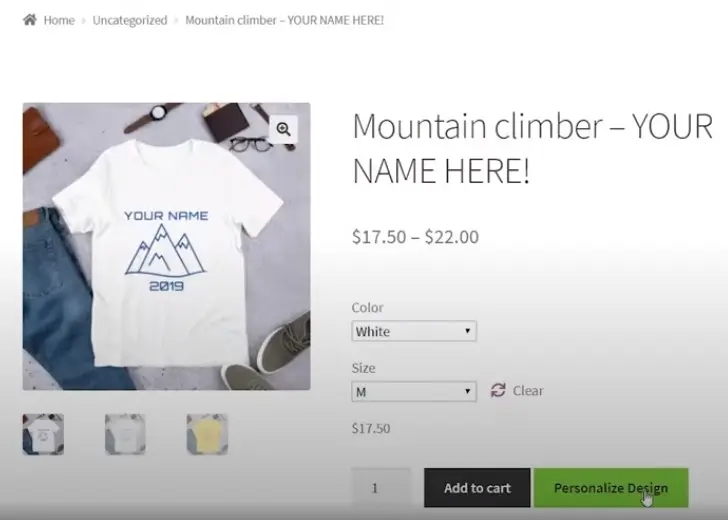
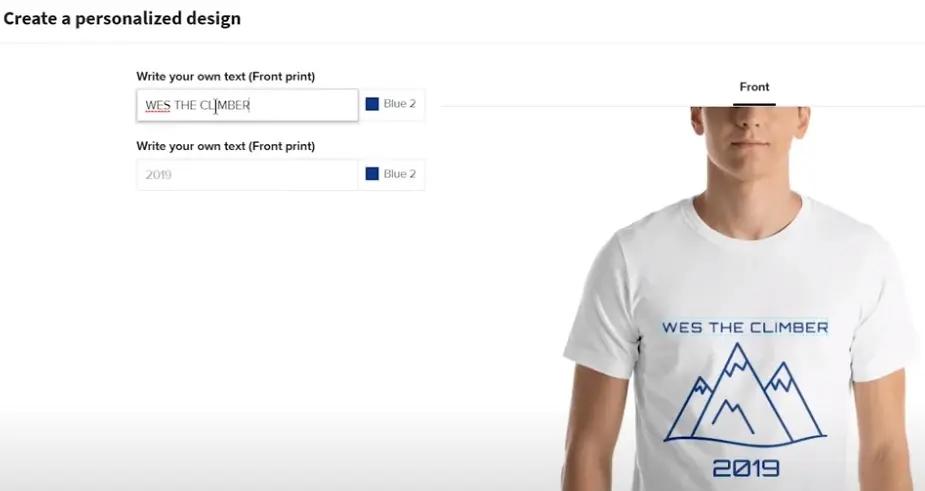
You can also add personalised designs where the customer can supply some text or an image to be printed in the defined area.
Once you save your product inside the Printful dashboard it is automatically synchronised with your WooCommerce store.

Navigate back to your WooCommerce store to update details of the product if required.
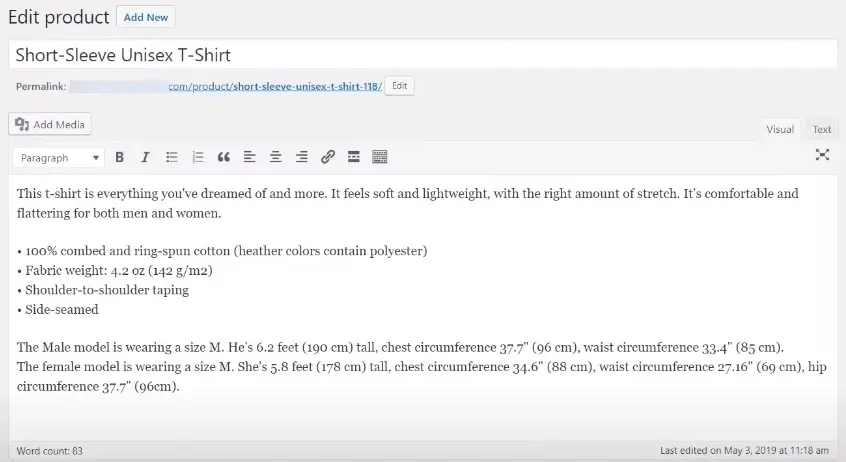
This is a two-way synchronization so if you update details in WooCommerce your Printful products will also be updated but only for those fields that are recognised by Printful.
Product Personalisation
One of the great features of these on-demand printing services is being able to personalise products.
Printful has a great interface for setting up personalisation.
Once it is synchronised with WooCommerce, their plugin support customers being able to personalise the product from the front-end single product page.
Shipping
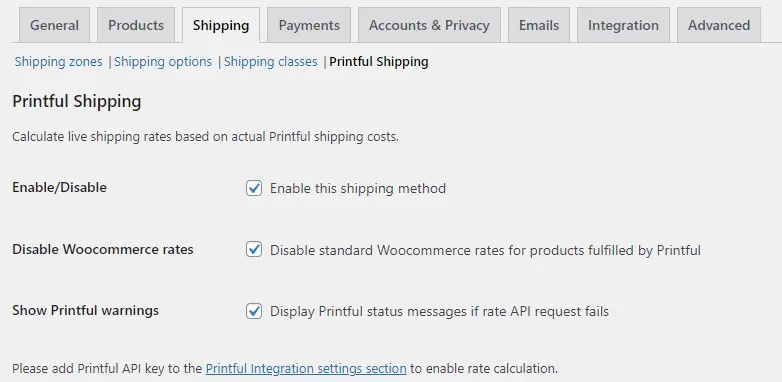
Printful handles shipping using its own shipping methods and rates.
You can combine this with your own specific shipping methods in WooCommerce or disable the WooCommerce shipping methods and just use those from Printful.
Navigate to WooCommerce > Settings > Shipping > Printful Shipping to enable or disable Printful and or WooCommerce shipping for the integration.
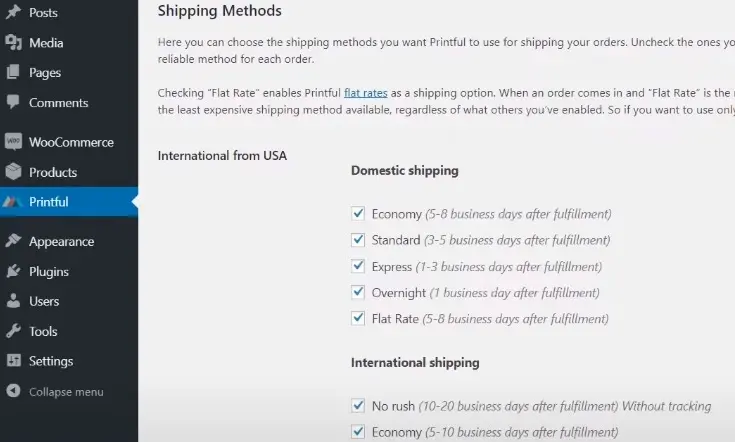
If you want to use the Printful shipping methods navigate to Printful > Shipping to select those you want to enable or disable.
Summary
Using an on-demand service like Printful can add another revenue stream to your business and it can be a useful replacement service for online conference swag.
At Linux Australia, we use RedBubble https://www.redbubble.com/ for our online conference swag. As far as I know, there’s no official Redbubble WordPress plugin, you’d have to use the external/affiliate WooCommerce product type and do a manual export and import.
Do you still have questions about WooCommerce and Printful?
Ask in the comments below.
#WPQuickies
Join me every Thursday at 1 pm Sydney time for some more WPQuickies – WordPress tips and tricks in thirty minutes or less.
Broadcasting live on YouTube and Facebook.
Suggest a #WPQuickies Topic
If you have a WordPress topic you’d like to see explained in 30 mins or under, fill out the form below.
https://forms.gle/mMWCNd3L2cyDFBA57
Watch Previous WPQuickies
-

How To Reduce TTFB and Improve Page Load Speed
-

Get Data From Multiple Tables Using SQL
-

How To Move WordPress To Another Web Host – WPQuickies
-
Who Owns WordPress? – WPQuickies
-

Will Page Builders Replace Web Designers & Developers? – WPQuickies
-

WordPress Updates: How Do They Work? – WPQuickies
-

Remove WordPress Header and Footer Using CSS – WPQuickies
-
WordPress Slugs What Are They & How To Change Them – WPQuickies

