In this lunchtime WPQuickies, I’ll run through how to set up Wordfence properly for your WordPress website.
So, you’ve tried to log in to WordPress and for whatever reason, you are locked out.
Here are some tips to get you back in.
Tip 1: Reset Password
It may initially sound a bit dumb but using the reset password link can be a quick way to get back into your WordPress site.
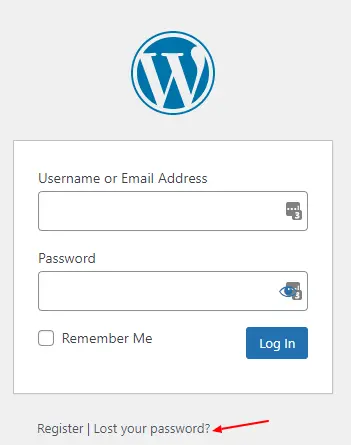
Use the native “Lost your password?” link in the WordPress login screen to generate a new link to change your password.
Forgotten passwords are the number one support ticket issue most WordPress administrators have to deal with for sites that allow user registrations.
Tip 2: Use a VPN Service
If you are using a WAF (web application firewall) such as Wordfence, iThemes Security or Sucuri, sometimes they can block your IP address and lock you out.
A WAF can lock you out for a number of reasons:
- A false-positive result
- Too many failed login attempts
- Incorrect 2FA codes
It’s time to fire up your trust VPN software so that it allocates a different IP address.
I use NordVPN https://nordvpn.com/.
However, Symantec, which make the popular Norton antivirus software, also have VPS software at https://us.norton.com/products/norton-secure-vpn, as do Kapersky https://www.kaspersky.com.au/vpn-secure-connection, another popular antivirus software maker.
Tip 3: Remove That Plugin
If you don’t have access to a VPN service, the next step is to remove the plugin that is blocking your access.
For this to work, you will need to log in to your web hosting account’s control panel; usually cPanel or Plesk.
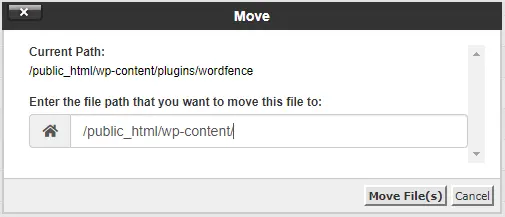
Locate the File Manager application and navigate to the /wp-content/plugins/ folder.
Simply select the plugin folder (right button click) and move it up one level to the /wp-content/ folder.

Refresh your WordPress login screen and enter your security credentials to log in.
Note: remember to move the plugin folder back into the /wp-content/plugin/ folder after you successfully log in.
Tip 4: Change Password In The Database
If you are not able to use the password reset feature – maybe you don’t have access to the email inbox, you can change the password of a user directly in the database.
In this case, you will need to log in to your web hosting account’s control panel; usually cPanel or Plesk.
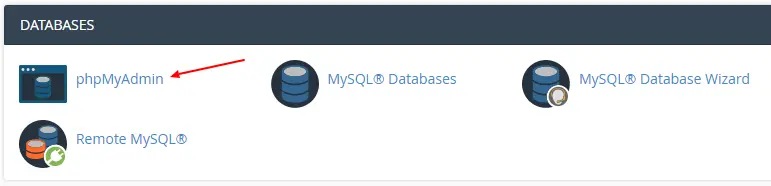
Locate the database management application, usually phpMyAdmin and make sure you select the correct database.
You can find out which database your WordPress site is using by looking in the wp-config.php file and searching for “DB_NAME”.
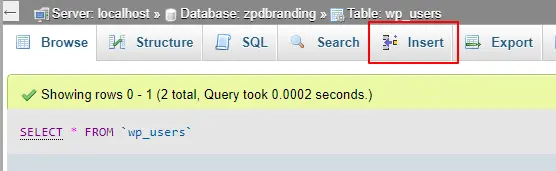
Locate and click into the “wp_users” table.
Note: your database may have a table prefix other than “wp_”.
Browse until you find the user whose password needs to be changed and click on “Edit” for that row.
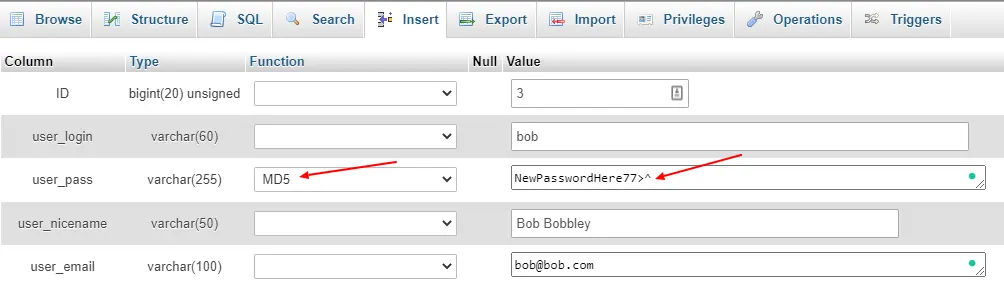
Type in the new password in the “user_pass” row and make sure you choose “MD5” from the dropdown function list.
Click on GO to save the changes.
Now try logging back into WordPress using the new password.
Tip 5: Create A New Administrator User
For whatever reason, you have successfully logged into WordPress but your administrator privileges are gone.
You don’t have access to the admin parts or the site.
This can happen if plugins or other admins have been mucking around with user roles and capabilities or could be due to database corruption.
In this case, you will need to log in to your web hosting account’s control panel; usually cPanel or Plesk.
Locate the database management application, usually phpMyAdmin and make sure you select the correct database.
You can find out which database your WordPress site is using by looking in the wp-config.php file and searching for “DB_NAME”.
We need to create a new administrator account in the database.
This is done in two parts.
For part one, locate and click into the “wp_users” table.
Note: your database may have a table prefix other than “wp_”.
Click on the “insert” tab at the top of the application.
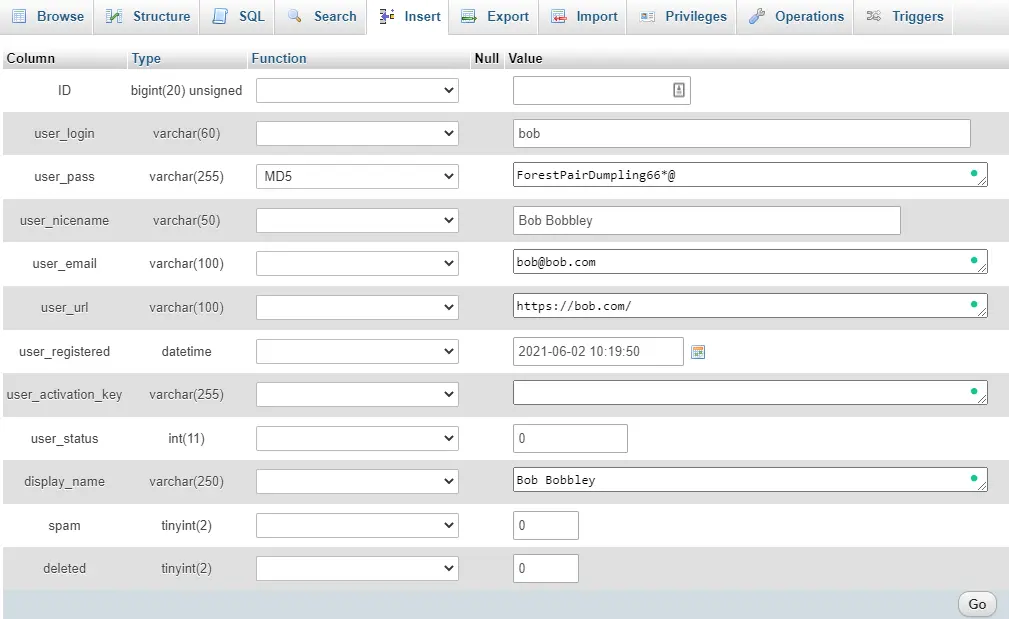
Enter the login information for this new user:
- ID – leave this field blank. The DB will automatically generate an ID for you
- user_login – insert the username you want to use to access the WordPress dashboard
- user_pass – add a password. Make sure to select ”MD5” in the function dropdown (see screenshot)
- user_nicename – choose a nickname or something that WordPress can referrer to yourself as.
- user_email – add the email address associated with this new account
- user_url – the URL to your website
- user_activation_key – leave this blank
- user_registered – select today’s date and time
- user_status – set this to 0
- display_name – the name you want WordPress to display on the dashboard (set this to the same as your user_nicename
You can change all these details after you log in or discard the user completely when you get access to your first login account.
Click the GO button to insert the user data into the database.
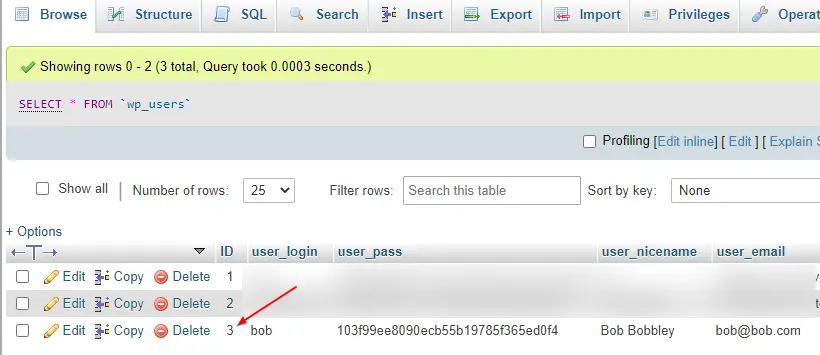
Browse the wp_users take and take note of the ID the database has assigned to your new account, in this example the ID number is 3.
The new user account has been created but it doesn’t yet have administrator privileges.
For part two of this process, click into the “wp_usermeta” table, noting again that your database table prefix may be something other than “wp_”.
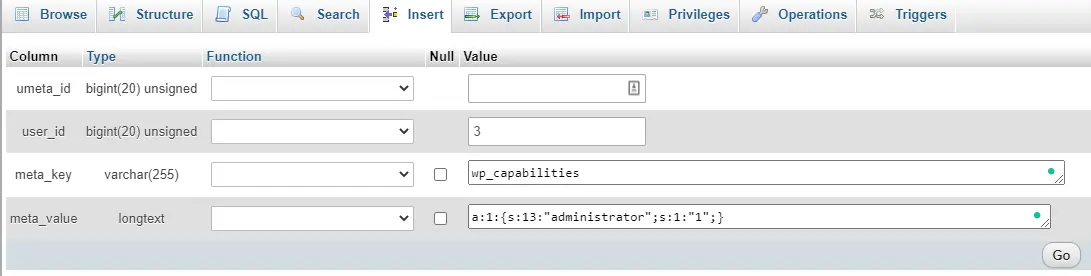
Click on the “Insert” tab and enter the following information (see screenshot below).
- umeta_id – leave this blank. The DB will automatically generate an ID for you.
- user_id – enter the same ID value that was created in step 1, in this case, it was 3
- meta_key – this should be: wp_capabilities
- meta_value – insert this: a:1:{s:13:”administrator”;s:1:”1″;}
Click the GO button to insert the user metadata into the database.
You also need to insert another row using the following information:
- umeta_id – leave this blank. The DB will automatically generate an ID for you.
- user_id – enter the same ID value that was created in step 1, in this case, it was 3
- meta_key – this should be: wp_user_level
- meta_value – insert this: 10
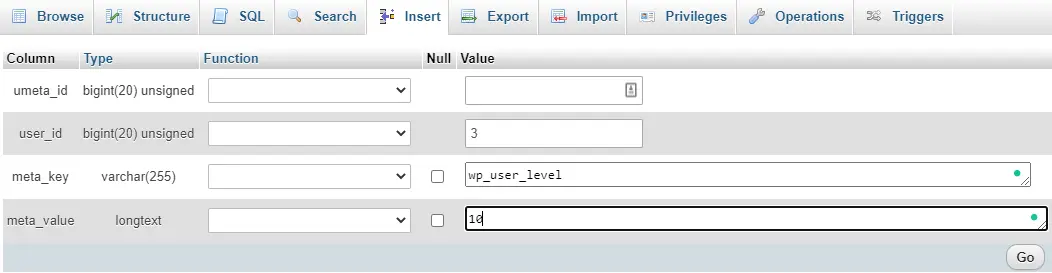
Click the GO button to insert the user metadata into the database.
Now you should be able to log into your WordPress dashboard with the username and password you specified for this user, with administrator privileges.
Using An SQL Query
For developers who want to speed this process up, you can simply drop this SQL query in your database.
 INSERT INTO `databasename`.`wp_users` (`ID`, `user_login`, `user_pass`, `user_nicename`, `user_email`, `user_url`, `user_registered`, `user_activation_key`, `user_status`, `display_name`) VALUES (‘3’, 'bob’, MD5('ForestPairDumpling66*@'), 'Bob Bobbley',’[email protected]', 'https://bob.com/', '2021-06-02 00:00:00', '', '0', 'Bob Bobbley');

 INSERT INTO `databasename`.`wp_usermeta` (`umeta_id`, `user_id`, `meta_key`, `meta_value`) VALUES (NULL, '3', 'wp_capabilities', 'a:1:{s:13:"administrator";s:1:"1";}');

 INSERT INTO `databasename`.`wp_usermeta` (`umeta_id`, `user_id`, `meta_key`, `meta_value`) VALUES (NULL, '3', 'wp_user_level', '10');
Remember to change the data to your own and make sure the ID is not being used by another user.
Conclusion
There are many ways to get back into the WordPress dashboard if you find yourself locked out, as long as you have access to the web hosting account.
#WPQuickies
Join me every Thursday at 1 pm Sydney time for some more WPQuickies – WordPress tips and tricks in thirty minutes or less.
Broadcasting live on YouTube and Facebook.
Suggest a #WPQuickies Topic
If you have an WordPress topic you’d like to see explained in 30 mins or under, fill out the form below.
https://forms.gle/mMWCNd3L2cyDFBA57

