In this lunchtime #WPQuickies, I talk about the pros and cons of using Social Media networks to log in to WordPress websites.
If you have an e-commerce website, you’ll need to let users register and log in to access their content and data-related features.
It’s pretty standard for users to forget their usernames and passwords for sites they don’t use daily.
Allowing users to log in to your WordPress website using a platform they may already have an account on, like Facebook and Google, will improve your site’s user experience.
Why Add Social Logins To WordPress?
I’ve already mentioned that adding social media login buttons to your WordPress website helps with user experience (UX).
Not having to register and set up yet another account and profile is very appealing to users. Providing a social media login button can increase the number of registrations on your website.
Also, adding social media login buttons is likely to increase getting somebody’s actual email vs a fake or spam email address.
The Cons Of Using Social Logins To WordPress
It’s a lot of work to link the social networks to your WordPress website.
It usually means creating developer accounts and creating apps for access which may daunt beginners.
Also, you are explicitly giving the social media network giants permission to access your website and its data. That may be a step too far for some people, or it may not be in good keeping with your business privacy policy or terms and conditions.
How To Add Social Logins To Your WordPress Website
For this tutorial, I’m using the Super Socializer plugin.
This is a friendly warning that this process is quite lengthy and requires you to hop in and out of social media accounts.

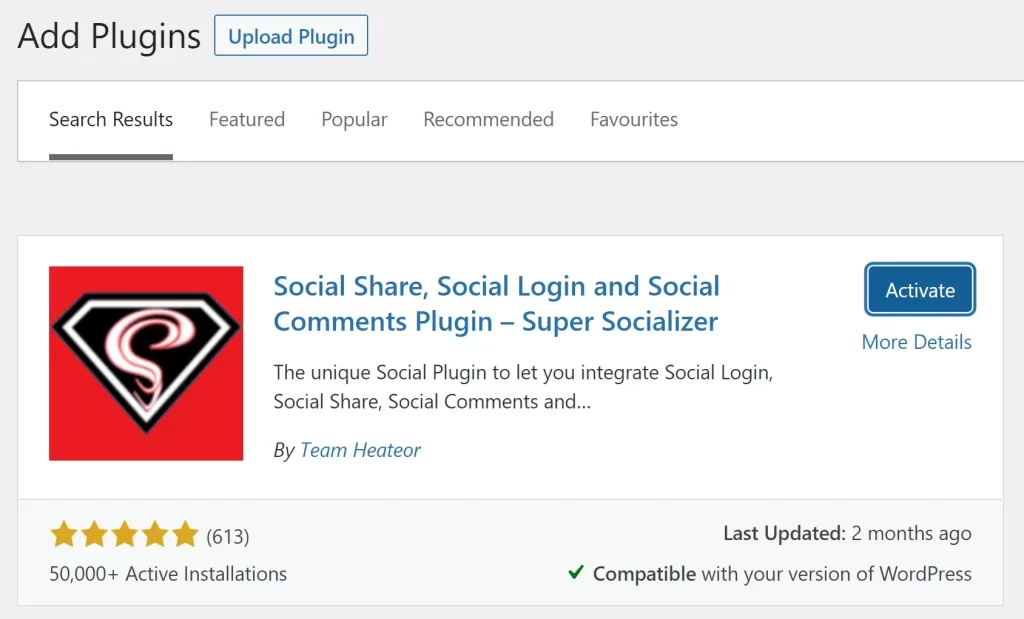
Step 1 – Install Super Socializer Plugin
Go ahead and search for, install and activate the Super Socializer plugin from your WordPress admin dashboard.
Step 2: Enable Social Login
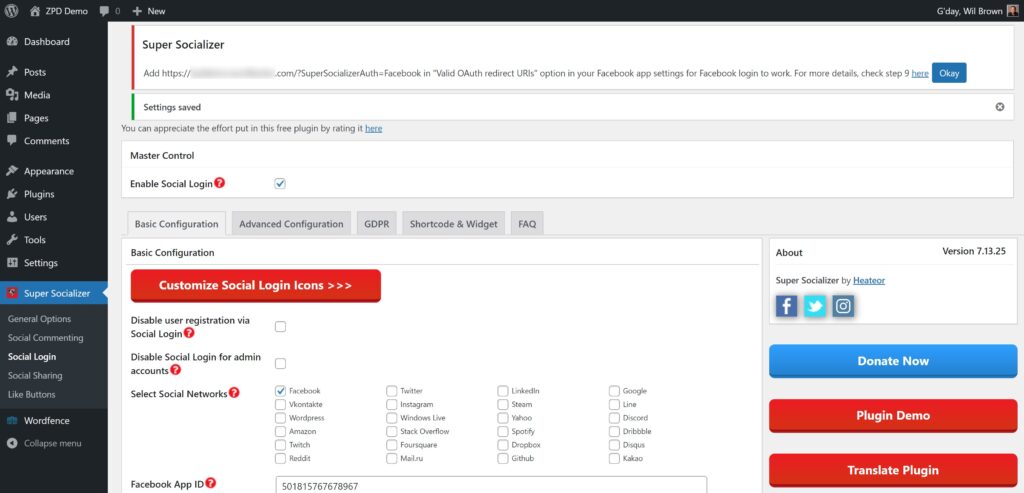
Once the plugin has been installed and activated, configure the settings by navigating to Super Socializer > Social Login

Check the “Enable Social Login” checkbox and you will see a list of all the available social media sites.
Please forgive the settings screen – it’s pretty big and garish!
Step 3: Choose Social Networks
You can use any of the social media networks listed; however, I’m only enabling Facebook for this tutorial.
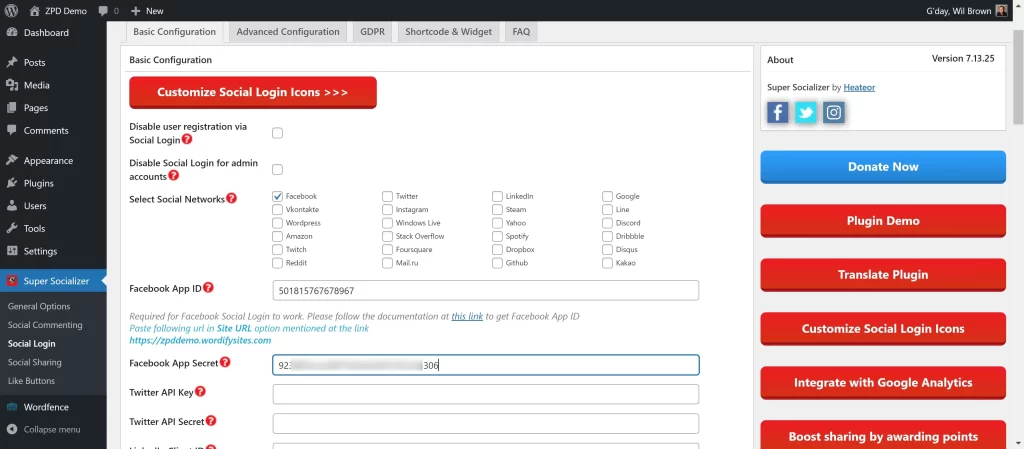
Check “Facebook” from the “Select Social Networks” option.
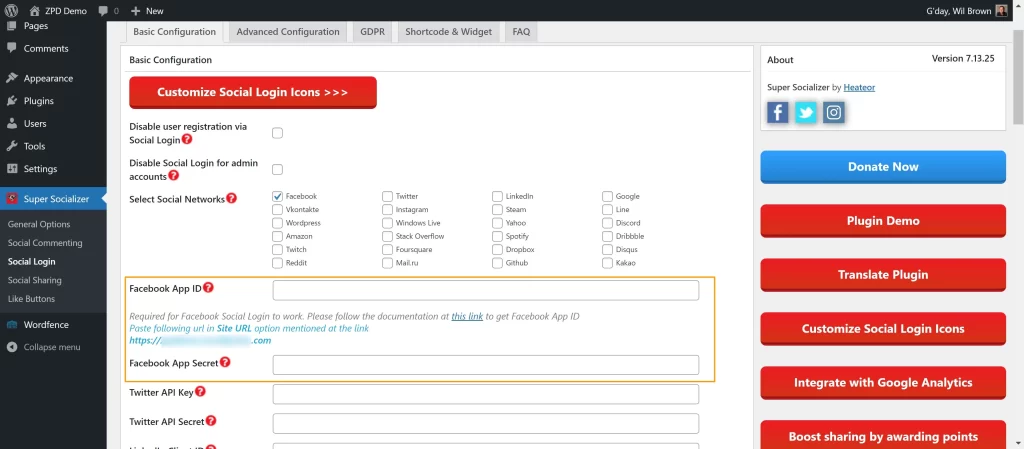
To fill out the Facebook App ID and Facebook App Secret form fields, you’ll need to visit the Facebook developer portal and create a new app.
If you click on the red question mark, some instructions and links will expand down.
Step 4: Create Facebook App
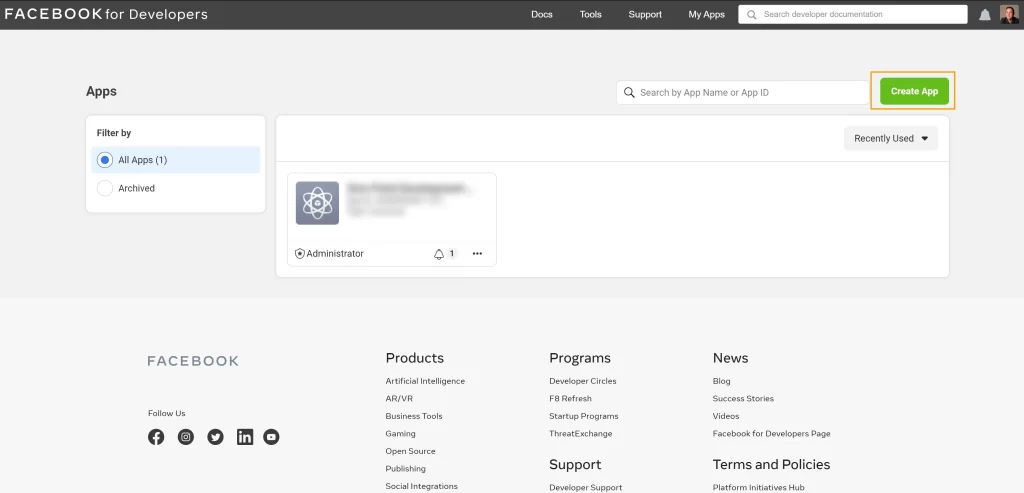
Visit https://developers.facebook.com/ and login or register to create a new account.
Once you get to the dashboard, click on the green “Create App” button.
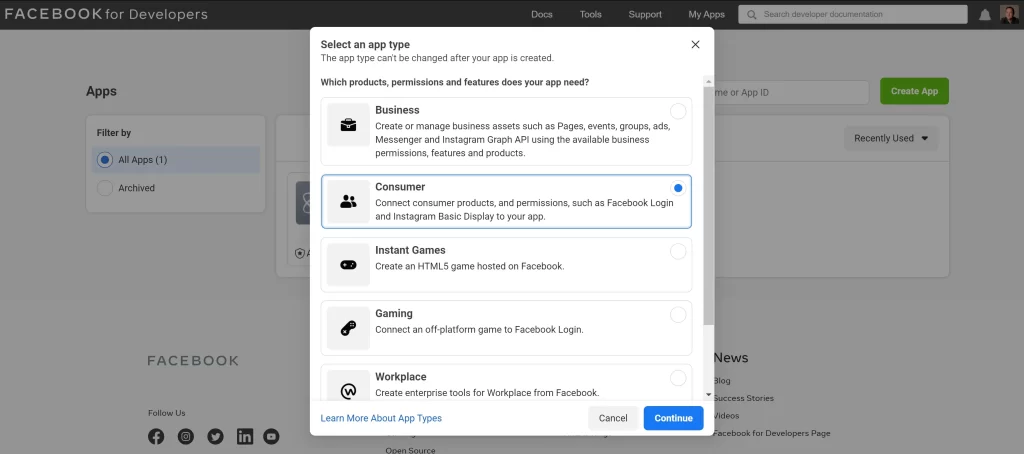
Choose the “Consumer” app type option and continue.
Type in an “App Display Name”, enter your current email address and select “No Business Manager Account” from the drop-down, then click on “Create App”.
You may be prompted to enter your Facebook password for a security check.

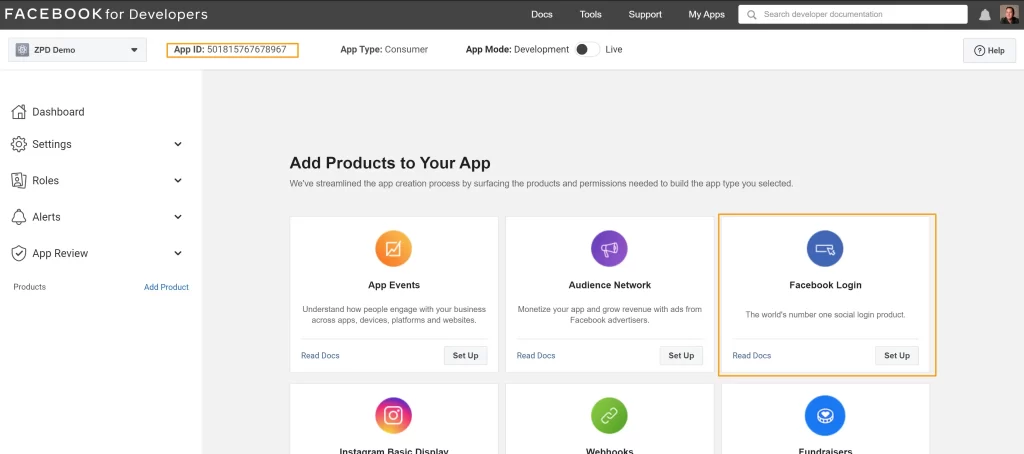
Once your app is created, let’s start the integration.
Select the “Facebook login” option.
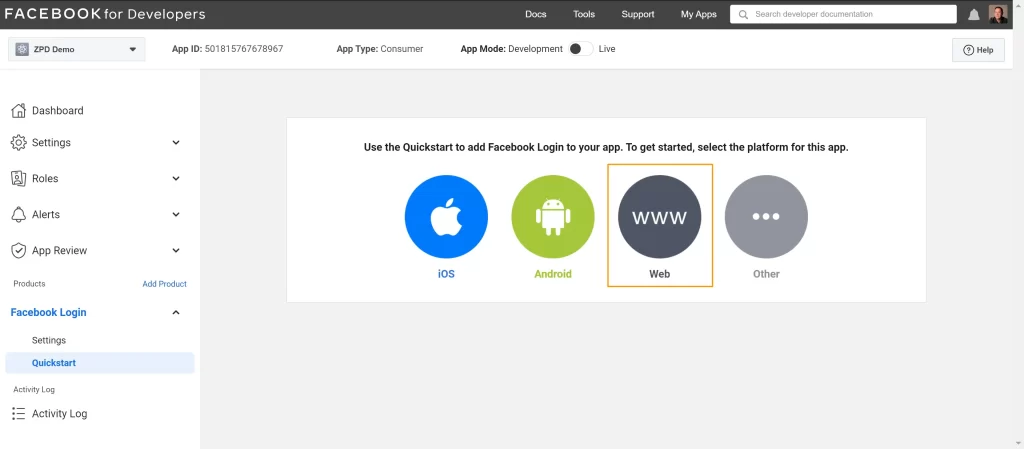
Select the “Web (WWW)” option.
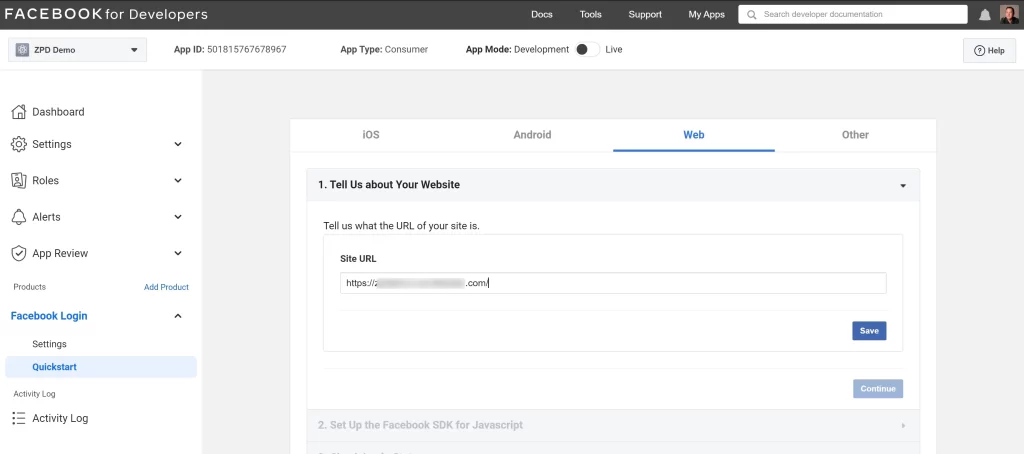
Enter the URL of your website.
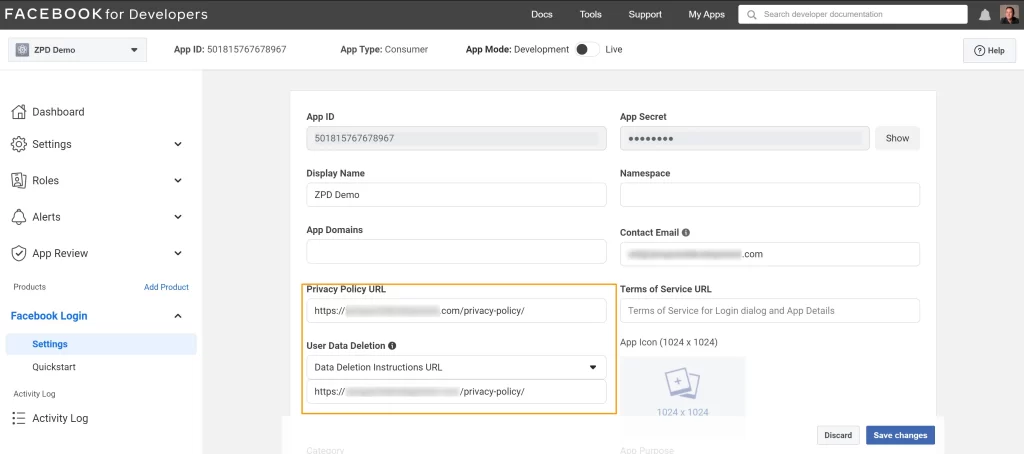
Now, you can view your App ID and Secret. To do that, you’ll want to navigate to Settings > Basic:
On this page, enter your website’s privacy policy page URL into the “Privacy Policy URL” field and the user deletion page URL from your website (usually the same as your privacy policy), then save your changes.
You can copy your App ID and Secret and paste them back into your WordPress website on this page. Don’t forget to save your settings.
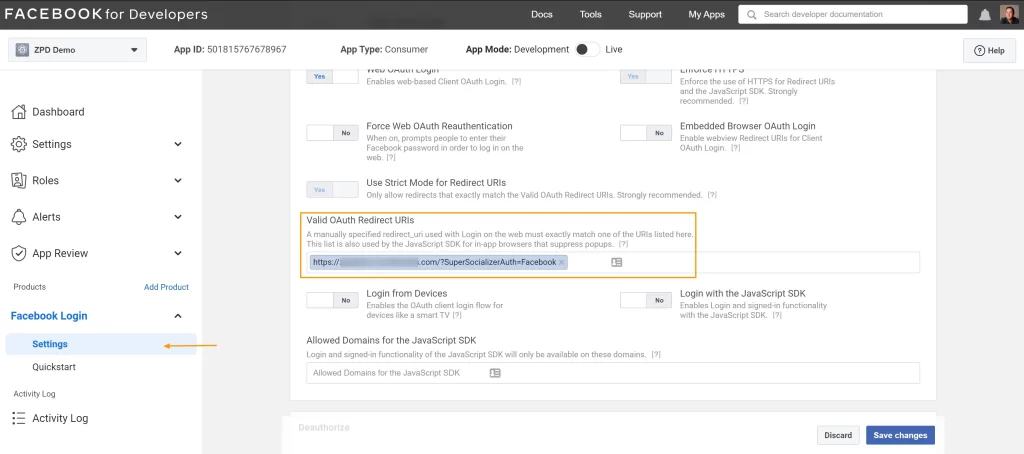
You should now see a message at the top of the screen prompting you to add the displayed URL in your Facebook app settings:
Head back to the Facebook developer portal, and navigate to Facebook Login > Settings. Here, you can paste the URL shown above into the Valid OAuth Redirect URIs field. Make sure to save your changes:
To activate the Facebook login integration on your live site, toggle the switch at the top of the screen labelled In development.
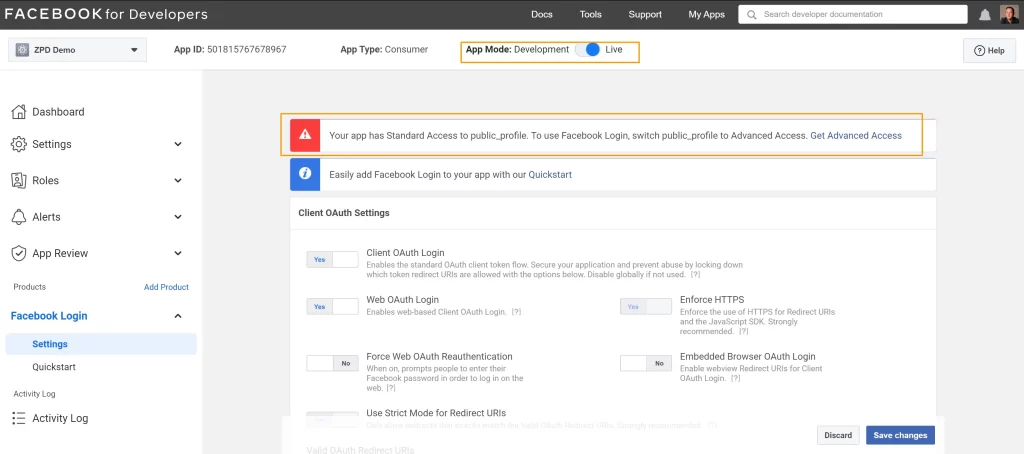
You may also see a warning message “Your app has Standard Access to public_profile. To use Facebook Login, switch public_profile to Advanced Access.”.
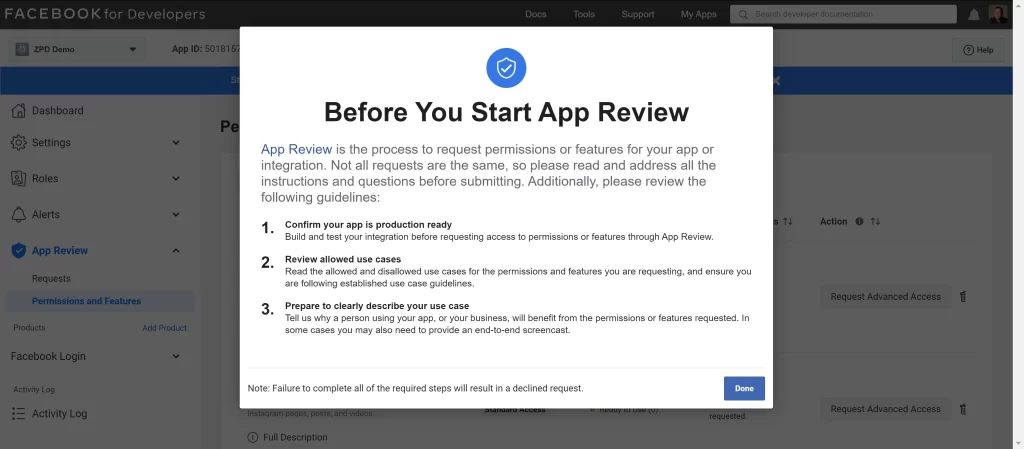
Click on the “Get Advanced Access” link and complete the popup dialogue process and click on done.
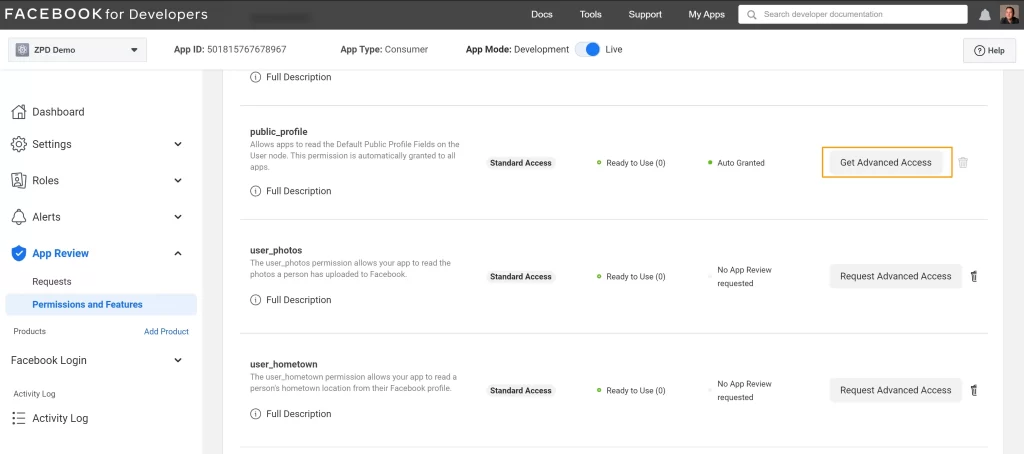
If not there already, navigate to “App Review > Permissions and Features”.
Scroll down to the “public profile” option and click on the “Get Advanced Access” button.
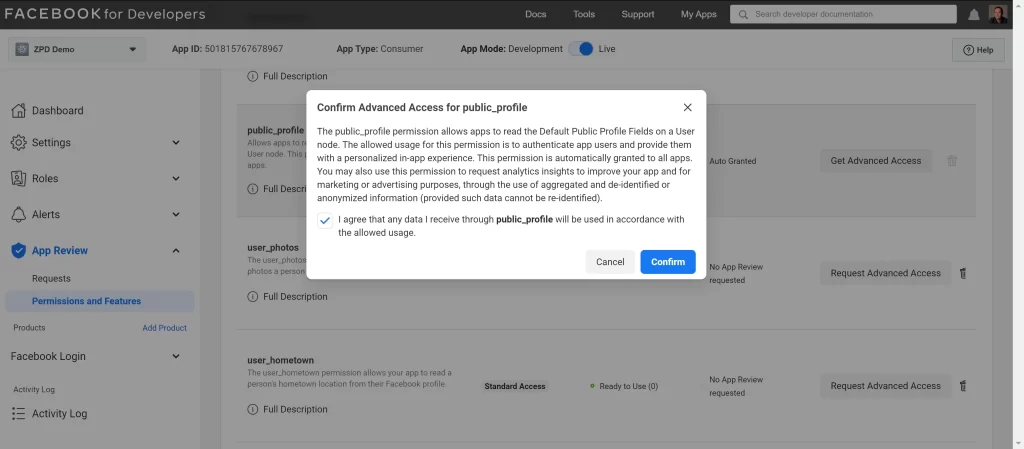
Read and check to agree to the terms, then click “Confirm”. You may be prompted for your Facebook password again.
Note that your apps “public profile” setting is now set to “Advanced Access”, highlighted in green.
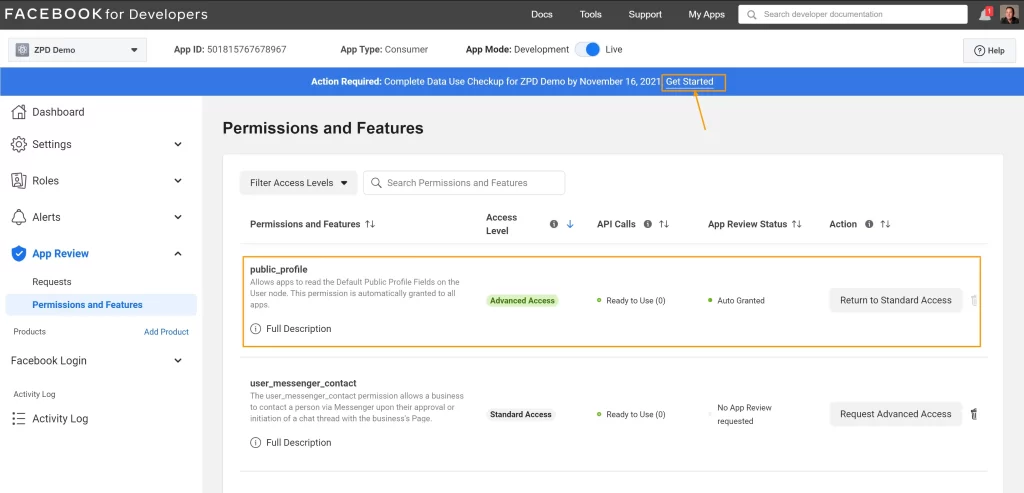
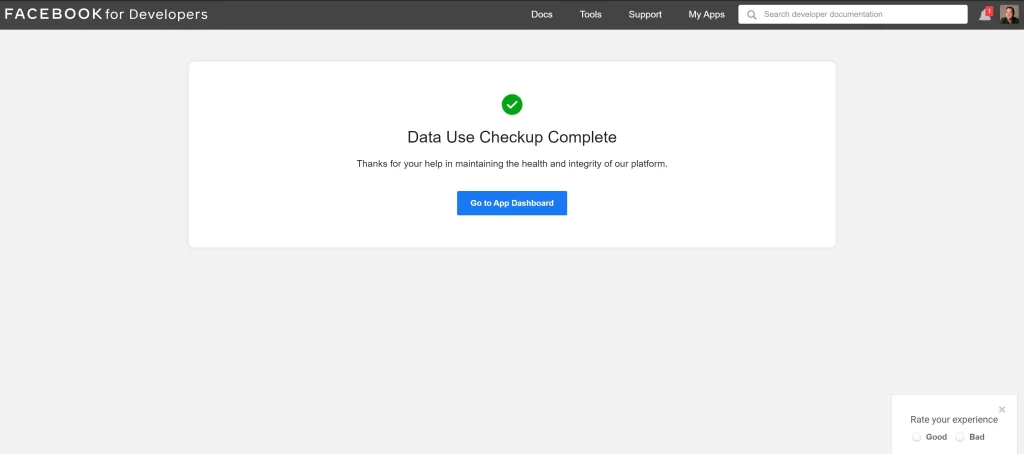
You will also have to complete the “Data Use Checkup”, click on the “Get Started” link, read and agree to the terms and save.
Phew! That’s all done.
Step 5: Login To WordPress
The last step is to test the social media login.
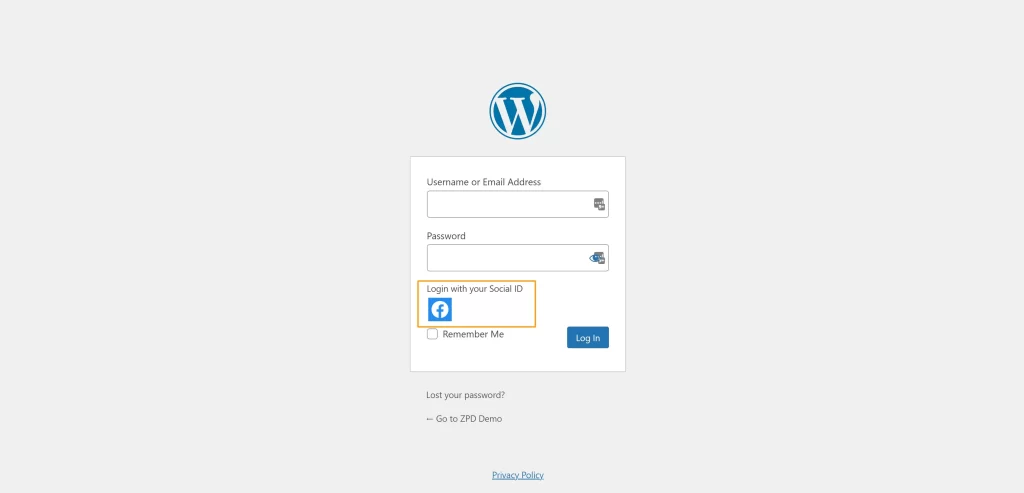
Log out of your website and go to the login screen.
You should now see a Facebook icon you can click on to log in to your website through Facebook.
You can go ahead and follow the steps to add the other social media networks to your WordPress login.
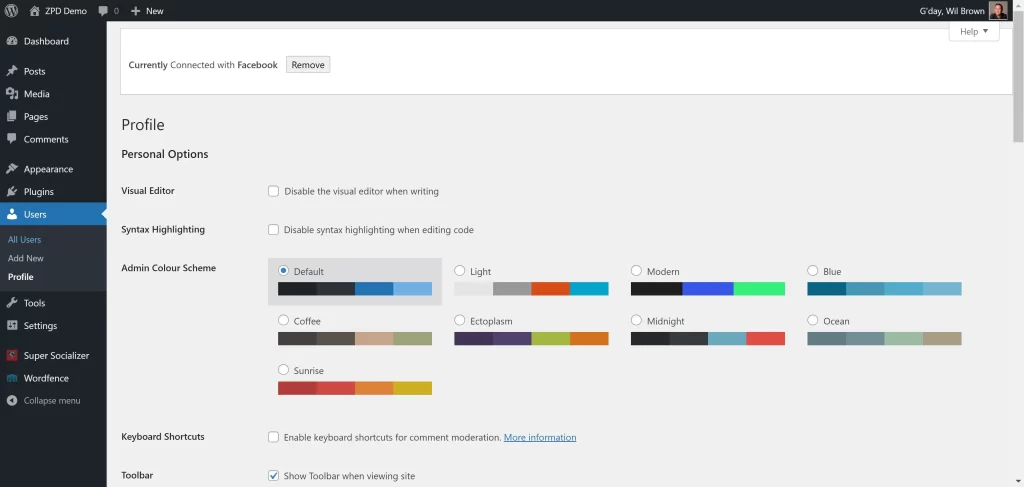
If you navigate to your user profile, you will see the message ”Currently Connected with Facebook” and an option to “Remove” the connections.
Summary
Yes, it takes some time and persistence to initially set up WordPress social network logins, but you’ll have that additional visitor UX added to your website, good for SEO and customer satisfaction.
#WPQuickies
Join me every Thursday at 1 pm Sydney time for some more WPQuickies – WordPress tips and tricks in thirty minutes or less.
Broadcasting live on YouTube and Facebook.
Suggest a #WPQuickies Topic
If you have a WordPress topic you’d like to see explained in 30 mins or under, fill out the form below.
https://forms.gle/mMWCNd3L2cyDFBA57
Watch Previous WPQuickies

When To Use Categories and Tags

4 Responses
Hey, excellent article. But, I want to add a login form on my website sidebar. Is it possible?
Yes, most social logins come with a widget or a shortcode that you can embed in your sidebar.
When someone login via google .. it gives admin access .. how to fix this ?
Check your Settings > General > “New User Default Role”. This should be set to “Subscriber”, not “Administrator”